
It is just amazing how many books there are available these days on vegan, vegetarian and plant based diets. It definitely wasn’t the case 20 years ago. One of the first books to come out about a plant based diet was Fit For Life by Harvey and Marilyn Diamond. (It came out in 1985, the year I was born! lol) Then in 1987 Diet For a New America came out which focused more on the cruelty behind mass animal raising in North America and the health implications of a heavy meat based diet. These were the two major books that empowered many people to turn to vegetarianism in the 90’s.
But now we have even more books to learn from, with more being written each year. We are so lucky to have more doctors, researchers and nutritionists behind the plant based movement. So I wanted to make a list of recommended books for you, should you need some more information guiding you what to eat and what not to eat as well as helpful tips and encouragement for you and your loved ones.
This is in no particular order, just fyi. And at the bottom I’ve provided a list of other plant based recipe books that are oil free and useful if you’re looking for more recipes!
Must Read Vegan and Plant Based Books
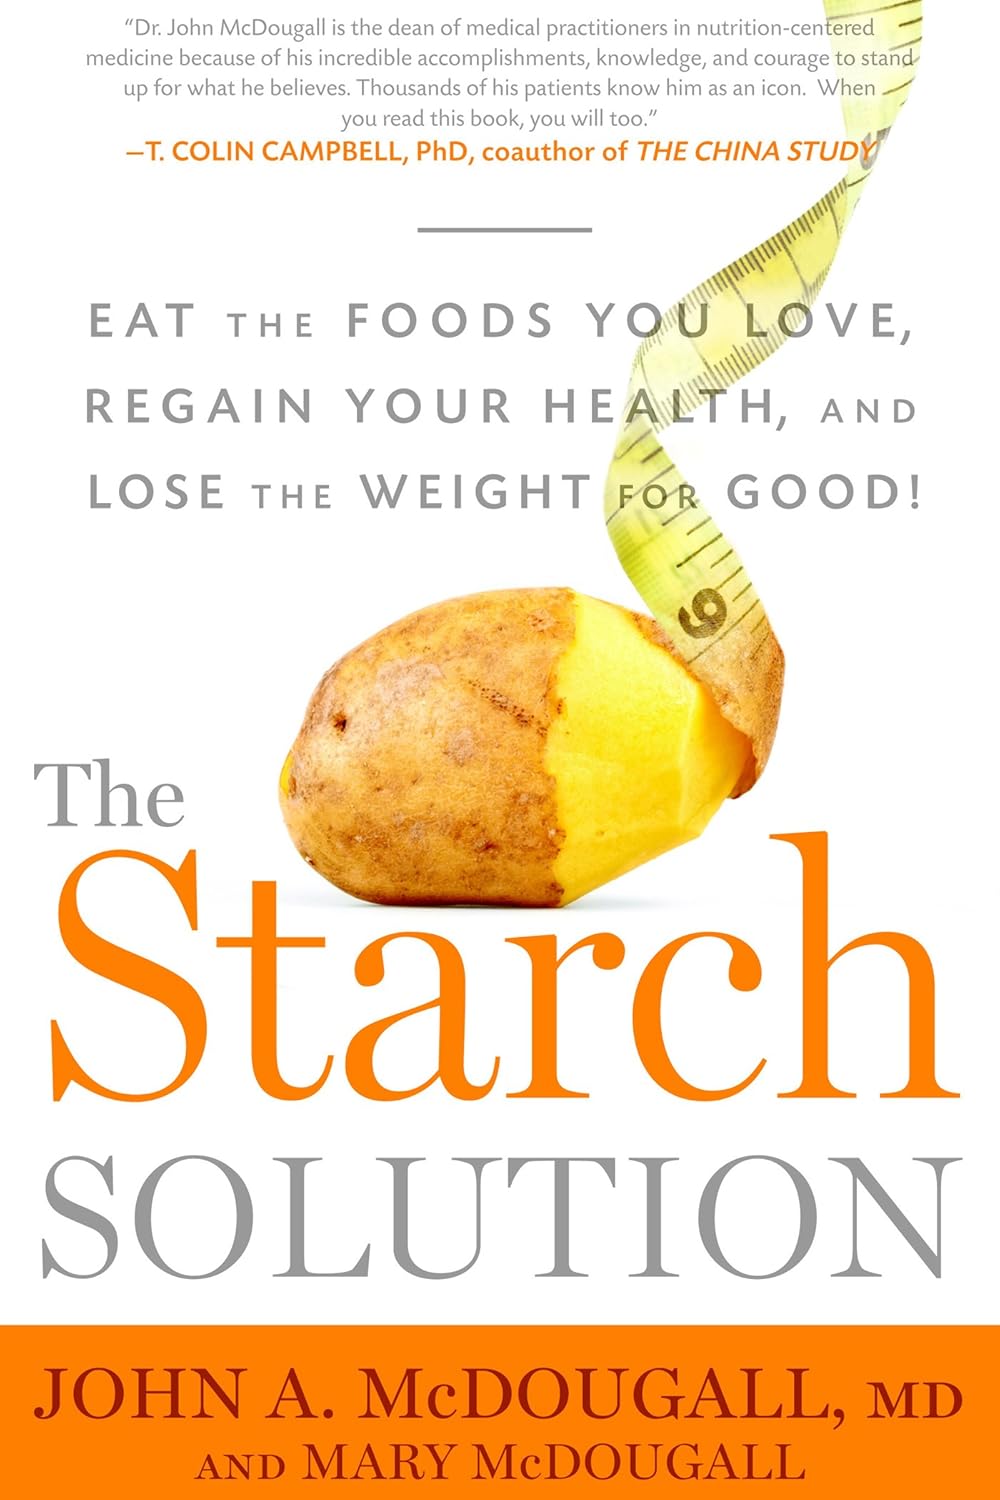
The Starch Solution by Dr. John McDougall
Description: From Atkins to Dukan, fear of the almighty carb has taken over the diet industry for the past few decades—even the mere mention of a starch-heavy food is enough to trigger an avalanche of shame and longing. But the truth is, carbs are not the enemy. Now, bestselling author John A. McDougall, MD, and his kitchen-savvy wife, Mary, prove that a starch-rich diet can actually help readers lose weight, prevent a variety of ills, and even cure common diseases. By fueling the body primarily with carbohydrates rather than proteins and fats, readers will feel satisfied, boost energy, and look and feel their best. Including a 7-Day Sure-Start Plan, helpful weekly menu planner, and nearly 100 delicious, affordable recipes, The Starch Solution is a groundbreaking program that will help readers shed pounds, improve their health, save money, and change their lives.
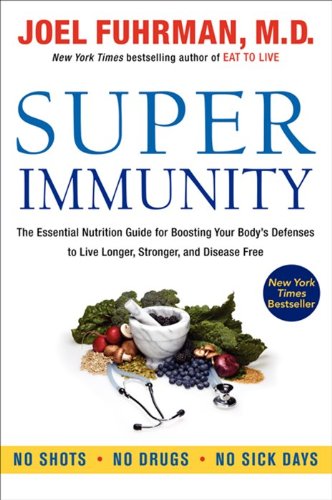
Super Immunity by Dr. Joel Fuhrman
Description: In Super Immunity, world-renowned health expert and New York Times bestselling author of Eat to Live Dr. Joel Fuhrman offers a nutritional guide to help you live longer, stronger, and disease free. Dr. Fuhrman doesn’t believe the secret to staying healthy lies in medical care—rather, the solution is to change the way we eat. With more than 85 plant-based recipes, a two-week menu plan, and lists of super foods that boost immunity, Dr. Fuhrman’s proven strategies combine the latest data from clinical tests, nutritional research, and results from thousands of patients . Fans of Alejandro Junger’s Clean, Mark Hyman’s Ultraprevention, and T. Colin Campbell’s The China Study will appreciate Dr. Fuhrman’s practical plan to prevent and reverse disease—no shots, drugs or sick days required.
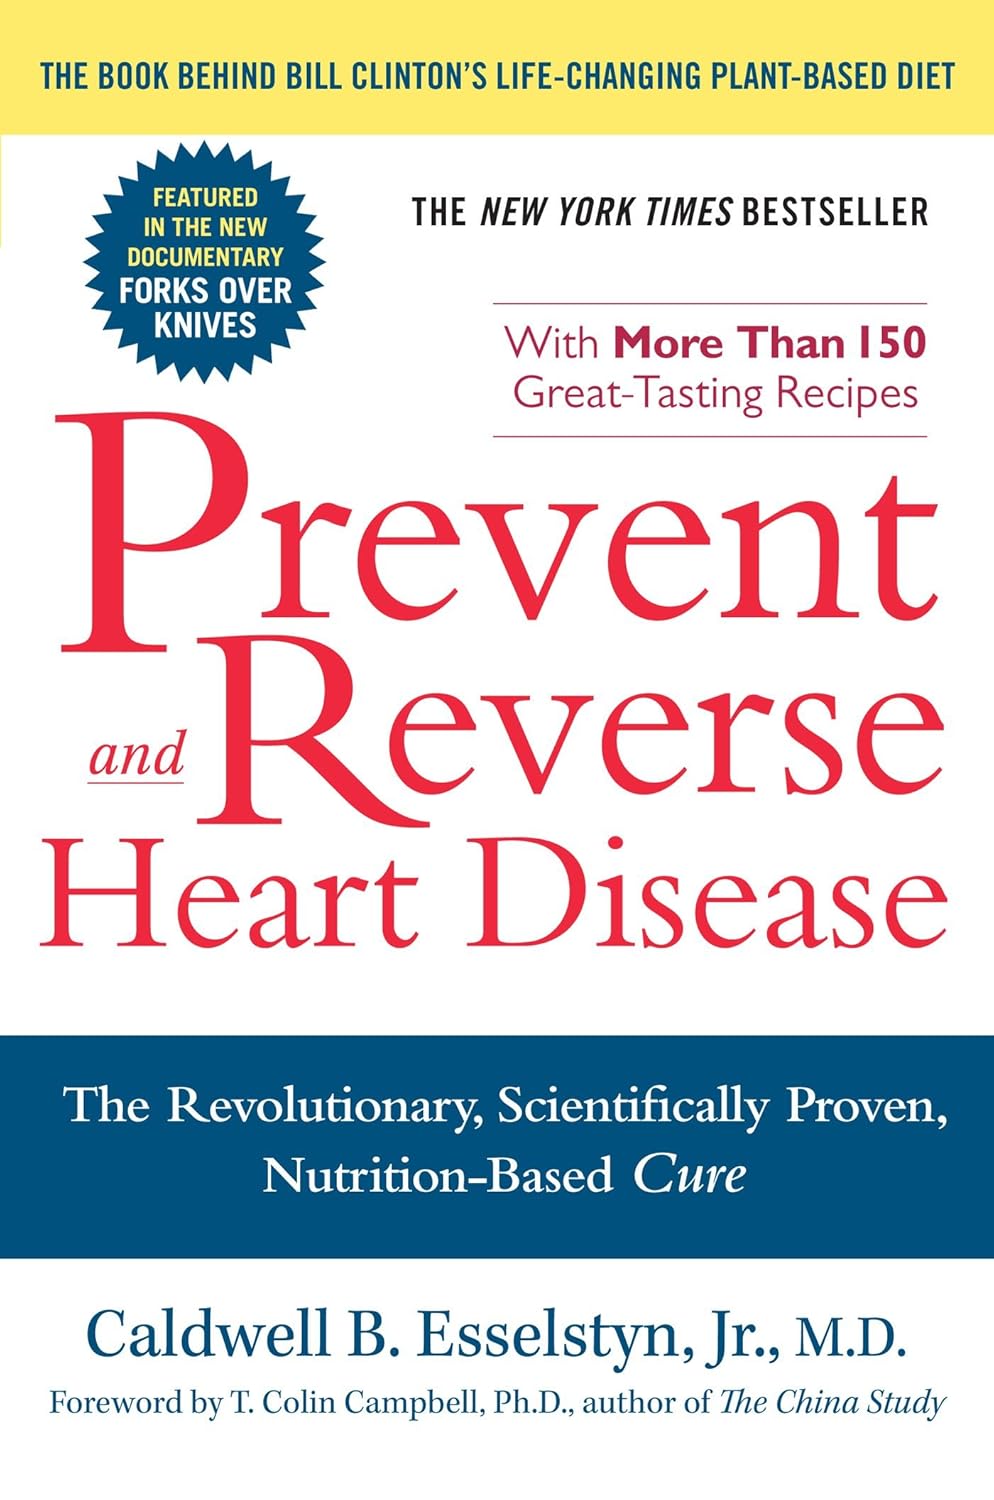
Prevent and Reverse Heart Disease by Dr. Caldwell Esselstyn
Description: Based on the groundbreaking results of his twenty-year nutritional study, Prevent and Reverse Heart Disease by Dr. Caldwell Esselstyn illustrates that a plant-based, oil-free diet can not only prevent the progression of heart disease but can also reverse its effects. Dr. Esselstyn is an internationally known surgeon, researcher and former clinician at the Cleveland Clinic and a featured expert in the acclaimed documentary Forks Over Knives. Prevent and Reverse Heart Disease has helped thousands across the country, and is the book behind Bill Clinton’s life-changing vegan diet.The proof lies in the incredible outcomes for patients who have followed Dr. Esselstyn’s program, including a number of patients in his original study who had been told by their cardiologists that they had less than a year to live. Within months of starting the program, all Dr. Esselstyn’s patients began to improve dramatically, and twenty years later, they remain free of symptoms.Complete with more than 150 delicious recipes perfect for a plant-based diet, the national bestseller Prevent and Reverse Heart Disease explains the science behind the simple plan that has drastically changed the lives of heart disease patients forever. It will empower readers and give them the tools to take control of their heart health.
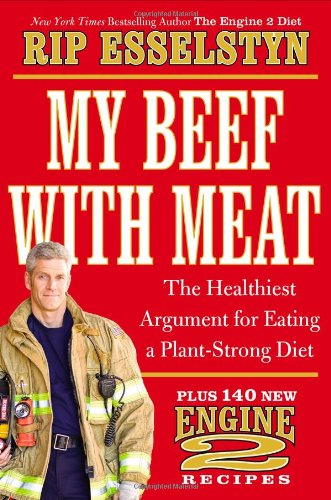
My Beef With Meat by Rip Esselstyn
Description: For the millions who are following a plant-based diet, as well as those meat-eaters who are considering it, MY BEEF WITH MEAT is the definitive guide to convincing all that it’s truly the best way to eat! New York Times Bestelling author of The Engine 2 Diet and nutrition lecturer Rip Esselstyn, is back and ready to arm readers with the knowledge they need to win any argument with those who doubt the health benefits of a plant-based diet–and convince curious carnivores to change their diets once and for all. Esselstyn reveals information on the foods that most people believe are healthy, yet that scientific research shows are not. Some foods, in fact, he deems so destructive they deserve a warning label. Want to prevent heart attacks, stroke, cancer and Alzheimer’s? Then learn the facts and gain the knowledge to convince those skeptics that they are misinformed about plant-base diets, for instance:
You don’t need meat and dairy to have strong bones or get enough protein
You get enough calcium and iron in plants
The myth of the Mediterranean diet
There is a serious problem with the Paleo diet
If you eat plants, you lose weight and feel great
Eat To Live by Dr. Joel Fuhrman
Description: The Eat To Live 2011 revised edition includes updated scientific research supporting Dr. Fuhrman’s revolutionary six-week plan and a brand new chapter highlighting Dr. Fuhrman’s discovery of toxic hunger and the role of food addiction in weight issues. This new chapter provides novel and important insights into weight gain. It explains how and why eating the wrong foods causes toxic hunger and the desire to over consume calories; whereas a diet of high micronutrient quality causes true hunger which decreases the sensations leading to food cravings and overeating behaviors. It instructs readers on how to leave behind the discomfort of toxic hunger, cravings, and addictions to unhealthy foods. New recipes and menus are included as well as new and updated Frequently Asked Questions. This is a book that will let you live longer, reduce your need for medications, and improve your health dramatically. It is a book that will change the way you want to eat. Most importantly, if you follow the Eat To Live™ diet, you will lose weight faster than you ever thought possible.
Dr. Dean Ornish’s Program For Reversing Heart Disease by Dr. Dean Ornish
Description: Dr. Dean Ornish is the first clinician to offer documented proof that heart disease can be halted, or even reversed, simply by changing your lifestyle. Based on his internationally acclaimed scientific study, which has now been ongoing for years, Dr. Ornish’s program has yielded amazing results. Participants reduced or discontinued medications; their chest pain diminished or disappeared; they felt more energetic, happy, and calm; they lost weight while eating more; and blockages in coronary arteries were actually reduced.
In his breakthrough book, Dr. Ornish presents this and other dramatic evidence and guides you, step-by-step, through the extraordinary Opening Your Heart program, which is winning landmark approval from America’s health insurers. The program takes you beyond the purely physical side of health care to include the psychological, emotional and spiritual aspects so vital to healing. This book represents the best modern medicine has to offer. It can inspire you to open your heart to a longer, better, happier life.

The China Study by Dr. T Colin Campbell
Description: Even today, as trendy diets and a weight-loss frenzy sweep the nation, two-thirds of adults are still obese and children are being diagnosed with Type 2 diabetes, typically an “adult” disease, at an alarming rate. If we’re obsessed with being thin more so than ever before, why are Americans stricken with heart disease as much as we were 30 years ago?
In The China Study, Dr. T. Colin Campbell details the connection between nutrition and heart disease, diabetes, and cancer. The report also examines the source of nutritional confusion produced by powerful lobbies, government entities, and opportunistic scientists. The New York Times has recognized the study as the “Grand Prix of epidemiology” and the “most comprehensive large study ever undertaken of the relationship between diet and the risk of developing disease.”
The China Study is not a diet book. Dr. Campbell cuts through the haze of misinformation and delivers an insightful message to anyone living with cancer, diabetes, heart disease, obesity, and those concerned with the effects of aging.
Engine 2 Diet by Rip Esselstyn
Description: Lose weight, lower cholesterol, significantly reduce the risk of disease, and become physically fit–in just 4 weeks.
Professional athlete-turned-firefighter Rip Esselstyn is used to responding to emergencies. So, when he learned that some of his fellow Engine 2 firefighters in Austin, TX, were in dire physical condition-several had dangerously high cholesterol levels (the highest was 344!)-he sprang into action and created a life-saving plan for the firehouse. By following Rip’s program, everyone lost weight (some more than 20 lbs.), lowered their cholesterol (Mr. 344’s dropped to 196), and improved their overall health. Now, Rip outlines his proven plan in this book. With Rip as your expert coach and motivator, you’ll transform your body and lifestyle in a month. His plant-powered eating plan is based on a diet of whole foods, including whole grains, fresh fruits, vegetables, legumes, nuts, and seeds. This invaluable guide features: **Dozens of easy, mouthwatering recipes-from pancakes to pizza, Tex-Mex favorites to knockout chocolate desserts-that will keep you looking forward to every bite **Pantry-stocking tips will take the panic out of inevitable cravings and on-the-fly meals **Guidelines on menu choices that will allow you to eat out, wherever and whenever you want **Rip’s simple, firefighter-inspired exercise program that will boost your metabolism and melt your fat away.
The McDougall Program For Maximum Weight Loss by Dr. John McDougall
Description: Drawing on the latest evidence about nutrition, metabolism, and hunger, an easy-to-follow weight loss plan places emphasis on a low-fat, high-carbohydrate diet while explaining how weight is lost and gained.
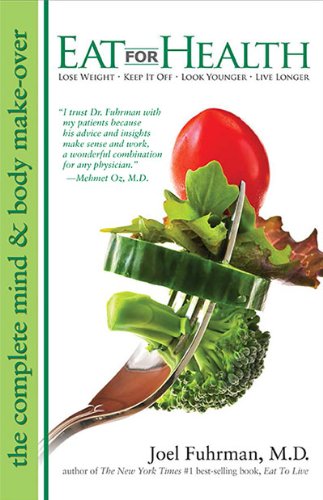
Eat For Health: Lose Weight and Keep It Off by Dr. Joel Fuhrman
Description: Dr. Fuhrman’s scientifically proven system enables you to finally conquer your cravings and food addictions, while steering your taste buds toward healthier food choices. But be aware of the side effects….you may experience reversal of diseases such as heart disease, headaches, allergies, high blood pressure and diabetes, and you will feel better than ever before! This book includes Dr. Fuhrman’s ANDI food scoring system, with three phases of meal plans and 150 fantastic recipes. Start where you are comfortable and progress at your own pace or jump right into phase three to maximize weight loss and optimize the therapeutic effects for disease reversal.
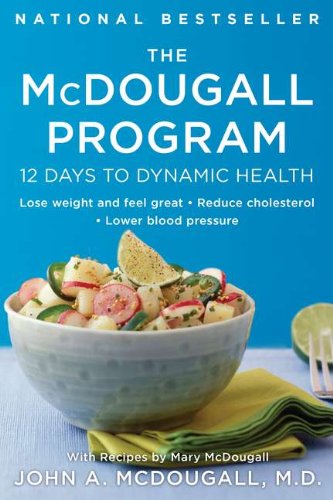
The McDougall Program: 12 Days To Dynamic Health by Dr. John McDougall
Description: In this ground-breaking book, Dr. John McDougall, bestselling author and creator of the nationally renowned diet and exercise program at the St. Helena Hospital in Deer Park, California, introduces his remarkable twelve-day plan. Building on the idea that the traditional meat-rich American diet is hazardous to our health, Dr. McDougall has developed a medically sound, low-fat, starch-based diet that not only facilitates weight loss but also reverses serious illness, without drugs, and provides a broad range of dramatic and lasting health benefits. Step-by-step, he takes you through his revolutionary new program, providing:
- Over 130 easy-to-prepare recipes
- Delicious day-by-day menus
- Suggestions for healthful dining out
Plus a comprehensive listing of health problems from arthritis to ulcer disease, comparing the traditional, often drastic medical approach and The McDougall Program‘s nutritionally based alternative. As featured in the book and movie Forks and Knives, John A McDougall delivers a powerful and effective food regiment.
Oil-Free and Low Fat Vegan/Plant Based Recipe Books
The following are cookbooks you can use as part of your oil-free/low fat vegan or plant based diet. All based on whole foods and easy to find ingredients with tons of recipes for you and your family to enjoy.
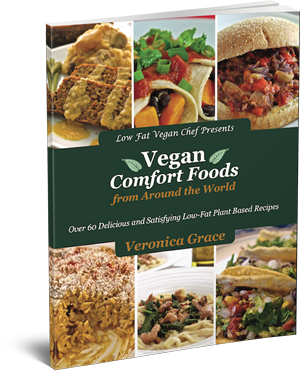
Vegan Comfort Foods From Around The World by Veronica Grace
Description: Learn how to cook the oil-free and low fat vegan way with 60+ recipes with full color photos for EVERY recipe! Recipes are designed to be Dr. McDougall, Forks Over Knives, Dr. Esselstyn, Engine2 and Eat To Live “friendly” and are based on oil-free, whole minimally processed plant foods.
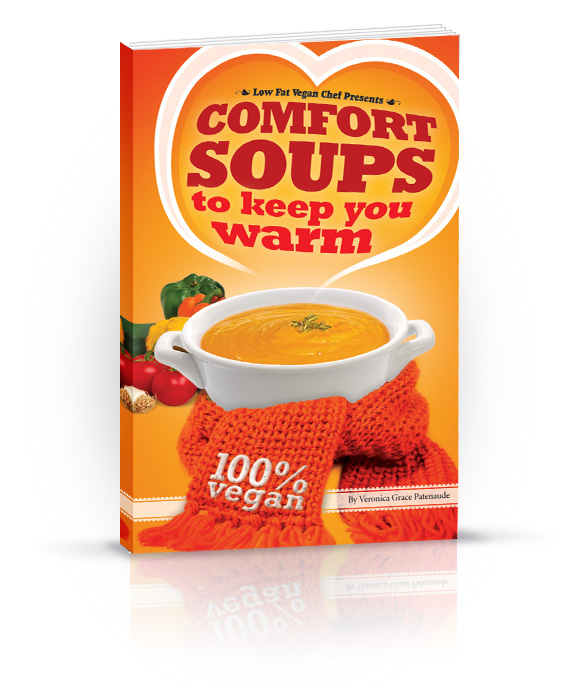
Comfort Soups To Keep You Warm by Veronica Grace
Description: These recipes are Dr. McDougall, Forks Over Knives, Engine2 and Eat To Live “friendly”. Designed to be 100% oil free, low in fat and full of flavor without processed ingredients. 30 delicious oil-free soup recipes to choose from. Whether you’re craving something familiar and cozy or something exotic and new you’ll find something to tickle your tastebuds. Learn how to make any vegan soup from scratch, make your own homemade vegetable broth and how to cook the best soup you’ve ever had in your life!
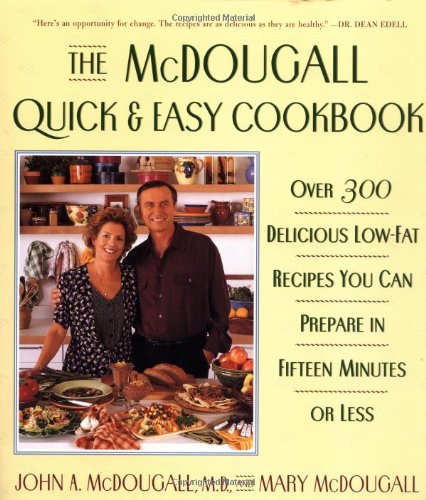
The McDougall Quick and Easy Cookbook by Mary and Dr. John McDougall
Description: By greatly simplifying the work involved in preparing healthy, exciting meals, bestselling authors Dr. John McDougall and Mary McDougall continue to build upon the success of their acclaimed, low-fat McDougall Program books. In this latest edition, they share their secrets for lowering cholesterol, alleviating allergies, and dramatically reducing the risk of heart disease, cancer, osteoporosis, and diabetes with food that is irresistible to the whole family. Featuring over 300 recipes (including healthy Mediterranean diet recipes) that can be prepared in fifteen minutes or less, The McDougall Quick and Easy Cookbook is the busy person’s answer to eating right. Discover shopping tips and cooking hints to save time, reduce fat, and make great-tasting meals. Learn the viable egg and dairy replacements to eliminate fat, cholesterol, and animal protein from your diet. And refer to the updated “McDougall-Okayed Packaged and Canned Products” list. The economical, fast, and innovative recipes in The McDougall Quick and Easy Cookbook help make good health and longer life easier than ever to achieve.
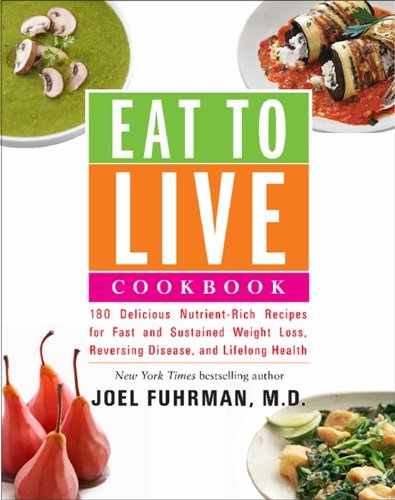
Eat To Live Cookbook by Dr. Joel Fuhrman (will be release Oct 2013)
Description: Joel Fuhrman, M.D.’s #1 New York Times bestseller Eat to Live has helped millions of readers worldwide discover the most effective and proven path to long-term weight loss and life-long health.Now, for the first time, the Eat to Live Cookbook makes it effortless to bring this revolutionary approach into your kitchen and life. With over 185 delicious and easy to prepare plant-based recipes for any time, any day, any occasion; an information-packed introduction that has everything you need to know about Dr. Fuhrman’s approach; and an invaluable guide to choosing the best ingredients, the Eat to Live Cookbook is the ultimate kitchen resource. Eat the foods you love while losing weight and staying healthy.
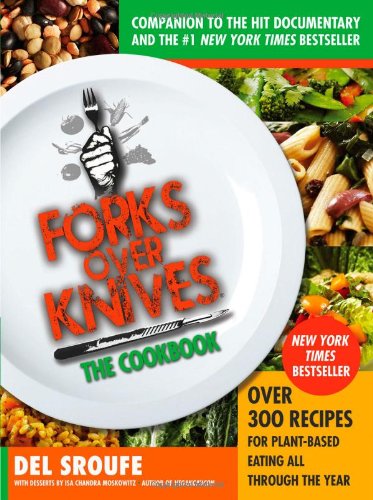
Forks Over Knives: The Cookbook
Description: A whole-foods, plant-based diet has never been easier or tastier—300 brand-new recipes for cooking the Forks Over Knives way, every day! Forks Over Knives—the book, the film, the movement—is back again in a Cookbook. The secret is out: If you want to lose weight, lower your cholesterol, and prevent (or even reverse!) chronic conditions such as heart disease and type 2 diabetes, the right food is your best medicine. Thousands of people have cut out meat, dairy, and oils and seen amazing results. If you’re among them—or you’d like to be—you need this cookbook.Del Sroufe, the man behind some of the mouthwatering meals in the film, proves that the Forks Over Knives philosophy is not about what you can’t eat, but what you can. Chef Del and his collaborators Julieanna Hever, Judy Micklewright, Isa Chandra Moskowitz, and Darshana Thacker transform wholesome fruits, vegetables, grains, and legumes into 300 recipes—classic and unexpected, globally and seasonally inspired, and for every meal of the day, all through the year.
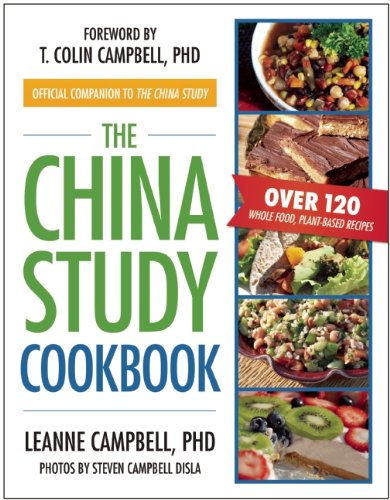
The China Study Cookbook: Over 120 Recipes by LeAnne Campbell
Description: The China Study, with 850,000 copies sold, has been hailed as one of the most important health and nutrition books ever published. It revealed that the traditional Western diet has led to our modern health crisis and the widespread growth of obesity, diabetes, heart disease, and cancer. Based on the most comprehensive nutrition study ever conducted, the book reveals that a plant-based diet leads to optimal health with the power to halt or reverse many diseases.
The China Study Cookbook takes these scientific findings and puts them to action. Written by LeAnne Campbell, daughter of The China Study author T. Colin Campbell, PhD, and mother of two hungry teenagers, The China Study Cookbook features delicious, easily prepared plant-based recipes with no added fat and minimal sugar and salt that promote optimal health.

The Happy Herbivore by Lindsey Nixon
Description: This book will save you money by using “everyday” inexpensive ingredients, save you time with easy, no fuss recipes and improve your health with each nutritional bite.
Vegan chef of one of the top 50 food blogs on the Web, HappyHerbivore.com, Lindsay S. Nixon, creates recipes that show eating a low fat vegan diet is not only healthy but delicious, too.
Now, Nixon combines some of her tastiest recipes in The Happy Herbivore Cookbook, each made with no added fats, using only whole, unprocessed plant-based foods. With Nixon’s help its easy to make healthy food at home in minutes using inexpensive, “everyday” ingredients and tools.
How many of these books do you own or have you read?


