
FTC Notice: This blog post contains affiliate links which go towards supporting the blog.
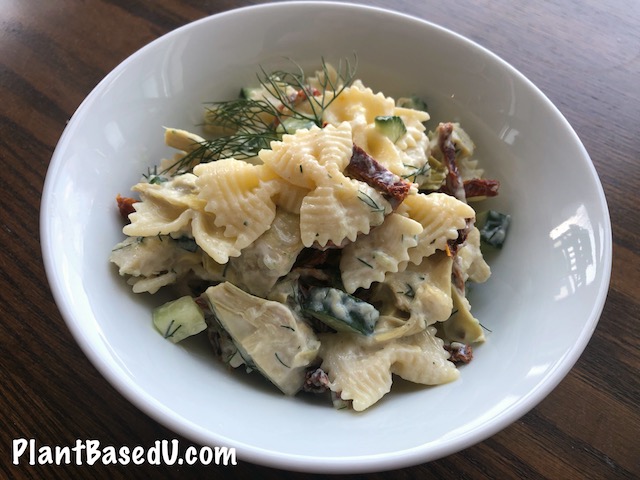
Pasta salad is such a great meal for picnics or lunches that can be made ahead of time and eaten for a few days. For today’s recipe I used farfalle (bowtie) pasta because it has a nice texture and chew when eaten cold and goes well with the size of the other chopped veggies. You might be wondering what I’ve used for the base of the plant based tzatziki sauce and instead of processed coconut/soy yogurt I’m using silken tofu.
With silken tofu it’s just soy milk that has been curdled and formed and instead of separating the soy curds from the whey they are set together so it’s softer and creamier. It also doesn’t have added fillers, binders, or sugar. Quite often you’ll find silken tofu cheaper than a tub of plant based yogurt as well. You can find it at any Asian market, most health food stores and of course on Amazon depending where you live. I like to keep a few on hand for make plant based “cream” sauces like my Fettuccini Alfredo from my cookbook Vegan Comfort Foods From Around The World.
Of course you can use whatever other type of pasta you like for this salad as well, just make sure that it’s bite sized and cooked to the perfect tenderness so it’s not too al dente or too soft so it doesn’t fall apart. The farfalle shape works well because it doesn’t tend to get as stuck together in the fridge or break when made ahead of time for meals later on.
This also works great for traveling. I often have people asking me what they can bring on a road trip or flight besides dried snacks. Since this pasta salad is dairy and egg free you don’t have to worry about it being food safe and it will be fine out of the refrigerator for a few hours packed in a cooler or a bag. I’ve never had an issue eating pasta salad on a plane or bringing it through security. The sauce sticks to the pasta and isn’t liquid in the bottom so it’s not a concern.
So why not give it a try? Maybe you’ll find some new lunch ideas and you’ll probably want to make the silken tofu tzatziki again and again for using as a dip, salad dressing or sauce for wraps or pitas as well!
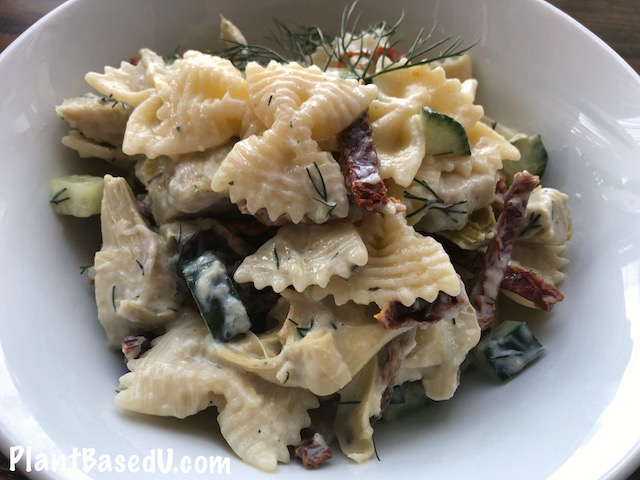
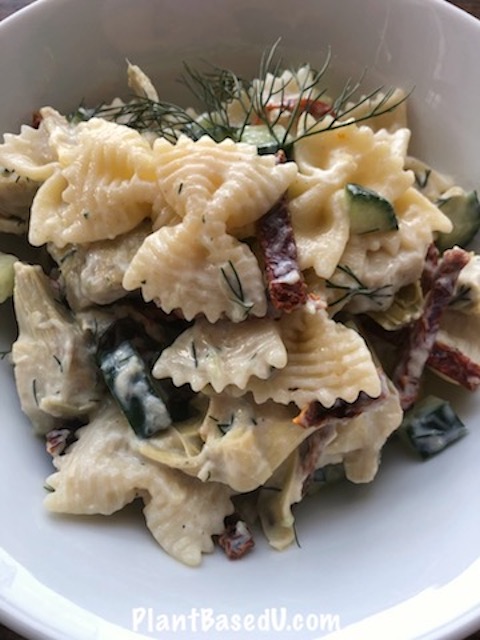
Silken Tofu Tzatziki Farfalle Pasta Salad
Ingredients:
1 recipe of Silken Tofu Tzatziki
1/2 English cucumber, chopped or a few dill pickles chopped/diced
1/2 cup packed sundried tomato halves, sliced (mine were dried not packed in oil)
1 can artichoke hearts packed in water, sliced (6 cooked artichoke hearts, sliced)
454g/1 lb bag of farfalle or other pasta (you can use gluten free if you like)
Fresh dill for garnishing (if you have any left from the Tzatziki recipe)
Directions:
-
-
-
- Make Silken Tofu Tzatziki and set aside
- Bring a large pot of water to a boil and add salt if desired. For cold pasta it will make it more flavourful.
- Prepare vegetables and set aside.
- Cook Farfalle for approximately 14 minutes or to desired tenderness in boiling salted water. You still want it to be a bit chewy but not tough or too soft and falling apart.
- Drain and rinse pasta in cold water when at desired tenderness until cool.
- Add farfalle pasta to a bowl and make sure it’s cooled down before adding remaining ingredients.
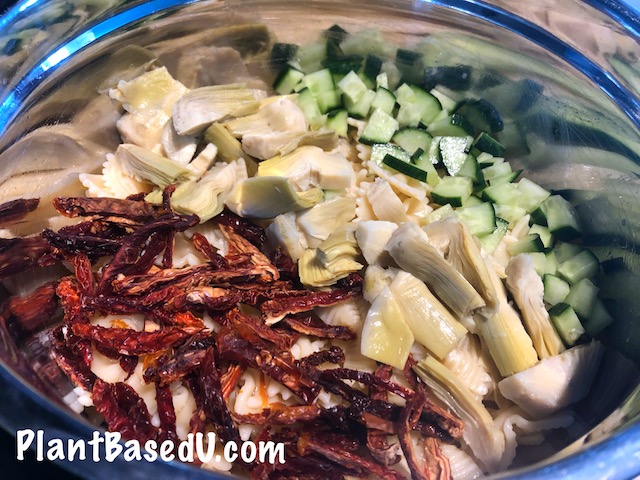
- Add vegetables and sauce and toss to combine.
- Taste test and add any additional salt or pepper now if desired
- Serve or portion out into containers. Best eaten within 3-4 days due to fresh ingredients in the tzatziki sauce.
What are you favorite ingredients to add to pasta salad?
-
-


")

")


")


")
")


