
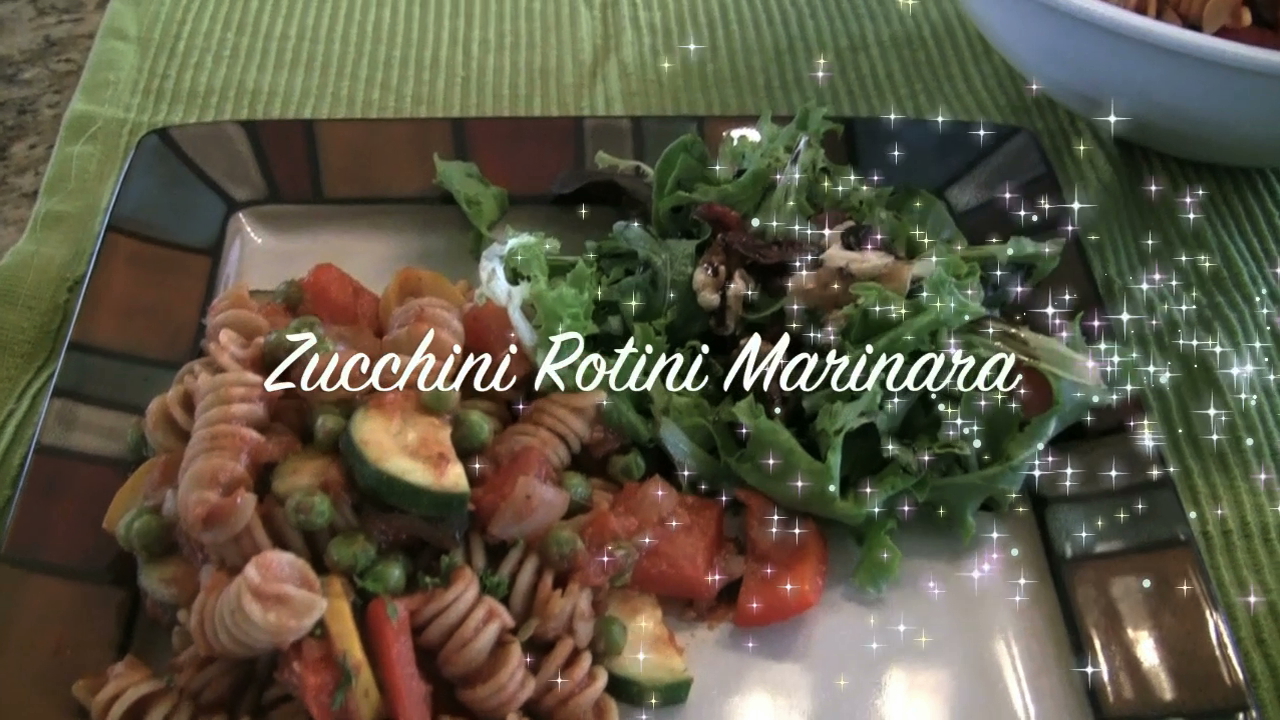
It’s been a long day, you’re tired, you’re hungry and you have no imagination for what to make for dinner. – I know this feeling and what to make for dinner when I have no inspiration. This vegan Zucchini Rotini Marinara is something that I make quite often because it’s easy to throw together and it’s great for using up vegetables in the fridge. Sometimes I’ll add in some mushrooms, broccoli, or carrots, but I really love this version with zucchini, bell peppers and peas. I use whole grain rotini and I like this style of noodle because it holds onto the sauce well, has a nice texture and looks really pretty on the plate. I got a giant box of this at Costco for a good deal. It lasted me forever and made quick meals really easy.
I actually prefer a spiral type of noodle compared to spaghetti or fettucini as well. This way I can add more veggies and have a little less pasta. Most of the time I make my own pasta sauce each time with just canned tomatoes and season it and blend it up, but I wanted to show you a quick version of this recipe. I know most of you are probably used to buying pasta sauce in a jar.
When I went shopping in Canada there weren’t too many brands of pasta sauce available that didn’t contain olive oil, canola oil or soy bean oil, but I did find 2 different brands. Just look for one that has a low fat, or light description on the front and then check the back to see if it has any oil. I really try to make sure everything I buy is oil-free, it just doesn’t need the extra calories and I don’t enjoy eating slick or greasy food anymore.
Vegan pasta marinara is one of the easiest dishes you can make, but you can make it delicious and special by jazzing it up with some fresh veggies, cooking them perfectly and seasoning your sauce to your liking. I always like to add some fresh chopped onions for more flavor. The recipe video is below.
If you enjoy my video please click on it to view it in youtube so you can click the like icon and subscribe to my channel so you can get more recipe videos. Thank you for the support!
Recipe follows below.
20 Minutes to The Table Episode 5: Zucchini Rotini Marinara with Vegetables
Serves 6
Pasta Ingredients:
1 onion, diced
2 zucchinis sliced
1 red bell pepper, sliced
1 cup frozen peas
300g/4 cups dried whole wheat rotini (or GF)
1 700 ml/ 24 oz. jar of pasta sauce (look for oil free and low in sodium)
1 tbsp. fresh parsley
Salt to taste
Fresh ground pepper to taste
Directions:
1. Bring a large pot of water to a boil. Add salt if desired.
2. When water is boiling add the pasta, bring it back to a boil and then begin timing it as per the directions on the package.
3. Saute onion in a non-stick pan, dry for 4-5 minutes.
4. Add the zucchini and bell peppers. Cook until just tender.
5. Add the tomato sauce and stir to combine, when hot add the frozen peas.
6. Test the pasta for desired doneness. Drain in a colander.
7. Add drained pasta to pasta sauce in a large saute pan (or a pot if you don’t have one large enough).
8. Marry the flavors together for a minute or two to help the pasta absorb the sauce.
9. Add the fresh parsley and salt and pepper to taste.
10. Serve!
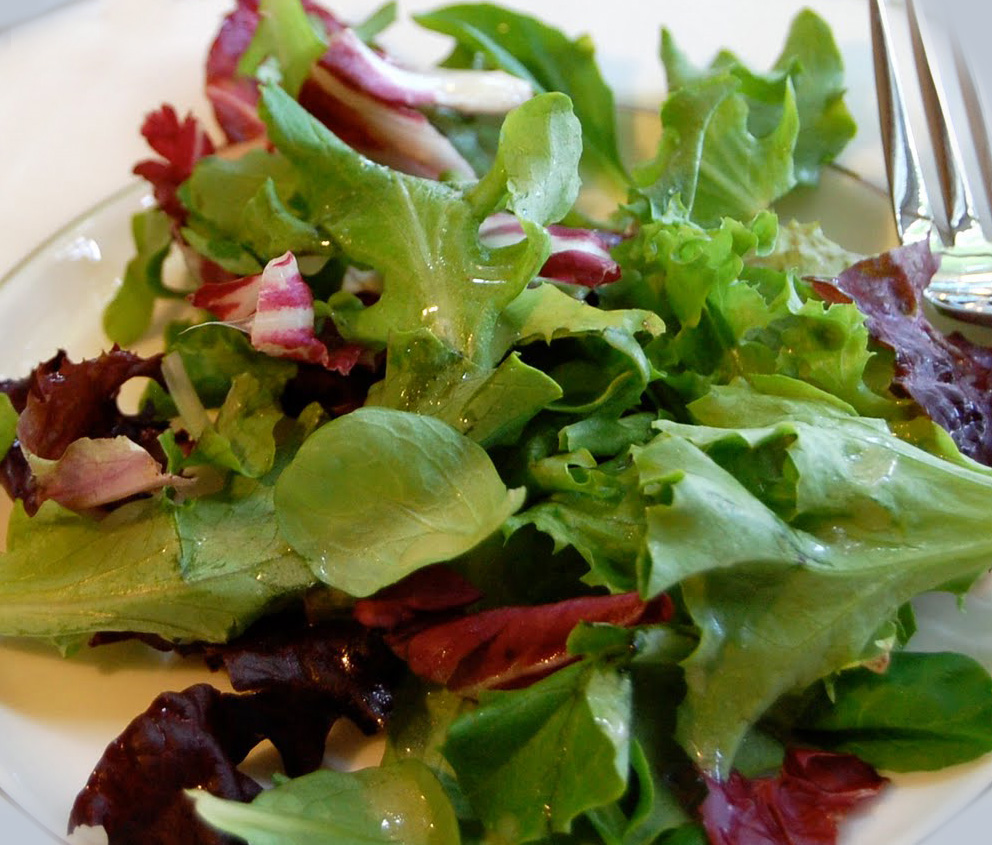
Cranberry Walnut Salad
Ingredients:
4 cups Spring Mix salad
2 tbsp dried cranberries
2 tbsp walnuts, chopped
Balsamic vinegar to drizzle
Directions:
1. Assemble salad in a bowl or on plates.
2. Drizzle with dressing and serve along with pasta.
What is your favorite type of pasta and vegetables to cook together?


")


