Sushi rice is called sumeshi in Japanese. It is essential to making sushi, and contrary to what you may think it is not just plain white rice that is used. It is cooked and then seasoned to have a tangy sweet taste.
This page will tell you how to make the perfect sushi rice for sushi. Check out my recipe for Vegan California Rolls when you’re done.
How To Make Perfect Sushi Rice With Step By Step Photo Instructions
To make this recipe you will need:
2 cups sushi rice (short grain)
2 cups filtered water
3 tbsp rice vinegar
2 tbsp sugar
1 tsp herbamare or salt (You can use more if you wish, but you’re going to dip the sushi in soy sauce anyways which is very salty)
Tools needed:
Fine mesh strainer or sieve
Rice paddle or wooden spoon
Large Wooden/Glass/Ceramic/Plastic bowl (not metal)
Step 1: Measure out 2 cups dried sushi rice (short grain white or brown rice. It must be short grain!) You can double if desired, but this will make enough sushi for at least 4 large rolls and a small roll or two. Enough for 2 adults for dinner, or two single lunches.
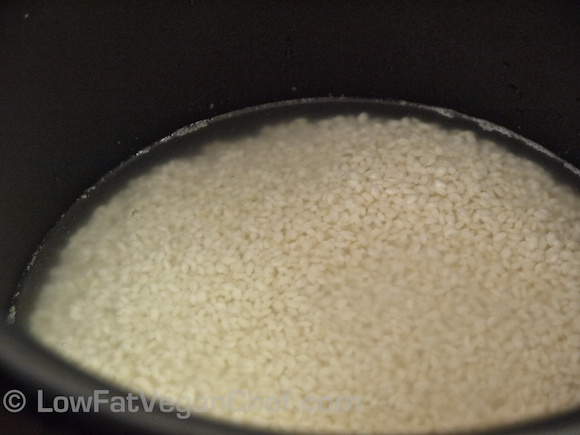
Step 2: Rinse your rice through a fine metal sieve until the water runs clear, OR soak in a large bowl of water and mix around by hand to get the excess starch off. Rinse and soak a few times until the water is clearer. This is important and will make your rice turn out better.
Step 3: (Optional) Let your rice soak for 30 minutes.
Step 4: Place rice and 2 cups water into rice cooker or pot. (If using more rice, always use a 1:1 (same) ratio of rice and water)
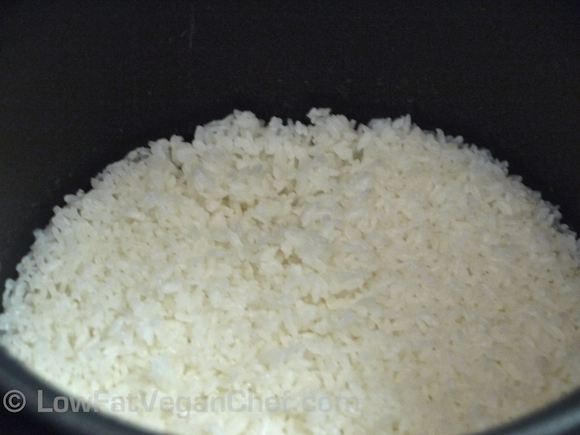
Step 5: Rice cooker instructions: Set the white rice program and let it cook. My favourite rice cooker is my Zojirushi 5 1/2 cup rice cooker because it has settings for white rice, brown rice, mixed rice, porridge and cake. Yes you can even cook cake in this rice cooker! It’s wicked. Check it out. If fancy rice cookers aren’t of any use to you, check out this Hamilton Beach rice cooker (for $45 with free shipping) I use frequently when cooking at my mom’s house. It’s great too for basic rice and has never overcooked or burned the rice. I used to use those $10 rice cookers with just an on off button, but often times they would turn off before the rice was done, overheat and cause overcooked or crusty rice. If cooking for a family, I highly suggest getting a decent rice cooker to free you up from the stove and the guesswork of making perfect rice. When the rice is done cooking and the buzzer goes off, leave the rice for 10 minutes to let steam. Don’t open it and don’t touch it.
Stove top instructions: In a pot, place the rinsed rice and equal parts of water and bring to a boil. Stir the rice occasionally to prevent any grains from sticking to the bottom of the pot. Once it reaches a boil, turn down the heat to medium low, cover with a lid and steam. Do NOT open the lid until the rice is done steaming. You will lose your moisture and heat and jeopardize your rice being cooked evenly. Use a clear glass lid if you can. The rice is done cooking when the water disappears, this happens between 8 and 10 minutes depending on the type of stove you have. Remove the rice from heat.
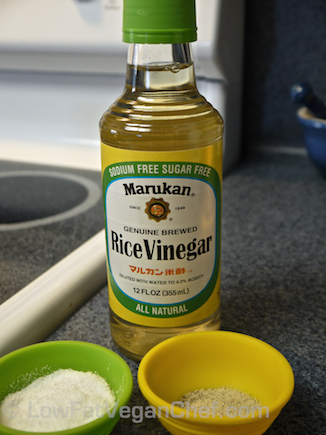
Step 6: Measure 3 tbsp rice vinegar, 2 tbsp granulated sugar and 1 tsp herbamare or salt. You can use more salt if you want, but really its not necessary if you’re going to be dipping your sushi in soy sauce which is super salty anyway.
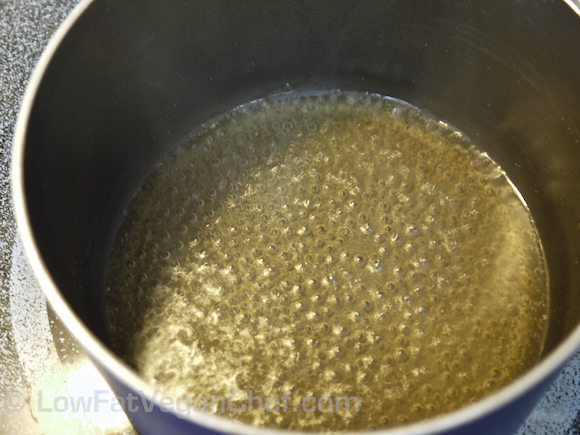
Step 7: Make sushi vinegar. Heat a small pot (not metal) over medium heat and add vinegar, sugar and herbamare (or salt). Stir.
When it is bubbling and everything is dissolved remove from heat and let cool.
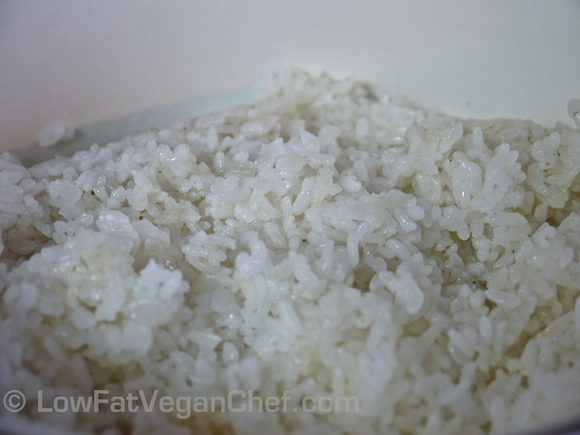
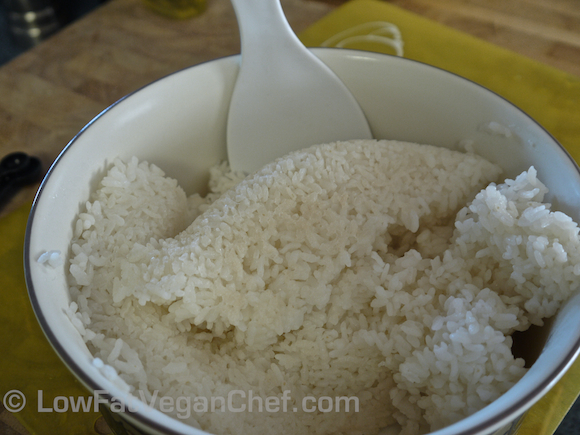
Step 8: Remove rice from pot or rice cooker with a wooden spoon or that plastic rice scoop you have. You basically want to scrape the bottom and dump the rice in 1 or 2 strokes so that you don’t damage the sushi rice too much and mash it. Pour it out into a wooden, glass or plastic bowl. If you put it in a metal mixing bowl, you risk the chance of ruining the flavour when pouring vinegar on it and it reacting with the metal. Don’t do it. Only scoop out perfectly cooked rice, if any is stuck or undercooked, leave it in the pot.
Step 9: Gently cut into sushi rice with paddle to break up.
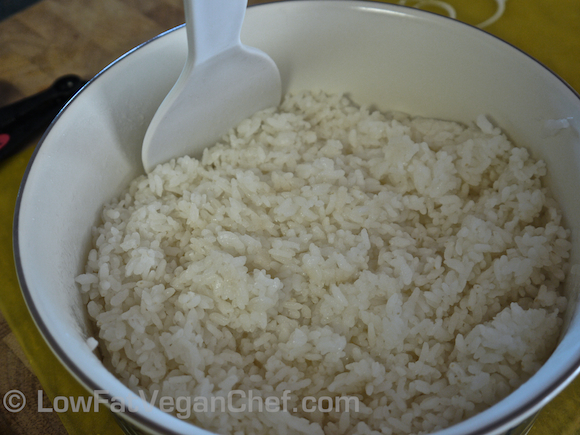
Step 10: Season sushi rice by drizzling sushi vinegar evenly across rice. Cut into rice gently again to combine and spread out the seasoning.
Let your perfect sushi rice cool off before making sushi. If it’s too warm it can stick to the sushi mat and be hard to work with. Now you are ready to prep your veggies or filling for sushi rolls!



Used this recipe many times along with the one for california rolls and it is absolutely perfect.
My rice turned out perfect. it was so delicious,thanks.
Thank you Veronica,
The instructions were easy to follow and the images were a great touch. My rice turned out perfect!!
I tried to make the rice with short grain brown rice, but the instructions must be different than for the white? Because after the 8-10 minutes, it wasn’t anywhere near done, and I saw on the package that the instructions were different (taking up to 50 minutes). So I tried to fix it, but too late. I’ll try the package directions next time–hope it’ll come out sticky and not crunchy/chewy.
Caterlin, brown rice is NOT the same as white sushi rice. You cannot just cook it for 8-10 minutes on the stove.
Brown rice is a whole grain, it has the hard out shell (the endosperm) on it and it needs to cook almost an hour on the stove. In my rice cooker it takes about an hour and a half to cook. It has to absorb water slowly to soften up otherwise it is crunchy.
White rice is refined and so it does cook faster as there is no hard outer shell on it. Sushi rice is SHORT GRAIN rice and it takes even less time to cook than traditional long grain rice which takes 20 minutes to cook on the stove. I cook sushi rice and brown rice in a rice cooker and not on the stove, it is easier that way I find. The sushi rice is of course done much faster than the brown rice. Brown rice takes at least twice as long to cook as REGULAR GRAIN white rice, and about 3 times as long as SHORT GRAIN white (sushi) rice.
You must use cooking directions for brown rice if you want to use brown rice instead of sushi rice for your sushi. My instructions are for traditional sushi rice, which is white.
Veronica, thank you for showing how to make perfect sushi rice. I wasn’t aware that a rice vinegar mix was needed. I will try this. I always made rice 2:1 your 1:1 is new to me and I see it takes less time to cook. I’m anxious to try your way. You also say to use short grain white rice. Is any short grain white rice considered sushi rice or is there a special rice called sushi rice? I live in Costa Rica and I don’t know if I can get rice vinegar and sushi rice. Thanks again, Marcy
Thanks for the information, Veronica!
I thought health conscious people were to avoid eating any food that is ‘white’, like white rice. Please share the nutrition content of sushi rice. Thanks!
Hi Caron. This post was a series teaching how to make traditional Japanese sushi rice and then making vegan sushi with it. You can use brown rice if you like, but my recipes are for people new to vegan and vegetarian food too and white rice is more familiar. I love both, I just didn’t use brown rice for this recipe as white sushi rice is traditional. White rice and white potatoes are not evil and unhealthy and cannot compare to white sugar and white flour that has no fibre, water or nutrients. White rice and white potatoes have water, fibre, nutrients and are fine to eat as part of a low fat plant based diet. Don’t cover it in vegetable oil and serve it with veggies and you get plenty of nutrition. No one is getting sick off of eating white rice and veggies occasionally or even regularly on a low fat plant based diet. Check out this video on YouTube by Dr John Mcdougall on white rice and he’ll tell you that oils are more important to avoid and white rice is fine, brown rice is just better.
http://www.youtube.com/watch?v=dAesmS2jCVU&feature=youtube_gdata_player