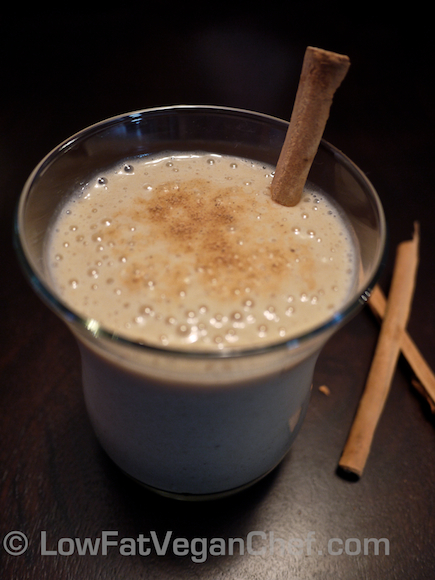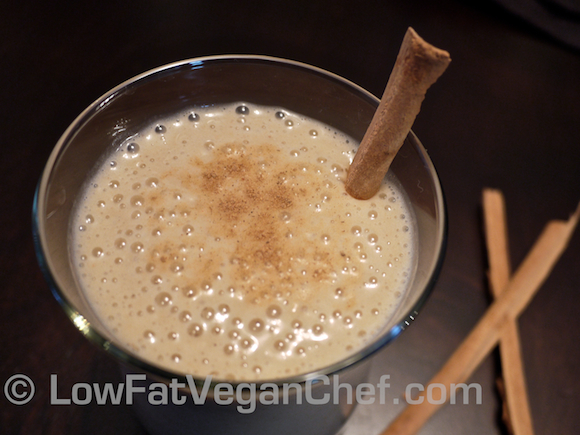
Almond milk is something that many people use nowadays, whether they are vegan or have dairy allergies. Sure you can buy some (non raw) almond milk at the store for your smoothies or cooking, but there’s likely going to be sugar, preservatives and other additives and synthetic stuff in it as well. While it is convenient to use pre made almond milk, it’s not a good idea to base your whole diet on processed packaged foods.
It’s very easy to make at home, and most cost effective if you enjoy using almond pulp in recipes like raw bars, cookies, crackers, or drying it out to use for almond flour. This raw almond milk is great for using in raw smoothies, raw banana ice-cream and raw dressings.
This low fat almond milk is also a nice pretty white colour and not browny tinged from additives like processed almond milk! Beautiful.
How To Make Raw Vegan Almond Milk in A Blender
Ingredients:
1 cup of whole shelled almonds
soaking water to cover almonds
4 cups filtered water (for making milk)
Required tools:
Container to soak almonds
Medium metal mesh strainer/nut milk bag
Vitamix or blender
Directions:
1. Soak almonds in a bowl or container with enough water to cover and let sit overnight, around 8 hours.
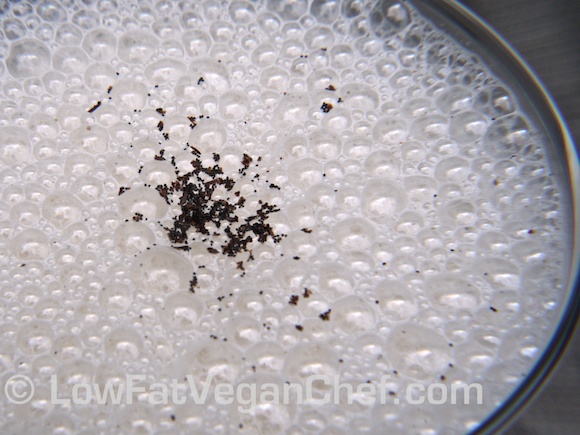
2. Drain and rinse the almonds. Place into Vitamix or blender with 4 cups of filtered water. Blend for about 45 seconds to a minute on high. Just until all the almonds are in tiny pieces and it’s frothy.
3. Get out 3 medium bowls or containers if you’re using a mesh strainer, or 2 for a nut milk bag. Hold your mesh strainer or nut milk bagover one of the bowls and pour the almond mixture slowly into it. Fill up the strainer and then use a spoon to push the liquid down from the pulp, for a nut milk bag pour the almond milk through it and squeeze the liquid out of the pulp with one hand while you hold it up. Place the extra pulp in one of the bowls if you want to save it for later. If you have a nut milk bag can also hang it up above the bowl and let it drain if you’re tired of squeezing. This will take a while. If using a metal strainer, keep filling it up with almond mixture and filtering the pulp from the milk with your spoon and set the pulp aside. Rinsing your strainer in between each filter will make it easier to strain and get rid of the little pieces stuck to it.
4. After you have filtered your almond milk once, you may want to filter the whole thing once more with a nut milk bag or a few more times with a metal strainer for the smoothest almond milk. Place your filter over the last clean bowl and pour your filtered almond milk over it. You should see some froth and a little pulp being filtered out the second time. Rinse your other bowl and strainer and filter back and forth until your almond milk is smooth to your liking. I do this a few times for the smoothest milk.
5. Once you’re done you can store the almond milk in the fridge. Depending what you want to do with it you can leave it plain, or blend in a date and some vanilla for sweet almond milk.
I leave mine plain so I can use it for things like banana ice-cream, chia “tapioca” pudding, smoothie base, dressing base etc. I just add pitted dates or vanilla to the recipe if I need a sweet milk.
Best used within 3 days as this is a “raw” and unpasteurized product it will separate and can start growing bacteria. Stir or shake gently before using. Store in a tightly sealed container in the refrigerator.

