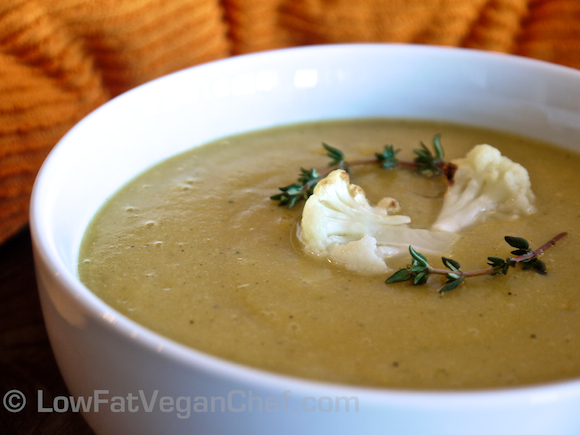
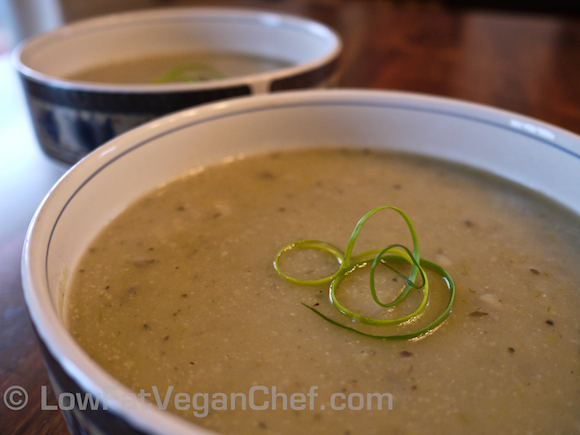
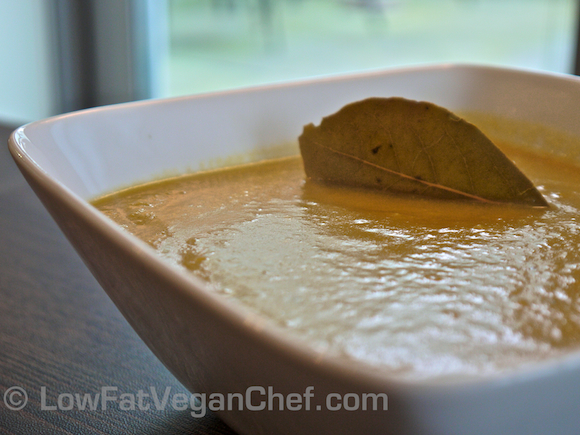
Roasted Garlic Cauliflower Soup

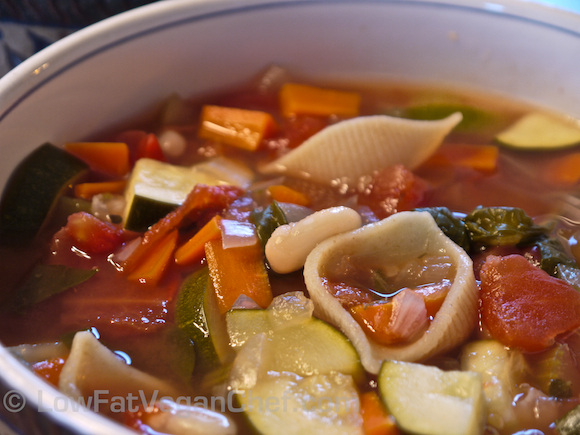
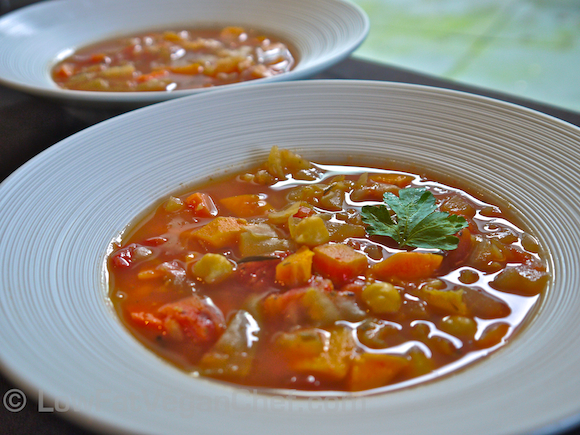
Low Fat Vegan Oil Free Red Wine Minestrone Soup

Red Wine Minestrone Soup

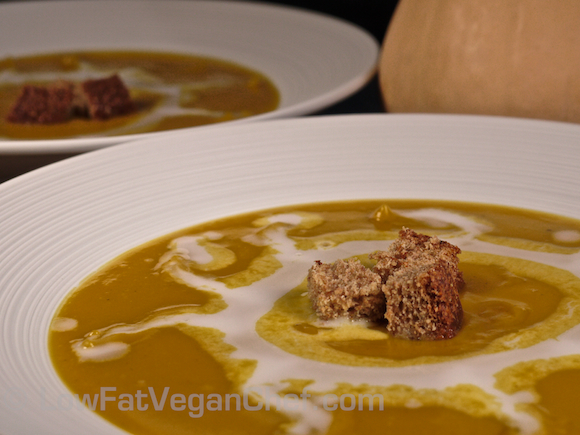
Low Fat Vegan Oil Free Roasted Butternut Squash Soup

Roasted Butternut Squash Soup With Garlic Croutons

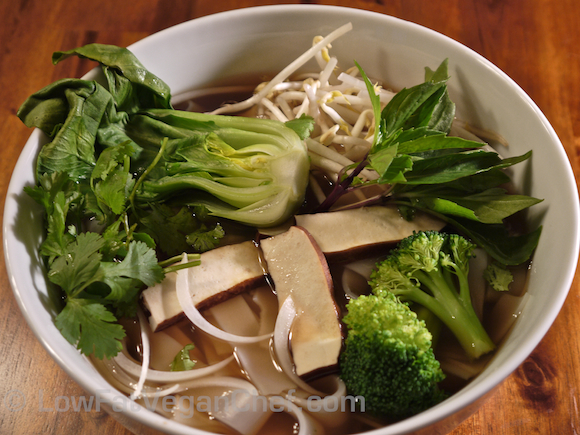
Low Fat Vegan Oil Free Vietnamese Pho Noodle Soup

Vietnamese Vegan Pho (Noodle Soup)

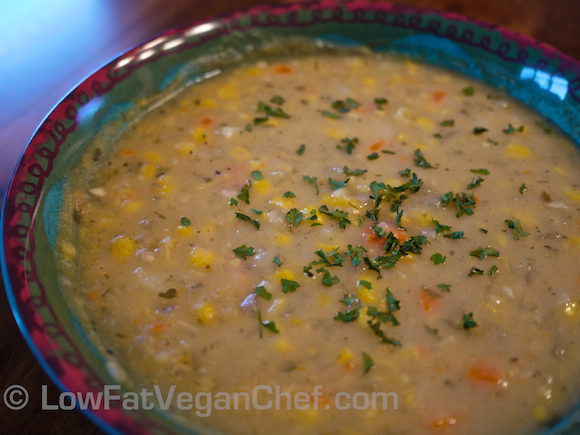
Low Fat Vegan Chef's Oil Free Creamy Potato Corn Chowder

Creamy Potato Corn Chowder

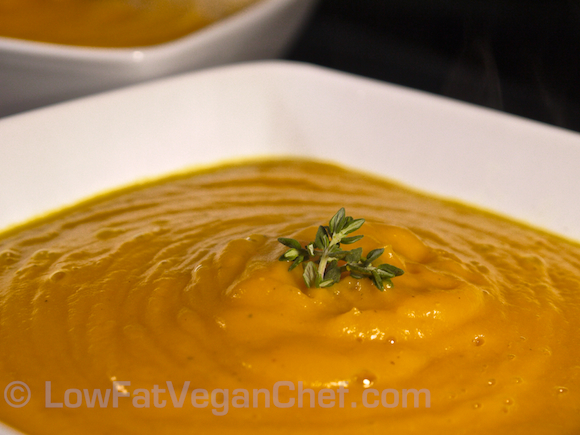
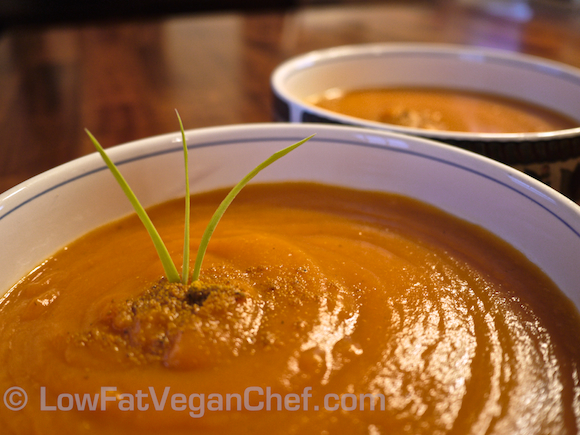
Low Fat Vegan Chef's Oil Free Potimarron Carrot Soup

Potimarron (Red Kuri Squash) Carrot Soup

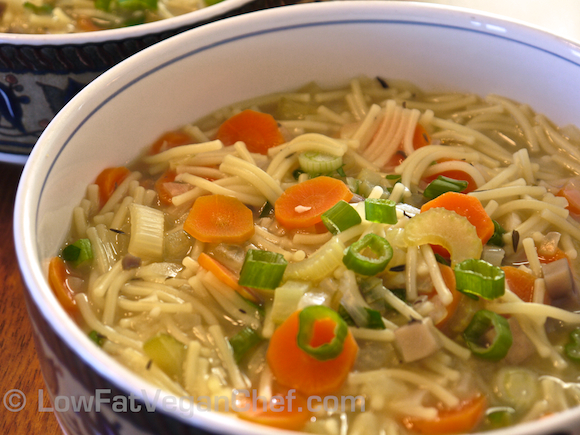
Low Fat Vegan Chef's Oil Free Just Like Chicken Noodle Soup

Just-Like “Chicken” Noodle Soup

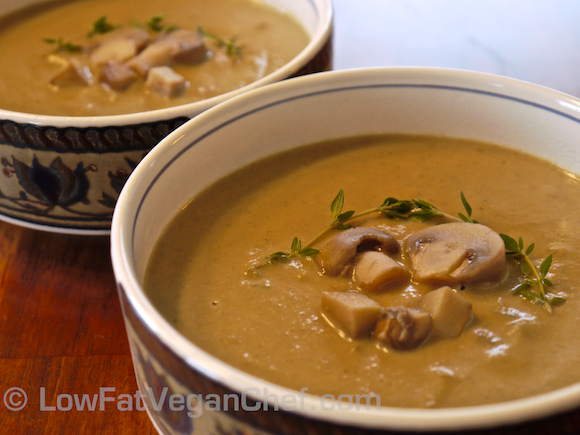
Low Fat Vegan Chef's Oil Free Gourmet Cream Of Mushroom Soup

Gourmet Cream of Mushroom Soup

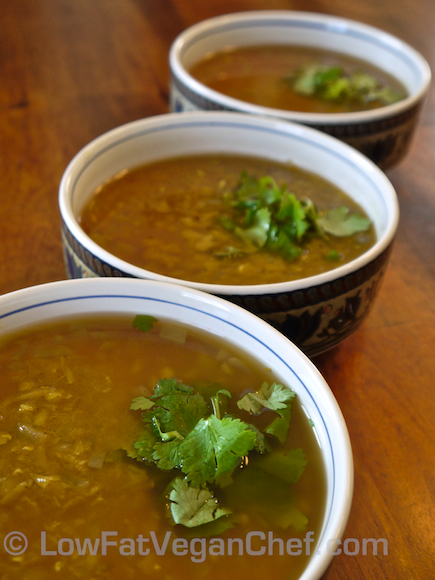
Low Fat Vegan Chef's Oil Free Spiced Indian Dal Soup

Indian Dal Soup

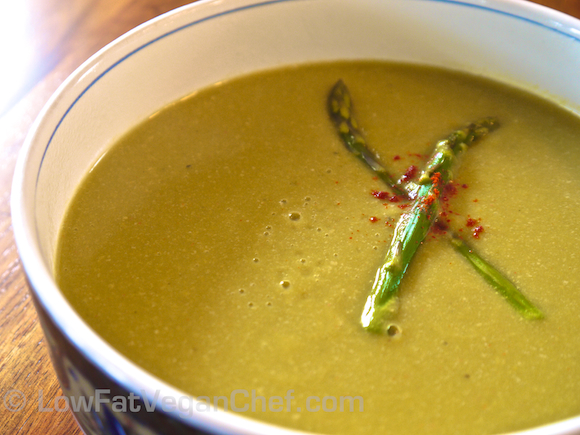
Low Fat Vegan Chef's Oil Free Cream of Asparagus Soup

Cream of Asparagus Soup

Low Fat Vegan Chef's Oil Free Yam Sweet Potato Chickpea Cabbage Soup

Yam Chickpea Cabbage Soup

Low Fat Vegan Chef's Oil Free Cream of Potato Leek Mushroom Soup

Potato Mushroom Leek Soup

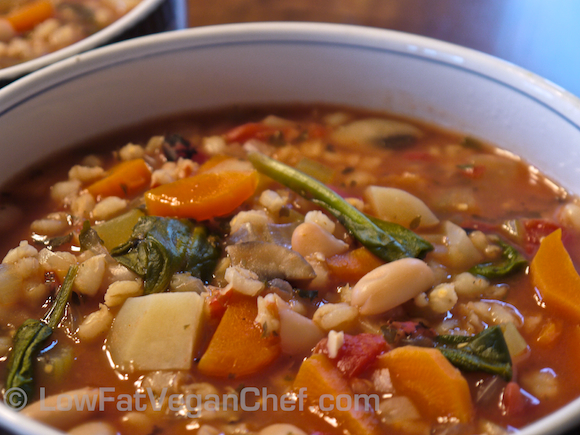
Low Fat Vegan Chef's Oil Free Vegetable Bean Barley Soup

Vegetable Bean Barley Soup

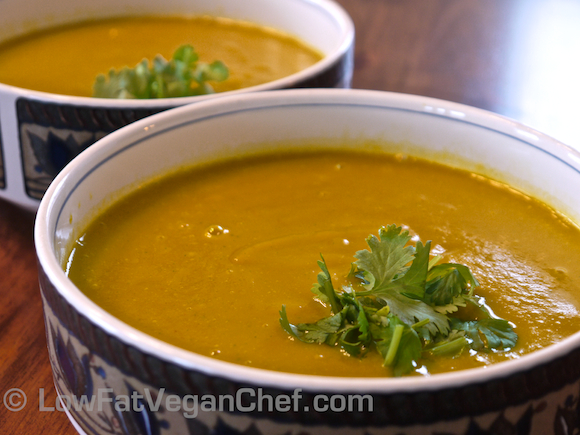
Low Fat Vegan Chef's Oil Free Thai Pumpkin Soup

Thai Pumpkin Soup

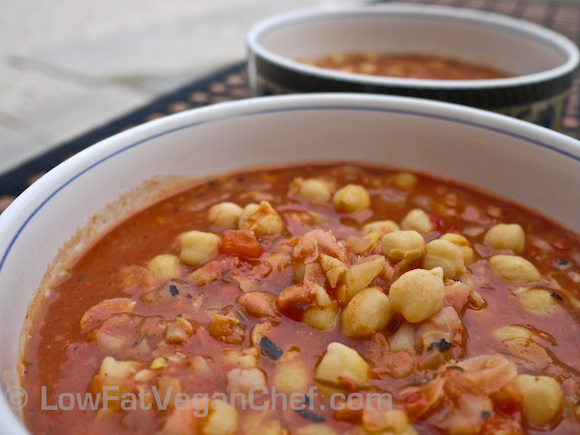
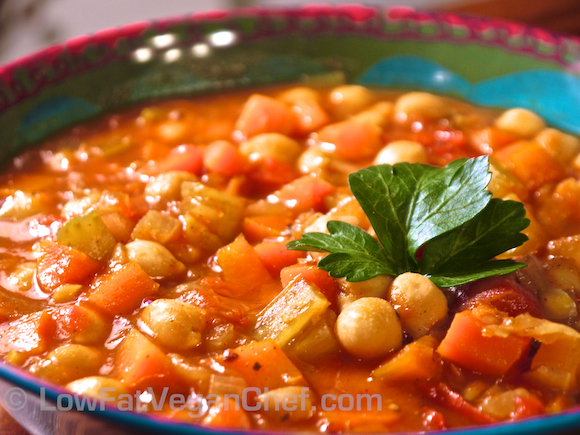
Low Fat Vegan Chef's Oil Free Moroccan Chickpea Soup

Moroccan Chickpea Soup

Low Fat Vegan Chef's Oil Free Curried Carrot Leek Soup

Curried Carrot Leek Soup

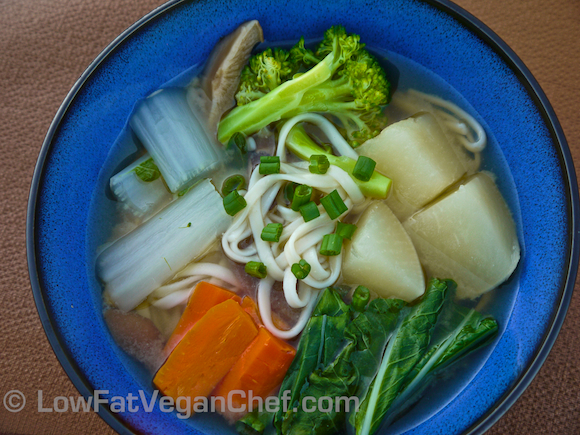
Low Fat Vegan Chef's Oil Free Chinese Asian Vegetable Noodle Soup

Chinese Vegetable Noodle Soup

Low Fat Vegan Chef's Oil Free Cream of Artichoke Soup

Cream of Artichoke Soup

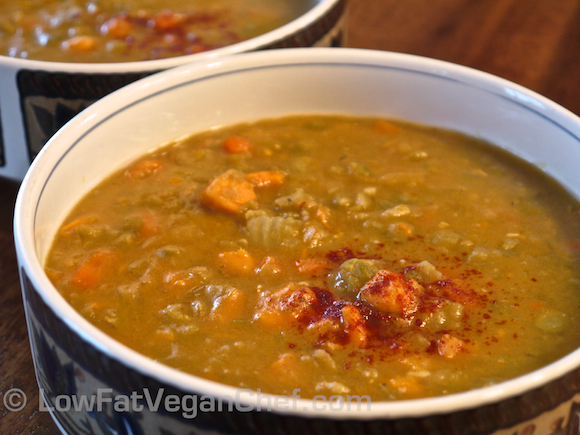
Low Fat Vegan Chef's Oil Free Split Pea Carrot Yam Sweet Potato Soup

Split Pea Carrot Yam (Sweet Potato) Soup

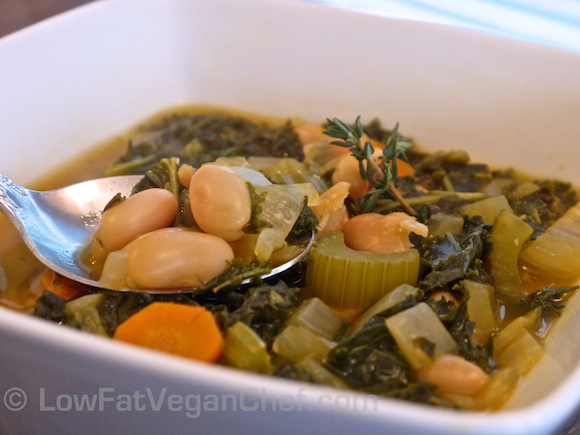
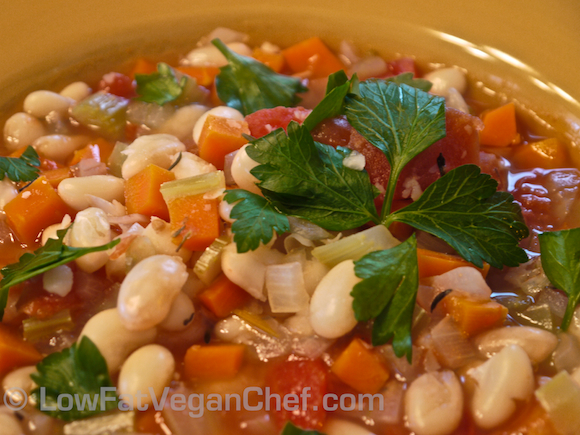
Low Fat Vegan Chef's Oil Free Greek Fasolada (White Bean) Soup

Greek Fasolada (White Bean) Soup

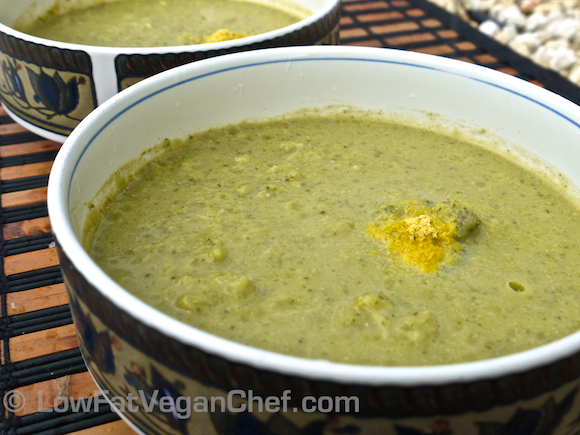
Low Fat Vegan Chef's Oil Free Cream Of Broccoli Soup

Cream of Broccoli Soup


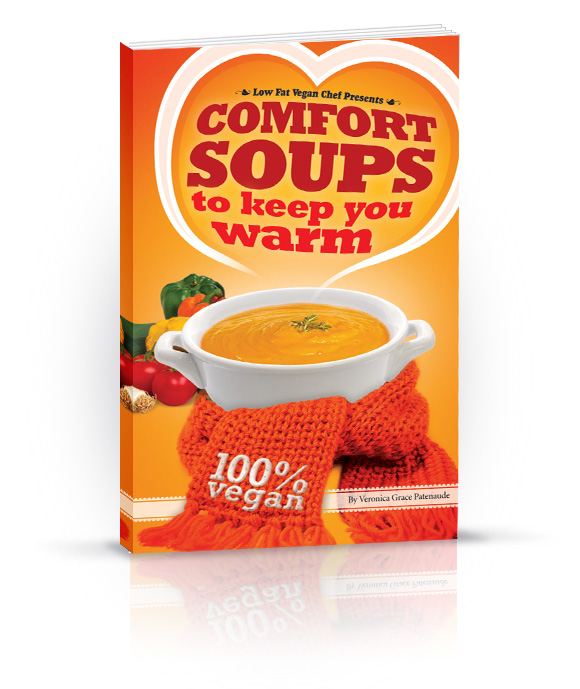
This is just a sample of all the soups in the book, there are a few more, including 2 vegetable broth recipes and some bonus recipes you can use for sides and garnishes for the soups!

I have to say, it’s VERY difficult for me to choose a top favourite of all of these soups. I would eat them all again and again! After traveling all over the world, including Canada and the USA I can say that these recipes are MUCH MUCH better than the vegan soup offerings currently available at most restaurants. Most of the time their vegetable soups are rather watery and bland and need more seasonings and vegetables!

My soups are packed full of both vegetables and flavour that you will want to make these soups regularly as well. And who doesn’t love one pot meals with few dishes to clean up? I know I do!

————————————

Here’s How You Can Enter To Win A Copy Of My Low Fat Vegan Comfort Soups Recipe eBook

The contest is now closed.

Simply comment on this post below and tell me which one or two soups you are the MOST excited to try and why and you’ll be entered to win! I will select from one of the comments below, so PLEASE make sure you put in your real name and a correct email address so I can contact you, should you be chosen. (These emails are viewable by myself only, no one else on the blog will have access to them.) The contest closes at Midnight EST Tues March 20 (9 PM PST the blog shows PST time stamps).


Comfort Soups To Keep You Warm is now available! Make sure you’re signed up to my newsletter to find out how you can get a copy and get a free special bonus for ordering during the launch.


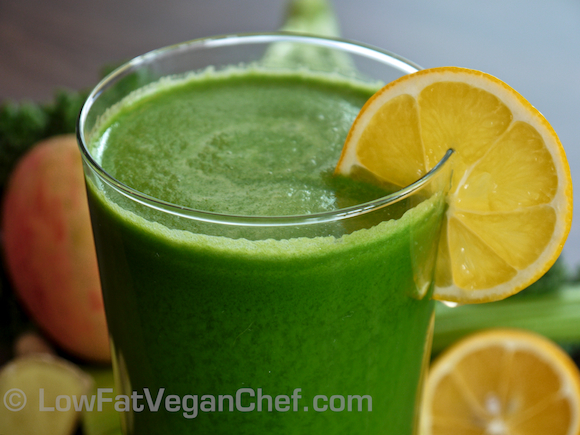
80/10/10 Recipe: Kale Apple Celery Green Juice Recipe

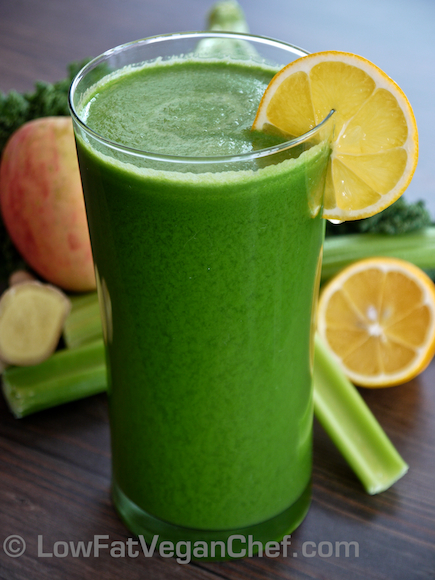
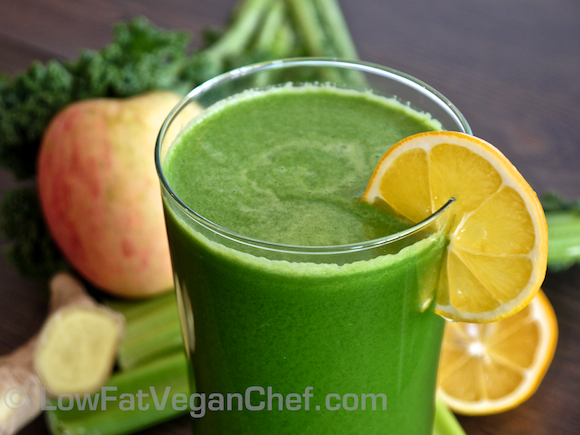
Mmm… kale apple celery juice with ginger and Meyer lemon. This is a delicious fat free kale juice with a hint of apple and the tang of lemon and a bite of ginger.

You can easily throw in a handful of greens into your morning veggie juice and a little apple to take out the bitterness.

I like to use celery as the base of my juice and then add whatever else I’d like such as carrots, apples, beets, lemon, lime, ginger, greens etc. There are so many different combinations for fresh juice. The juicer I use is a Breville. I like that it comes with this nice large juicing jug that keeps the foam out of my juice when it pours and it’s much easier to clean than my old Jack Lalane power juicer.

We picked up this bag of Meyer lemons and I thought I’d try them out in this juice. They have a much thinner skin, almost like mandarins and are very fragrant. They’re a nice treat over the regular lemons.

Kale Apple Celery Juice With Ginger and Lemon

Serves 2

Ingredients:

3 apples
16-20 stalks of celery
2 handfuls of kale
1 chunk of ginger
1 lemon

Directions:

1. Wash and/or peel all of your ingredients.

2. Pass all of the ingredients through a juicer.

3. Serve immediately and enjoy!

 What’s your favourite juice to make?

How To Roast Garlic In The Oven Without Oil: Fat Free Roasted Garlic

Yes you can make roasted garlic without oil! There’s actually no real need to use oil when roasting garlic in the oven. When you add oil to oven baked foods it makes them cook faster and at a hotter temperature and the oil does retain a little moisture so they don’t dry out. But when you are putting your garlic in tin foil anyways to steam, it’s unnecessary. It might take a few more minutes to roast, but it will be calorie free and still delicious.

I’ve seen some peoples’ directions recommend a teaspoon or two of oil for each head of garlic! Holy calories! Let’s skip that shall we?

My roasted garlic turns out perfectly fine without any oil in my convection oven. Just watch!

How To Roast Garlic In The Oven Without Oil

Or Make Roasted Garlic Without Oil For Recipes

Step 1: Preheat oven to 400 F / 205 C (or 375 F on a convection oven).

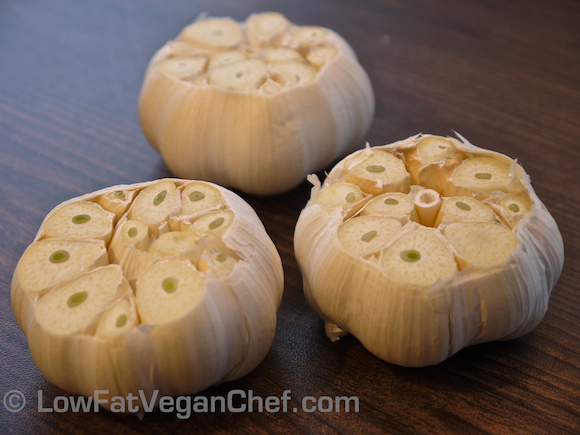
Cut off the tops of the garlic cloves

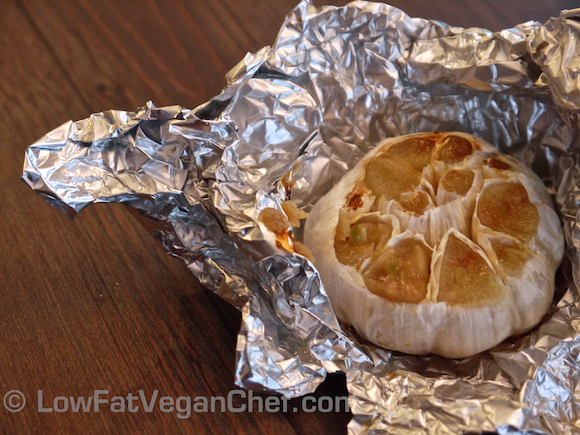
Step 2: Slice off a good chunk off the top of the head of garlic. Make sure all of the cloves are exposed so you will be able to get them out. (It’s best to have garlic with no green sprouts in it, but mine had some as they sat for a while on the counter. I used them anyway.)

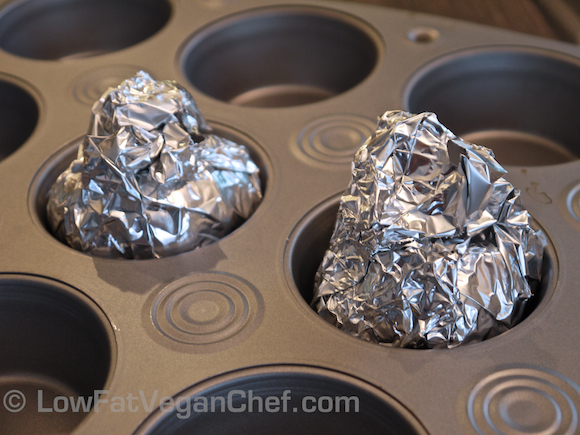
Wrap the garlic cloves in tinfoil

Step 3: Wrap the garlic cloves individually in tinfoil and place on a baking sheet or in a muffin tin. If using a muffin tin you can add some water to the muffin holders you are using. I think this will help with the moisture of your garlic and help it cook faster. It seemed to cook faster for me than usual.

Step 4: Bake in the oven (when it’s up to temperature) for 35-45 minutes until the cloves are soft. They will be very hot, so you need to use oven mitts to squeeze them gently to see if they are done.

Cool and gently unwrap to see the caramelized roasted garlic cloves inside

Step 5: Let the garlic cloves cool before touching. Unwrap the tinfoil.

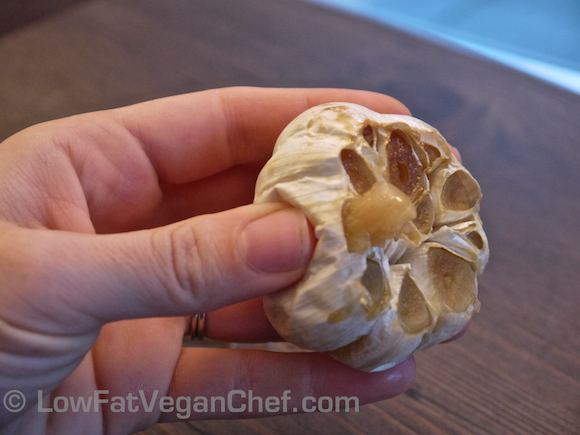
Squeeze out the roasted garlic for your recipe

Step 6: You can either squeeze each clove of garlic out one at a time (careful to not let hot garlic burn you, or slip out of the bottom) or you can peel the cloves and remove them one by one if you are stickler for maximizing your garlic output! How do you know if your roasted garlic is ready? It will be a golden brown color and be very soft inside. If it’s still white and not fully soft, it’s not ready yet.

Step 7: Your (oil-free) roasted garlic is ready to use in soups, mashed potatoes, dips, or just to spread on bread. Save any leftovers in a container in the fridge.

Enjoy!

How did you like my tutorial for how to roast garlic without oil?


80/10/10 Recipe: Fat Free Raw Vegan Banana Crepes

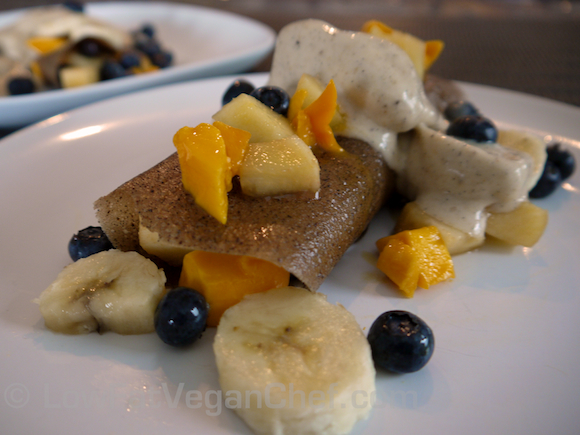
80/10/10 Recipe: Fat Free Raw Vegan Banana Crepes or Banana Fruit Roll Ups

One of the things that are really hard to make on a raw vegan diet are brunch type recipes, especially low fat or fat free ones. While this raw banana crepe recipe is not anything like a real cooked crepe, they are easy to make and fun to eat when you stuff them full of fresh fruit. They look great and kids will like them too.

This is a recipe I made when I was first working on Savory Raw Dinner Recipes, and as this is not a dinner recipe, I couldn’t include it. But if you love this simple and fresh recipes, you will LOVE my tasty low fat creations in Savory Raw Dinner Recipes. I think the pictures speak for themselves, but we’ve had resounding positive feedback on just how much everyone loves these recipes.

These raw vegan crepes are so easy to make you don’t even need a recipe, you just want to start with ripe spotted bananas and blend one with a little bit of water if necessary in a blender.  Get out your dehydrator tray and put a teflex sheet on it and pour the pureed bananas in little rounds about 6-7 inches across. Don’t let them touch each other. Dehydrate them at 105 or 110 F overnight, or until pliable and dry like a fruit roll up.

Roll them up on a plate and serve with chopped fresh fruit, pureed fruit, cinnamon or maple syrup if desired. I put banana ice-cream on mine, but that was a bad idea. It made the roll up freeze and was brittle and hard to eat, so I don’t recommend it! It looks nice though…

For variation, try blending bananas with other ripe fruits to get different flavours. You can also easily create your own home made raw fruit roll ups for a fun treat for kids. When they are dry you can put them on a piece of plastic wrap and roll up like a taquito, making sure that the plastic wrap keeps everything from sticking.

Also if you are into 80/10/10 style raw food recipes with no seasonings and just using fruits and vegetables, check out Frederic’s Low Fat Raw Vegan Cuisine DVDs


What do you think of this recipe? Have you ever made raw crepes or fruit roll ups?

Fat Free Vegan “Clean Out The Refrigerator Fuhrman Soup” or How To Make Homemade Soup From Scratch Easily

FTC Notice: This post contains affiliate links that go towards supporting the blog.

This recipe is featured in my Comfort Soups To Keep You Warm recipe ebook along with 29 other AMAZING vegan soup recipes, vegetable stock recipes, and all the tips and tricks to making ANY kind of soup. It’s going to teach you basically to be a soup making expert and be able to cook delicious healthy meals at home, very easily from what you have around.

Somedays you just don’t know what to make for dinner, or only have odds and ends leftover from previous recipes. You look in your refrigerator and see a few carrots, an onion, some celery, some greens and maybe some mushrooms that have seen better days.


What do you do with it all?

You make homemade vegetable soup of course! This is what I do when I feel creatively drained or uninspired to make a new recipe from scratch.

This is also a great way to eat a “Nutrient Dense” or “Eat To Live” style vegan meal like Dr. Joel Fuhrman recommends. (Check out his books Super Immunity, or Eat To Live, if you already haven’t) Lots of low calorie, high antioxidant plant foods, gently cooked together are wonderful. In Feb 2012 I was at the McDougall 3-Day Advanced Study Weekend, and Dr. Fuhrman was telling us the benefits of eating just 1/2 an onion a day, about 1 tomato and just 1 mushroom and how nutritious these are to add to your diet regularly. He has an amazing wealth of knowledge, and I am definitely going to be making more nutrient dense, low calorie green vegetable based dishes from now on.

This soup is a great way to get more of these antioxidants and phytochemicals into your diet in a fairly easy no-fuss way. It’s also a great vegan cabbage soup recipe that is low calorie and packed with veggies.

It is also especially handy to keep some vegetable broth on hand (low sodium is always preferable) for just such an occasion, so you don’t have to make your own vegetable stock as well when you’re short on time. (When I do have time I like to make fresh vegetable stock every week and keep it in the fridge for daily sautéing and making soup with)


Making your own nutrient dense vegan homemade soup from scratch is quite easy. The hard work is only peeling and chopping your veggies. Basically use what you have and always start cooking the onions and the hardest vegetables first (so peel and prepare those first) and they can start cooking while you finish peeling/washing and slicing the other veggies.

It also helps to have some fresh herbs on hand. My top picks would be thyme, dill, basil, cilantro or parsley. These can easily be used up in soup recipes if you have any stray or wilting bits left, so don’t throw them away.

And as with making almost any homemade soup, I always throw in a few bay leaves. They really add a lot of flavour and are great for seasoning soup, vegetable stock or dried beans.


Basic Ingredients For Making Your Own Homemade Nutrient Dense Soup

  • Low sodium vegetable broth (water and salt is not a good enough substitute for this, low salt bouillon and water will do in a pinch)
  • Any vegetables such as carrots, celery, mushrooms, potatoes, yams/sweet potatoes, golden beets, turnips, broccoli, cabbage, spinach, kale, swiss chard, peas, corn, etc
  • Beans or grains (if desired) white beans, lentils, chickpeas, pinto beans, black beans, barley, rice, pasta, etc (make sure beans are pre cooked, or canned before adding)
  • Fresh herbs/dried herbs like thyme, bay leaf, dill, basil, rosemary, cilantro, parsley, Italian herb seasonings, Herbs De Provence etc
  • Base flavor enhancers like canned tomatoes, tomato paste, coconut milk or almond milk (depending whether you want a tomato-ey or creamy soup) *This is optional
  • Seasonings like salt, pepper, lemon juice, lime juice, sweetener (to balance acidity from tomatoes or lemon if desired) cumin, chili pepper, cayenne, smoked paprika, etc

If you add some things from each category (especially ones that you personally like…) and can season to taste and balance out blandness by kicking it up with some lemon, salt and a little sweetener if desired you will have a great soup on your hands.

Also a trick I have for bringing out sweetness to tomato based soups is to add golden beets to it. Golden beets can be found at your health food store, and some grocery stores or farmers markets. They are becoming more popular nowadays. They look almost like small yellowish turnips, but they are beets! (For one thing they don’t turn your hand red and make a mess) They contain natural sugars that leak out into the vegetable broth, so it balances out the harsh acidity of tomato based vegetable soups and goes really well with beans or barley as well. Just make sure you cut the pieces into little cubes, and start cooking them right away with the onions in broth. They take the longest to cook, so you don’t want them to be crunchy while the rest of your vegetables are soft.


Additional Pointers For Cooking Homemade Soup

If you want a fast soup, cut all your veggies (especially potatoes and beets) into smaller cubes so they cook faster. Always add these first to the pot along with carrots and celery. Fresh hard herbs like thyme or rosemary need to go in at the beginning of the soup. Dried or tender herbs like basil, cilantro or parsley can go in near the end of cooking to retain their flavour. Quick cooking veggies like greens, broccoli, asparagus or cauliflower should be added 3-5 minutes before your soup is done so they don’t fall apart and go mushy. Canned corn is very forgiving and can go in at the beginning of cooking and will hold it’s firmness. Canned beans should go in the last 10 minutes or so of cooking as they are fairly soft already and you don’t want them to be mushy and overcooked. Always salt and pepper your soup at the end. Don’t just keep adding salt every time you stir it. When some of the water dissipates you can be left with an over salted or over spiced soup. Always reserve taste testing for the end when everything’s cooked and you can doctor up the flavour from there. Start with a little salt, pepper, spice, or sweetener and keep tasting and adding until you get it right to your liking. Always use low sodium, sodium free and sugar free canned foods so you can control the salt and sugar content of the soup. Read labels! *Note about adding pastas to soup. I really prefer cooking most pastas separately and then putting it into serving bowls and pouring the soup over it. This makes your soup nice and clear and pretty and reduces the risk of over cooking it. If you do cook the pasta in the soup, it’s going to use up some of the water and make it murky with the starch. Check the cooking time of your pasta and add it part way through the soup when the vegetables are starting to be almost soft enough.


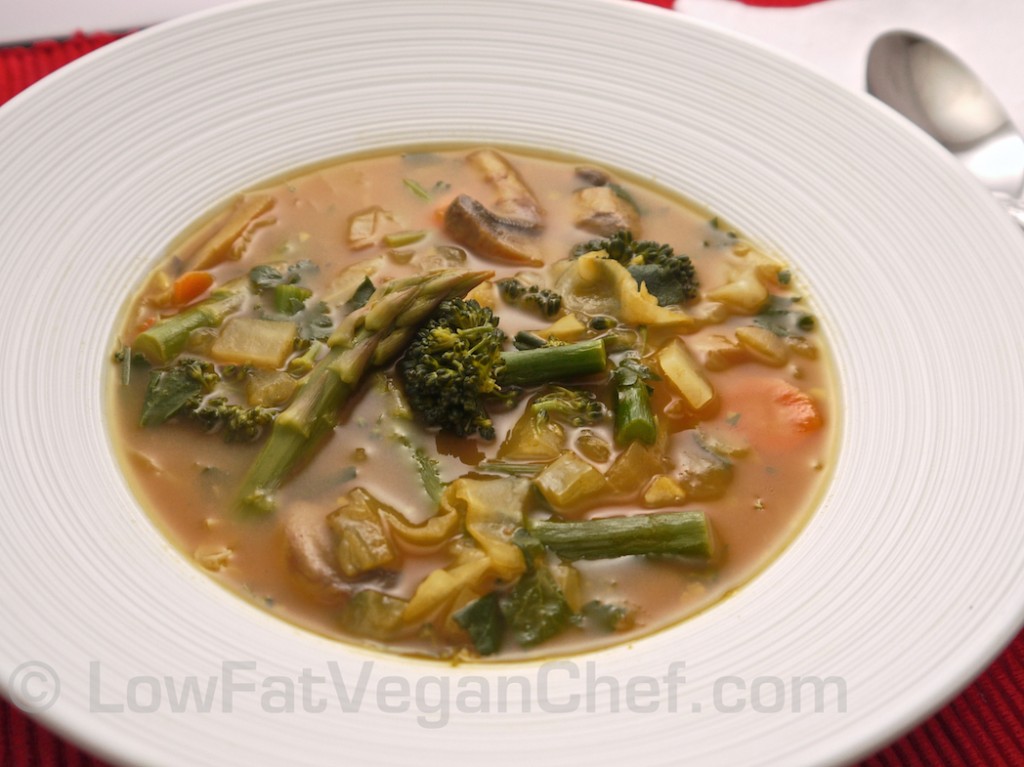
And now my made up on the spot “throw it all in a pot” and cook it soup. This is a great way to get more greens into your diet or use up any extras that you don’t have a recipe planned for. This soup is packed with green vegetables, but is light and refreshing. We ate this by itself and basically ate the whole pot because it’s very low in calories. This is a great first course or “weight-loss soup” as well. Fill up on healthy vegetables!

“Clean Out The Refrigerator” Homemade Vegetable Soup

Featured in Comfort Soups To Keep You Warm by Veronica Grace

Serves 6

Ingredients:

2 litres/quarts vegetable broth, (low sodium or homemade)
1 large onion, diced
4-6 cloves of garlic, minced
1-2 bay leaves
1 tbsp fresh thyme, or 1 tsp dried (or favourite herbs, like dill, basil, etc)
2 carrots, sliced
2 stalks of celery, sliced
1 medium golden beet or turnip, diced small (smaller is better)
1-2 cups of sliced mushrooms
6-8 asparagus spears, ends trimmed and cut into thirds (or other green vegetable of choice like zucchini)
2 cups broccoli or broccolini florets
2 cups sliced green cabbage, or other greens like kale or Swiss chard
handful of parsley, chopped
juice of half a lemon
Herbamare or sea salt and fresh ground pepper to taste


Directions:

1. Add 1 cup vegetable broth to a large soup pot and turn onto medium heat. Add bay leaves, thyme, onions and beets and sauté for 5-6 minutes. Add more broth if necessary to beets until they are almost covered.  (While this is cooking you can continue peeling/slicing your other veggies)

2. Add the mushrooms, garlic, carrots, celery, cabbage and the rest of one carton of vegetable broth. Stir and let it keep cooking over medium-medium high heat for about 10-15 minutes. Add more vegetable broth if needed from the other carton. You want your vegetables to be almost done before adding the broccoli and asparagus. Check on the beets, if they are still too hard keep cooking until they are almost done.

3. Add the remaining vegetable broth and bring it up to a boil. When it’s boiling, turn it back down to medium-medium high and add the asparagus, broccoli and parsley (and any spinach if using). Cook for 2-4 minutes (depending on the size you cut them) and test the broccoli and asparagus for doneness. You don’t want them too wilted or mushy. When done immediately take off heat.

4. Add lemon juice, salt and pepper and season to taste. Adjust seasonings if desired.

5. Serve!


What do you think of this “Eat To Live” style recipe? Have you ever made homemade soup before? What do you do with your leftover vegetables?


Fat Free Vegan Valentine’s Day Dessert: Two-Bite Banana Brownies

Happy Valentine’s Day Everyone!

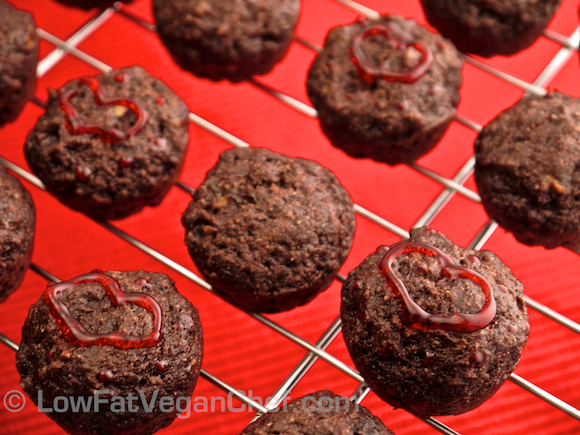
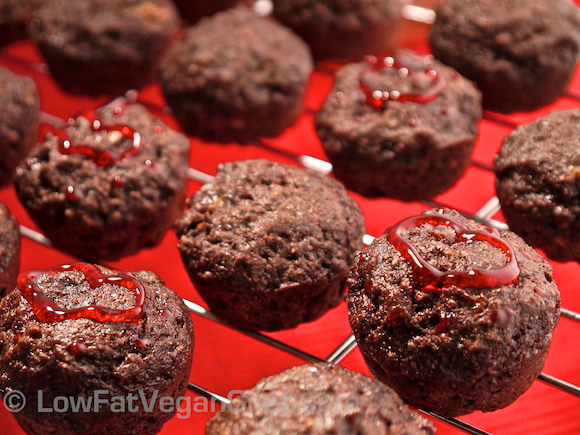
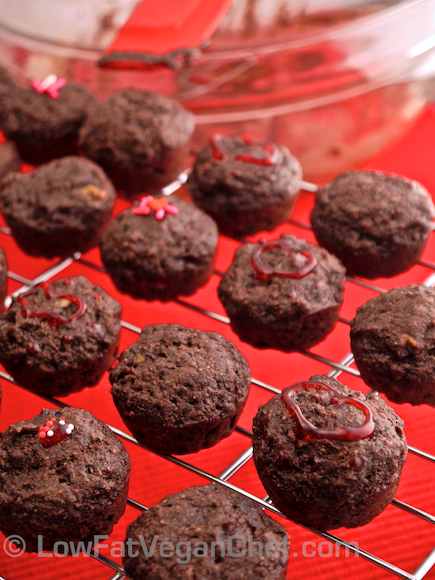
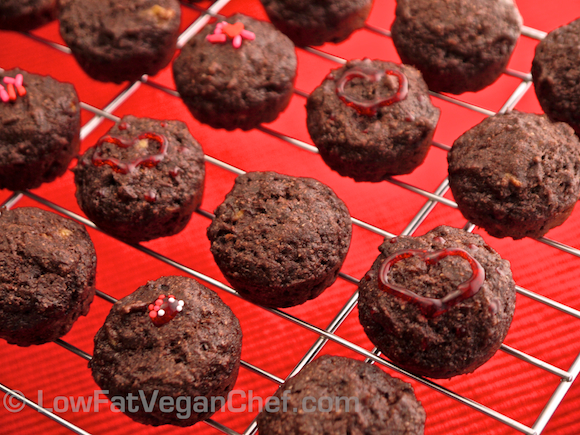
Not that I am much of a Valentine’s Day person. It was probably my most dreaded holiday actually! Being single on Valentines Day kinda sucks a little more than just a normal bad day, but cheer up! I have a treat for you… These deliciously fat free vegan Two-Bite Banana Brownies! And if you do have a Valentine this year, they will love you if you make these for them!

My sweetheart told me for my Valentine’s Day gift he was going to clean the whole house for me and take me out to dinner, so I surprised him with one of these yesterday. I’m not much for material things, so thoroughly enjoy being able to just relax after making a big mess in the kitchen after cooking and photographing for you… 🙂

I was tinkering around yesterday trying to come up with something that would still be tasty even when I sucked all the unhealthy fat out of it. We have a winner  for fat free vegan brownies and a great compromise for those that like to have a little treat after dinner, but not something too big or too rich.

The secret to these babies’ extra flavour is the bananas. I have to admit I am totally devoted to banana bread and always will be. And I just love packing banana into whatever baked goods I can, because honestly I never bake. I only bake for you!

Normally you’d expect a really dense rich brownie, or muffin with a chocolate chips in it, but these taste great on their own. They’re also really easy to make and even kids will love them too!

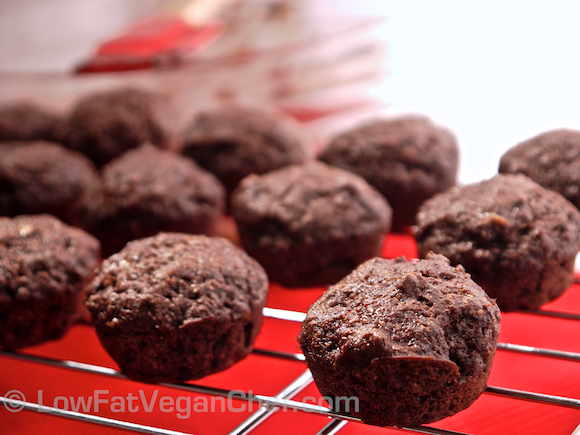
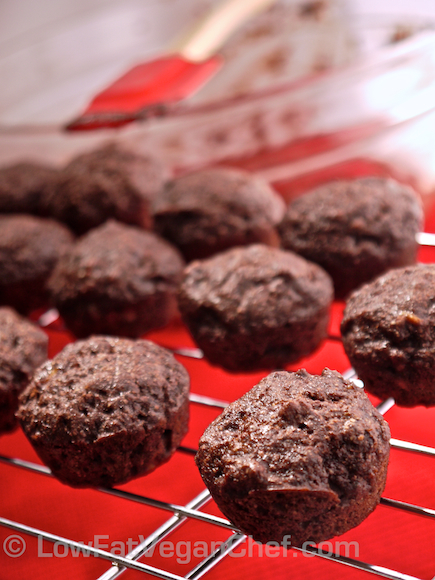
This is what they look like un decorated.

Mmm… Is your mouth watering yet for my fat free vegan brownies?

Fat Free Vegan Two-Bite Banana Brownies

Makes 24 mini muffin tin brownies

Ingredients:

1/2 cup plus 3 tbsp whole wheat flour (or gluten-free flour, see note)
1/2 cup brown sugar
1/4 cup cocoa powder, unsweetened
1 1/4 tsp baking powder
1/2 tsp salt
1/2 tbsp ground chia or flax seed
2 tbsp water
1/2 cup plus 3 tbsp ripe mashed bananas (about 2 large) or applesauce
1 tbsp vanilla extract
Non stick cooking spray

*Note, if making these gluten-free I suggest adding 1/4 tsp of xanthan gum to the recipe to help the batter stick together.

Directions:

1. Preheat oven to 325 degrees F.

2. Combine dry ingredients, except brown sugar and chia in a medium sized bowl.

3. Add 2 tbsp water to a small bowl. Shake in ground chia and stir until combined.

4. Add wet ingredients and brown sugar to another bowl and stir in chia.

5. Add wet ingredients to dry ingredients and stir just until mixed

6. Spray a mini muffin tin with non stick spray.

7. Spoon a teaspoon size amount into each cup, filling about 3/4 full.

8. Bake for 15-16 minutes, or until done in the centre with a toothpick.

9. Let brownies cool in the pan for 10-15 minutes to set up.

10. Remove and place on wire rack to finish cooling.

Additional Tips:

If you don’t have chia or flax, you can try using egg replacer mixed with water, use the equivalent of one “egg”. Really ripe bananas are best for this as they are sweeter and will add depth to the brownies. Almost as dark as you would use for banana bread is good. If you want to substitute applesauce you can, but they will be much plainer tasting and you might want to add a touch more sweetener. These are easily frosted or glazed if serving for a holiday or a kids birthday party. You can easily freeze these in ziploc freezer bags to have a quick treat ready to go.

If you’re like me and you’re a “seconds” kind of dessert fan, fear not! These are packed full of fibre and are low calorie too.

What are you doing for Valentines Day this year? Have you ever had a vegan two-bite brownie?


Raw Vegan Valentines Day 80/10/10 Style: Cherry Mango Love Smoothie

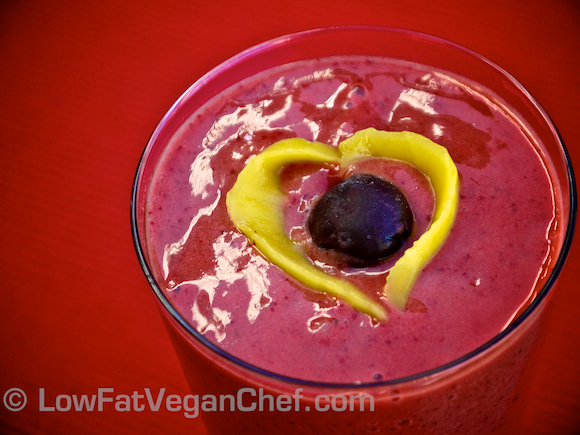
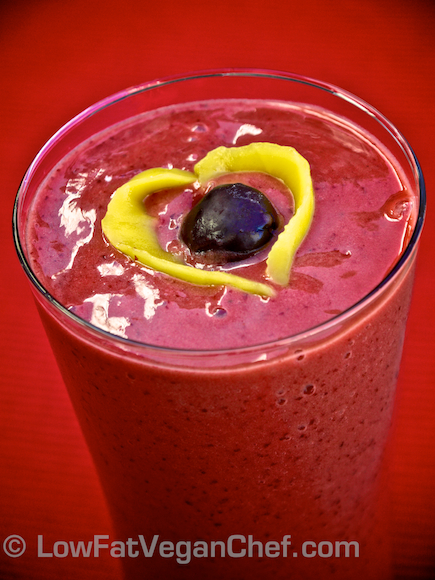
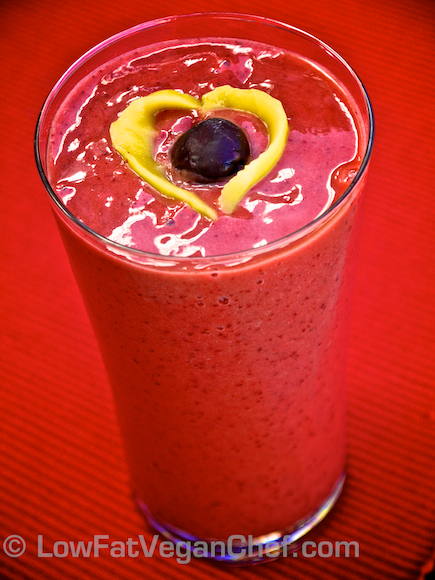
Whether or not you have a sweetie on Valentines Day this year, you can make your own 80/10/10 style holiday meal pretty easily. Make a beautiful breakfast smoothie for yourself or your loved one, or slice up some mangoes into heart shaped pieces. There you go, festive and edible!

It’s just starting to become mango season, you will see them available at grocery stores slowly, but they will be in full availability starting in April.

I got these mangoes from Costco and they are starting to ripen up.

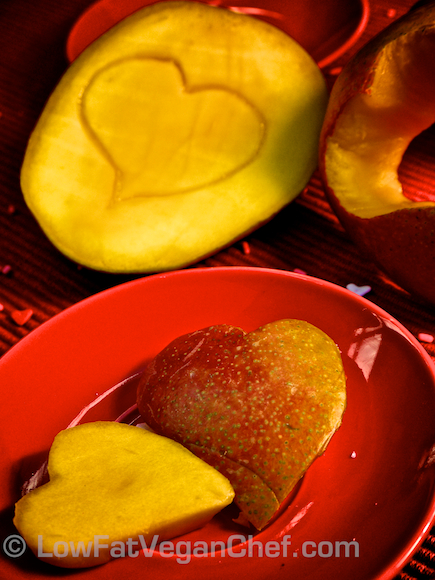
How To Cut Mangos Into Heart Shape Pieces

To make heart shaped mango slices, you’re going to need a really sharp preferably thin knife. Slice off the cheeks of the mango (around the inner woody pit) and trace an outline on the skin in a heart shape, or any desired shape.  Carefully cut out the mango trying to be as smooth in your cuts as possible. When you’re done you can trim any choppy bits after to make it look more streamlined.

Serve your mango pieces on top of a fresh fruit salad or smoothie. You can use any leftover scraps in a delicious smoothie as well. I saved mine for the smoothie below.

Raw Vegan Valentines Day Smoothie: Cherry Mango Love

Serves 1

Ingredients:

2-3 ripe bananas (spotted all over)
2 ripe mangoes (very soft and wrinkly all over)
1-2 cups frozen black cherries (Dole, H-E-B and Costco all have these available. Costco in Canada)

Directions:

Place mangoes in the bottom of your Vitamix or blender, then bananas and then frozen cherries on top. If you need to you can add a little water to make it blend easier, but I like my smoothies thick. Blend until smooth.

Serve and garnish if desired.

Additional Tips:

If you don’t have frozen black cherries, you can use frozen raspberries. Strawberries are a possibility, just make sure they are sweet.

You can easily make this a green smoothie by adding some spinach to it.  The cherries will mask the green colour and make it look more purplish.

 What do you think of this recipe? Are you doing anything special for a raw vegan Valentines Day? 


Fat Free Vegan Eggplant Chickpea Indian Curry With Fire Roasted Tomatoes

Fat free vegan cooking is really easy, once you know how to skip the oil and prepare delicious home cooked meals that taste just as good if not better without the extra grease and calories.

I love eggplant (aubergine) and eggplant curries, I also love chickpeas in almost everything. The bad thing about Indian food is that it is normally so oily and greasy and this can make it unhealthy and too rich. Eggplant absorbs MORE oil than ANY other vegetable just from sautéing in oil. If you cook it in oil on the stove it absorbs it so well that it becomes 50% fat by calories just like a potato chip. So I suggest to not slather oil on your eggplant or deep fry it, ever… Regardless of how delicious it may be. Your waistline and arteries will thank you.

The best Indian food I’ve ever had, has actually come from my kitchen. Not because I am an awesome Indian cook or anything, but because I use the freshest ingredients, and absolutely no oil, and we feel awesome after eating it, not like taking a nap as you do from take out. Any time we eat Indian food at a restaurant, we almost immediately regret it. Despite pleading with them to use very little oil, it is still very greasy. Indian and Chinese food in general are prepared with so much oil to keep things from sticking to the pan and slide out easily onto the plates. Also because people kind of expect it to be greasy.

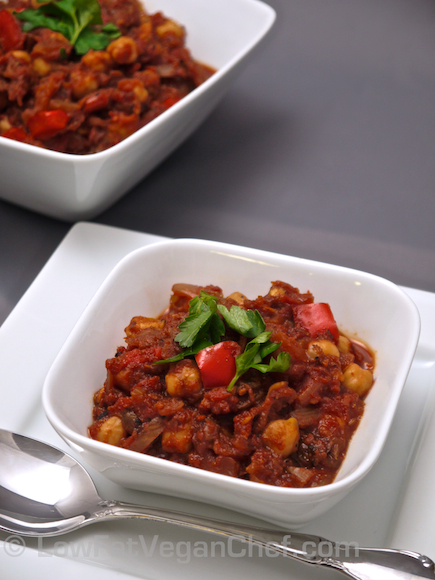
There aren’t too many already vegan Indian staple dishes but Baingan Bharta (Eggplant Curry) and Chana Masala (Chickpea Curry) are two of them, and of course my favourites. I have made them separately before, but I wanted to start practicing my photography for a new cookbook I’m working on, and this means I pretty much have to shoot in portrait style. As I am mostly a landscape photographer, this is difficult for me to get used to and setting up the shot. As you have way more background in it, you need to add things to decorate.

This isn’t my best. I need some more props, but I didn’t have white rice, or dal or anything to put in the background, so it’s a little sparse.

I will continue practicing, and I spent the evening ironing all my pretty coloured napkins so they are ready to go for next time.

This recipe is not an original of mine, it is adapted from Fat Free Vegan. I also doubled the recipe as this was my main I and served it with rice and saved the leftovers. Another good reason to double recipes, is that it doesn’t really take more time to make more of it, and then if you have left overs you can eat it for lunch, or even use this as filling for a delicious wrap on the go! The recipe below is the single version.

Fat Free Vegan Eggplant Chickpea Curry

Serves 4 as a side dish

Ingredients:

1 large eggplant/aubergine, or two small (this needs to be prepared in advance)
1 medium onion, chopped
1/2 red bell pepper seeded and diced
1 1/4 teaspoon cumin seeds
1 1/4 teaspoon ground roasted coriander (or regular)
1/2 teaspoon turmeric
3 cloves of garlic, minced
14 oz can Muir Glen Fire Roasted diced tomatoes (or regular)
2 tsp of ginger root, finely minced
1-2 tsp sugar or sweetener (to balance acidity, or as desired)
1/2-1 tsp herbamare or salt
1/8-1/2 tsp cayenne pepper (I don’t like spicy, so I use very little)
15 oz can chickpeas (like Eden Organic) , rinsed and drained (low sodium) or 2 cups cooked chickpeas
1/2 -1 cup water, to keep mixture from sticking
1/4 cup minced cilantro
1/4 teaspoon garam masala (start with less and add more to taste)
non stick spray

Directions:

1. Preheat oven to 400 degrees. Prick the eggplant(s) with a fork all over and place on a baking sheet. Bake for about 50-60 minutes, until the eggplant(s) is/are collapsing and soft in the middle. Remove from the oven when done and set aside until cool enough to handle. Slice open the peel, pull the peel off and chop the eggplant flesh into cubes.

2. Heat a non-stick skillet and then spray it lightly with non stick spray (normally I do not do this, but as it’s going to cook for a while, mine started sticking and burning as I have a gas stove). Add the onion and cook until it begins to turn golden about 5-6 minutes.

3. Add the bell pepper and cook for a 3-4 minutes. If anything starts sticking use a tbsp or 2 of water.

4. Clear a spot in the center of the skillet and sprinkle the cumin seeds directly on the hot surface. Stir and toast them gently for about a minute, until they are browning.

5. Stir and then add the coriander, turmeric, garlic, tomatoes, ginger, and cayenne (if desired).

6. Add the eggplant and cook over medium heat, for about 10 minutes. Add water if necessary to keep from sticking.

7. Add the chickpeas and enough water or chickpea cooking liquid to keep the mixture moist, cover tightly, and turn heat to low. Cook for at least 10 minutes, stirring periodically, until sauce has thickened and flavors have blended. Don’t let it burn. (You can hold this dish on low for up to 45 minutes while you prepare the rest of your meal, but add additional liquid as needed and don’t forget to stir, scraping the bottom.)

8. Add sweetener (if desired), herbamare or salt and garam masala. Always use a lower amount first and then taste test, so you don’t use too much of either. Season as desired.

9. Scoop into bowls and garnish with fresh cilantro.

10. Serve with basmati rice or dal.

 Additional Tips: 

Fire roasted tomatoes make every recipe that calls for canned tomatoes, even better. There is a huge difference. My favourite are Muir Glen fire roasted diced tomatoes (now BPA free). If you don’t have time to make your own chickpeas, Eden Organics also come BPA free too. Roasted coriander has a nicer flavour than regular, McCormick (available at many regular grocery stores) makes a great selection of roasted spices. You can make your own roasted spices if you want too. If you have coriander seeds, you can toast them in a pan dry and then grind them in a coffee grinder. Cumin powder can be substituted for cumin seeds if you like, the flavour will be a little different however.

I buy my garam masala from a specialty spice store. If you want to make your own Susan’s V’s recipe is here: 1 tablespoon black cardamom seeds, 1 cinnamon stick (about 2 1/2 inches long), 1 teaspoon cumin seeds, 1 teaspoon whole cloves, 1 teaspoon black peppercorns. Grind in coffee or spice grinder until powdered. Heat a small, dry pan. Add spices and toast just until fragrant, about 1 minute. Remove from heat, transfer to a bowl, and allow to cool. Once cool, store in a sealed jar for future use. Garam masala is always used after cooking is complete to control the spiciness of the dish. Do not add it in while a dish is cooking as you may over spice it and make it too hot.

What do you think of this dish? What’s your favourite use for eggplant or chickpeas?