Fat Free Raw Vegan Cabbage Slaw – Costa Rican Style

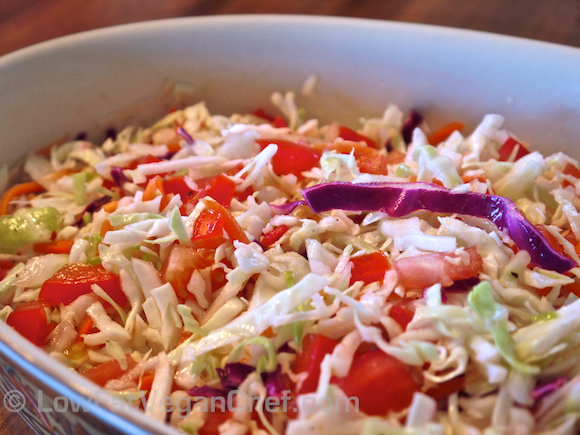
Raw Vegan Cabbage Slaw Costa Rican Style

This is a really easy and fast recipe that happens to be oil free, fat free and raw vegan. When we lived in Costa Rica we would eat this salad a lot and it’s a staple dish because cabbage is so abundant there. Most of the tender lettuces don’t last very long in the humidity down there even in the fridge, but cabbage never had a problem. So we ate a lot of cabbage while we were there. The Costa Ricans use VERY SIMPLE seasonings to flavour their dishes, this one only has a balance of lime juice and salt. You don’t have to add the salt, but it’s used to help wilt the cabbage and to cut the acidity of the lime and make it tangy. The tomato adds some juiciness to the recipe as well, so make sure you use a good tomato.

If you get store bought coleslaw mix you can have this salad ready in minutes and then put it in the fridge while you prep your main dish.

I’ve served this to raw foodies and non raw eaters and both love it as a tangy topping to latin style dishes. Typically this Costa Rican cabbage salad would be eaten with seasoned rice and black beans which is also called gallo pinto.

Cabbage has a very nice flavour and does not require any oil. Please don’t drown your healthy cabbage in olive oil or creamy dressing! Oil free coleslaw recipes are delicious.

Fat Free Raw Vegan Cabbage Slaw Costa Rican Style

Serves 4 as a side dish

Ingredients:

5 cups green cabbage, sliced (or slaw mix)
1 medium ripe tomato, diced
1/3 cup white onion, diced
1 -1 1/2 large limes, juiced
1/2 tsp herbamare or salt
1/4 tsp fresh ground pepper or to taste

Directions:

1. Place cabbage or slaw mix into a bowl. Add tomatoes and onions and seasonings. Roughly squeeze and massage the cabbage to wilt it and make the tomatoes release their juices.

2. Taste test and add more lime or salt if desired.

3. Let sit in the fridge for at least 30 minutes to soften before serving.

4. Serve with raw entrees or as a topping for vegan tacos or rice and beans.

Variations:

You can also add some chopped raw cilantro (coriander) or parsley if desired. Julienned carrot or celery, red cabbage, or jicama can be used to mix it up as well for more raw salad creations.

What do you think of this recipe? What did you serve it with?

Karmyn Malone’s Review Of My Savory Raw Dinner Recipes DVD and Book Set

—————–
If you’d like to give the DVD set Savory Raw Dinner Recipes a try, you won’t
regret it.

Go to: http://www.plantbasedu.com/savory

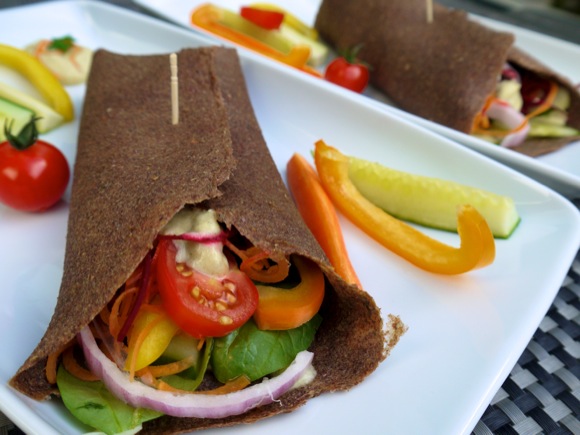
Mediterranean Flax Tortilla Wrap

——————
My review of Veronica Grace’s Savory Raw Dinner Recipes System

by Karmyn Malone
——————

Aloha!

I want to share with you my thoughts on the new Savory Raw Dinner Recipes system
created by Veronica Grace the Low Fat Vegan Chef.

Once our daughter Rainbow was born I was ready for some new, raw, and savory recipes.
I’ve been getting “fruited out”really easily post pregnancy and need something savory
after each fruit meal.

Since I’m busy taking care of Rainbow (and Andrew!) I don’t have a lot of time to spend
in the kitchen creating new recipes.

I kept “bugging” Veronica to share her recipes with me,and once I tried making a few of
them I was thrilled at how most of them came out.

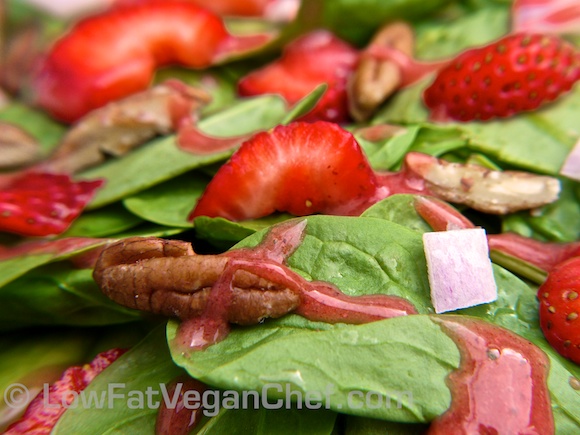
Strawberry Pecan Spinach Salad

My ABSOLUTE FAVORITE recipe is her “Strawberry Pecan Spinach Salad.” This
recipe alone makes owning her “Savory Raw Dinner Recipes” WORTH IT. If I could
make it everyday I would. It’s so good that once I went to four different stores looking for
fresh strawberries and was so disappointed when I had to come home empty handed!

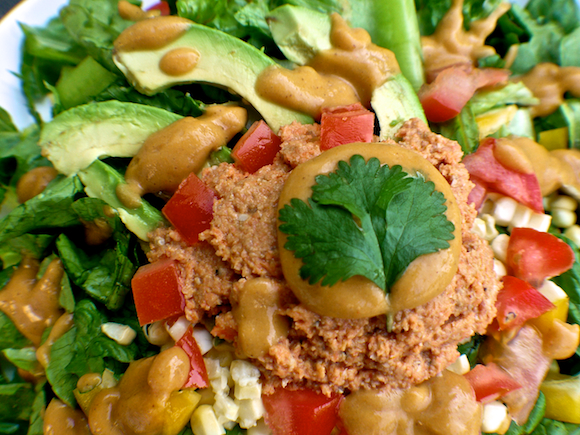
Lower Fat Taco Salad

That day I decided to “settle” and made her “Low Fat Taco Salad” instead because I didn’t have
any strawberries. I have a similar taco salad recipe that I enjoy but she used a couple of KEY
ingredients in her salad that WOWED me! Hmmmmmm …. why didn’t I think to use those?

Thai Tom Kha Soup

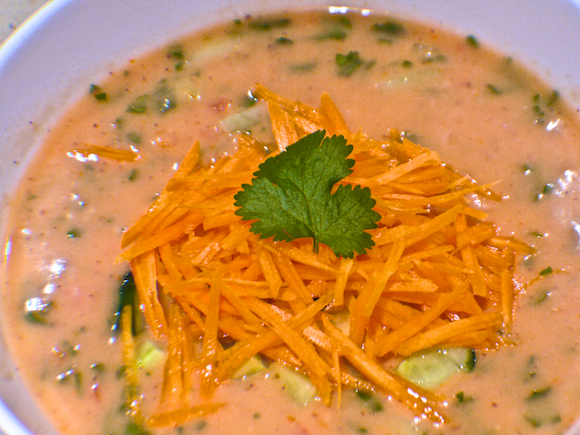
“Easy Fat-Free Veggie Soup” is very light and refreshing. Another delicious, spicy and
hearty soup is ” Thai Tom Kha Coconut Soup.” I felt like I was in a cooked food Thai
restaurant but of course it’s prepared raw.

Definitely a recipe for the raw Thai food connoisseurs out there.

It’s so nice to have another raw recipe system that tastes great without resorting to using tons
of oil and salt (although some of the recipes do use a TINY amount of salt).

Also the recipes don’t take all day to prepare like the ultra complicated gourmet raw recipes
that will make you thirsty enough to drink toilet water, nor will they make you sick due to
the nuts, oils and avocado used in them!

I’m not kidding — many of those gourmet raw recipes will use nuts, oil AND avocado in one
recipe! I had a recipe like that recently that a friend prepared and I was sick to my stomach
for the rest of that night. I’m talking painful and laying in bed kind of sick.

Veronica Grace’s “Savory Raw Dinner Recipes” nicely compliments Roger Haeske’s
Savory Veggie Stews (http://www.veggiestews.com). In other words, they’re two distinctly different recipe systems.

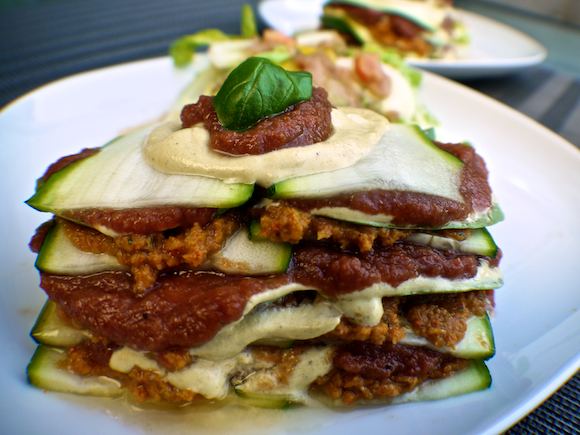
Veronica's Amazing Raw Lasagna

There are simple recipes that you can make everyday as well as dinner party oriented recipes
to make for special occasions (I’m really looking forward to making “Veronica’s Amazing
Raw Lasagna”)

Some of the recipes do call for salt, onions and garlic. Of course this is completely
optional.

I’ve made some of those recipes without any salt and they’re still delicious.

And mind you the quantity of salt in these recipes is MUCH lower than what you’d find at
a typical gourmet raw food restaurant. I’m talking a pinch of salt.

BTW, I had a mega bowl of “Strawberry Pecan Spinach Salad” for lunch just before writing
this review today. Boy that salad really hits the spot.

A great thing about their system is if you’re not at all into using garlic, onions,
apple cider vinegar and salt, the recipes still taste great even if you omit these
ingredients. I was surprised that the flavor was still good when I omitted some of
these ingredients.

Also you can adjust the seasonings to your taste preferences and they still taste
great whether you like your food mildly seasoned, medium or super seasoned! There
were even certain condiments that I didn’t use at all and the recipes I made still
tasted AMAZING!

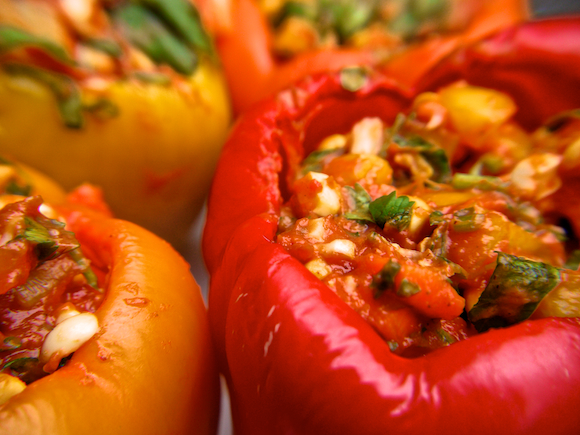
Fat Free Stuffed Peppers

Overall I’ve found the “Savory Raw Dinner Recipes” to be just what I needed to
balance out my sweet fruit consumption with more savory meals.

As a nursing mom, my dietary needs are much different than when I wasn’t nursing.
A constant source of mineral rich savory meals after fruit is now mandatory for me.

I think you’re going to find a number of recipes that’ll satisfy your need for
something hearty and savory and yet are easy to prepare.

With much aloha,

Karmyn

P.S. My 4 1/2 year old son Andrew just loves these recipes. He constantly asks me to make
Veronica’s recipes.

He licked his bowl CLEAN after eating her “Strawberry Pecan Spinach Salad” and her “Low
Fat Taco Salad” (when he does that then I KNOW it’s a new favorite dish for him!)
————–

Click the picture below to find out more about my program Savory Raw Dinner Recipes.

If you’d like to give the DVD set Savory Raw Dinner Recipes
a try, you won’t regret it.

Go to: http://www.plantbasedu.com/savory

If you’d like to find out more about Karmyn Malone and her raw food journey go to http://karmynmalone.com/ or find her on Facebook

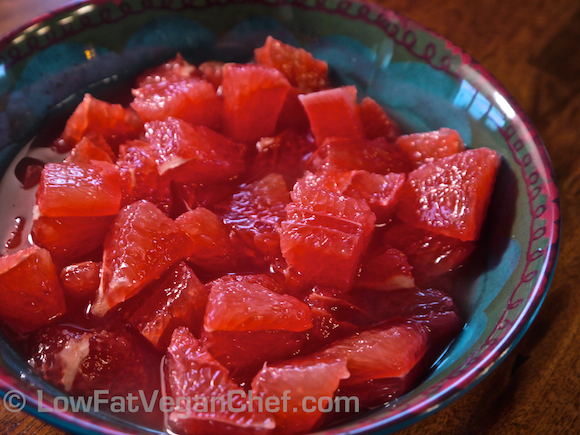
80/10/10 Recipe: Grapefruit Soup With Step By Step Pictures!

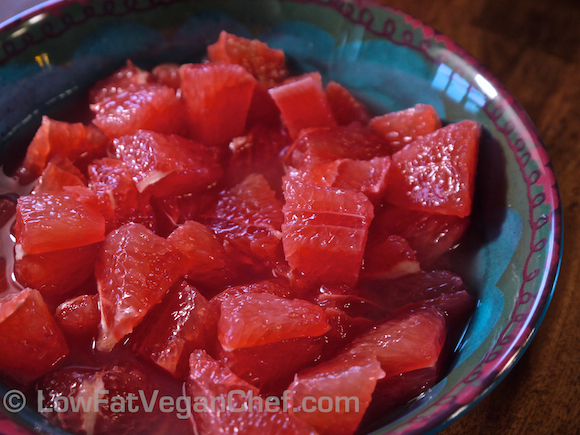
Grapefruit soup is an easy 1 ingredient (mono) meal you can have for a breakfast or a snack. It’s 80/10/10 friendly and fat free. They key is to use very sweet juicy grapefruits. My favourite are red grapefruits. Right now we’re in Texas for Christmas, so we are using the Texas Star Grapefruits here. They’re quite good. I wouldn’t suggest using this recipe for more sour white grapefruits.

My friend made this for me and I photographed him doing so, so you can easily see how to get an easy to eat grapefruit meal with no seeds or excess peel or skins.

For this recipe I used 3 grapefruits. 2 to cut into chunks and 1 to juice over the chunks.

(Fat Free Raw Vegan) Grapefruit Soup

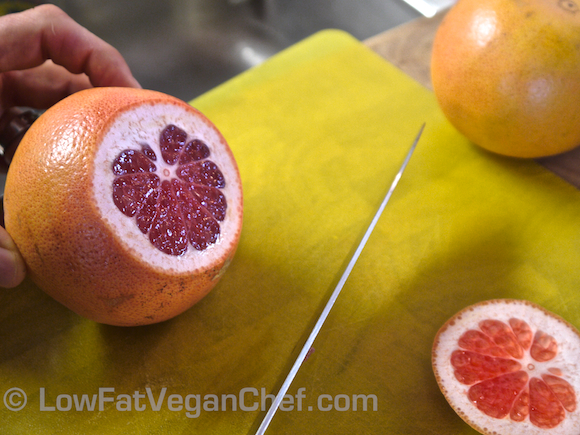
Using a sharp knife, cut off both ends of the grapefruit so you can see the flesh inside. Cut away enough that you don’t have any white pith or peel left.

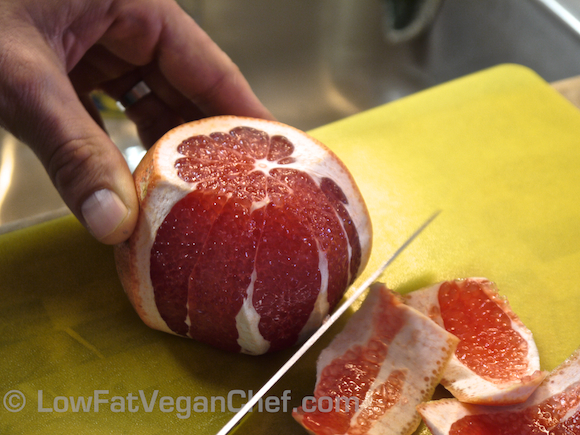
Flip the grapefruit onto one of the cut ends and start cutting off the sides of the peel and pith all the way around.

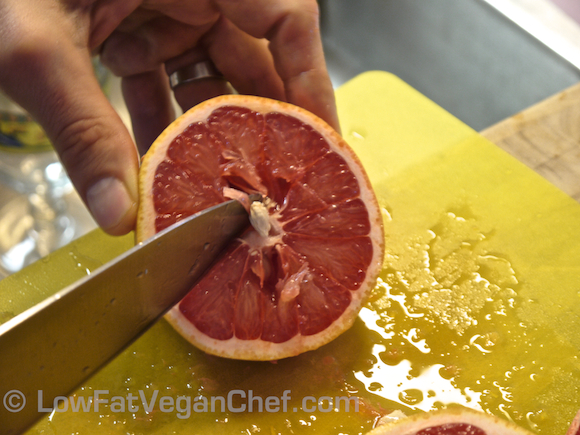
Now cut the grapefruit into 3 slices and remove any seeds you see.

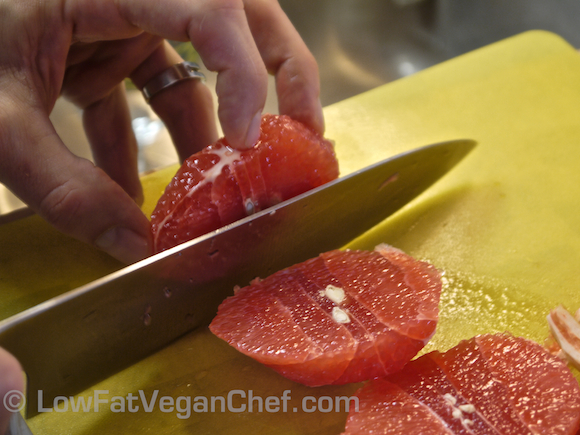
Continue cutting into slices.

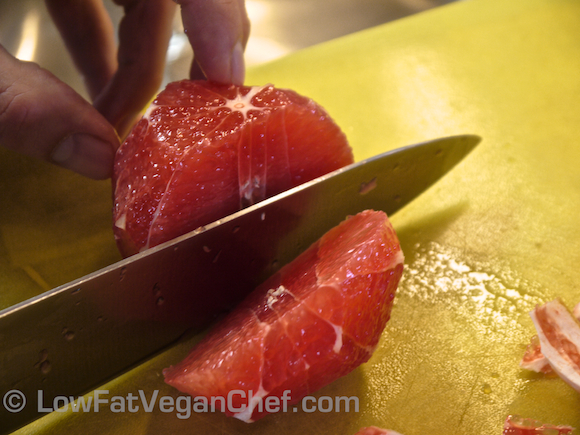
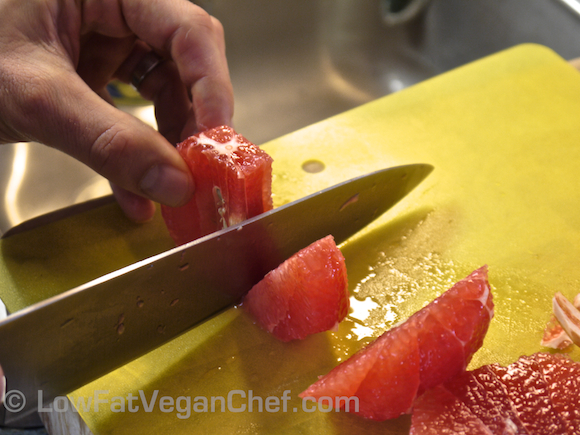
Stand up the centre piece and cut around the middle, like you would the core of an apple. Discard this piece.

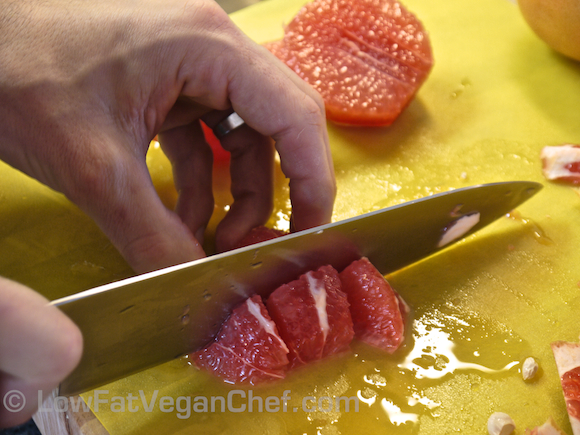
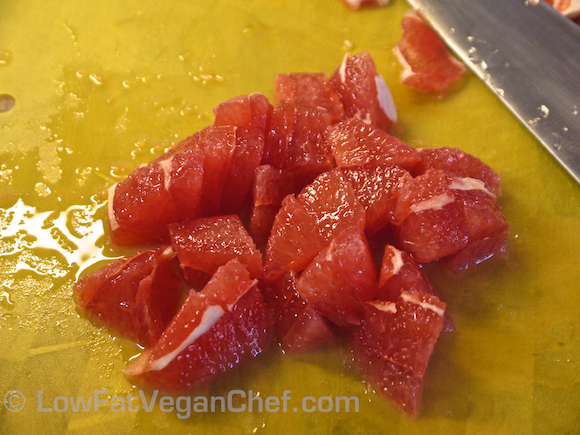
Line up your slices and now cut into bite sized chunks.

Your first grapefruit is done. Continue the same process with the second grapefruit and place the pieces into a bowl.

Slice the 3rd grapefruit in half. Remove the seeds.

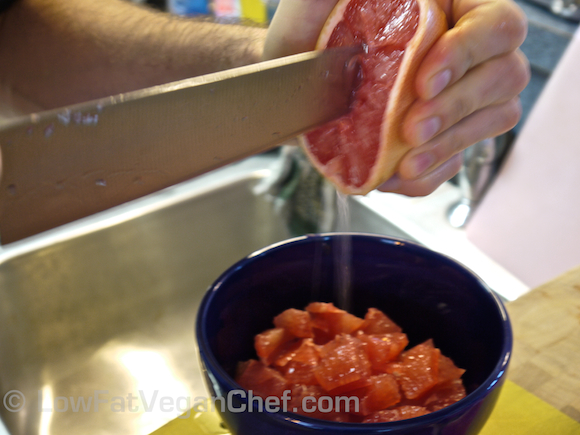
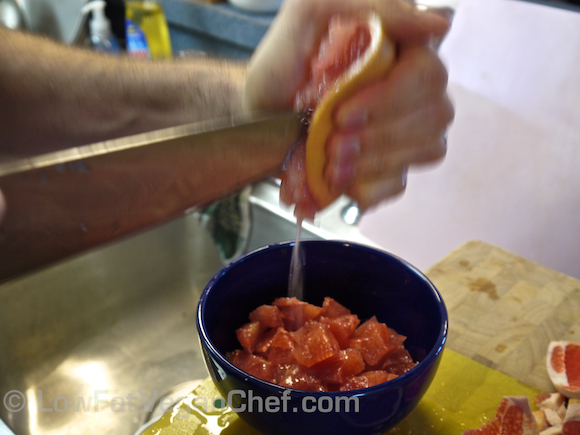
Using a knife or a citrus reamer squeeze the grapefruit and turn to release the juice. Alternatively you can use a citrus juicer.

Continue juicing the other side of the grapefruit.

Serve!

What do you think of this simple recipe? You can also do this with sweet oranges or pineapple. The key is to use sweet ripe fruit. Makes sure to eat this right away as the fresh juice will oxidize and go sour if you leave it out or in the fridge for a few days.

How To Enjoy Eating A Lot Of Apples or How To Have an Apple Happy Meal!

FTC Notice: This post contains affiliate links that go towards supporting the blog.

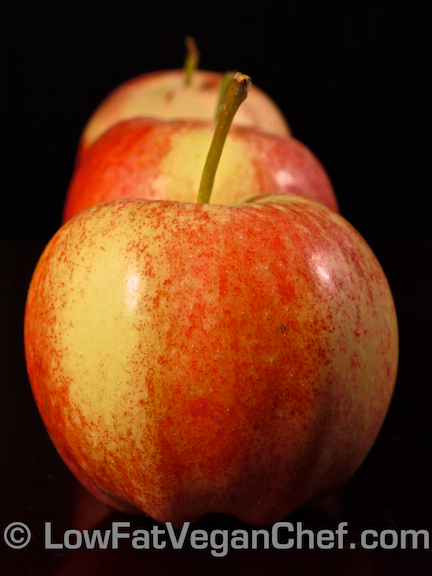
So you live in a Northern climate, it’s winter, there’s not a lot of tropical fruit around, there’s not really any “ripe” fruit around, you don’t have a lot of money to spend on produce; you’re hungry and want an easy inexpensive meal.

My friends, let me introduce to you the apple. It’s quite versatile and easy to get ALL over the world all year round. They keep well, can lasts for weeks if not months in the fridge or a cold cellar.


But how do you get this apply-goodness inside you without it being a pain in the jaw and eating all those waxy peels?…

Read More

80/10/10 Recipe: Raw Vegan Pomegranate Apple Grape Juice

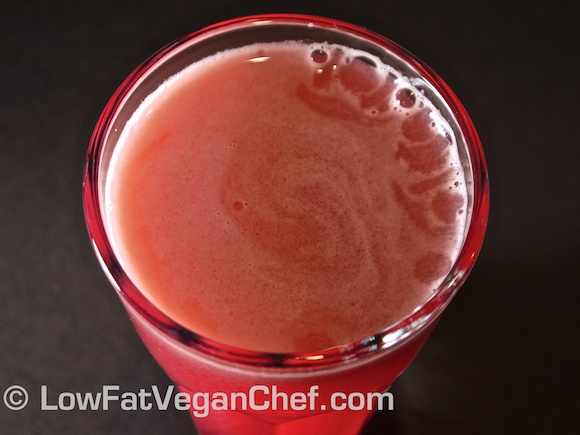
FTC Notice: This blog post contains affiliate links which go towards supporting the blog. We got some delicious pomegranates from Costco this week, so I’ve been eating them different ways, snacking on the seeds, straight juice and mixed juice. Today I’m having an (80/10/10 diet approved) antioxidant rich breakfast: a bowl of raspberries and a pomegranate, red grape, apple juice. Pomegranite juice on it’s own isn’t so bad, it just has a really bitter aftertaste. If you find it too strong and want to enjoy some nutritious juice this season, mix it with other sweet juices. Apple, grape, or pear works best. Maybe even an apple celery pomegranate concoction would be nice as well. To juice a pomegranate you’re going to want to use a citrus juicer.  The kind you press the handle down onto it. I have a Breville 800CPXL that works great You can try a hand held citrus juicer, but they’re not easy to juice like oranges, and you will find you get whole pieces stuck in crevasses near the peel. For the rest of my raw vegan juice I used my regular Breville centrifugal juicer , which I enjoy as it’s much easier to use and clean than my previous Jack Lalane juicer. I tried that one and actually returned it, it was too messy to use and clean.

Raw Vegan Pomegranate Apple Grape Juice

Ingredients: 1 pomegranate 2-3 peeled apples 2 cups of red grapes (sweet) Directions: Cut the pomegranate in half and using a citrus juicer, juice half of the pomegranate at a time. Really press down with the juicer until the pomegranate seeds all come out. Repeat with the other half.  For any seeds you missed in the strainer, use a spoon and push down on them to pop out the last bits of juice. Take your apples and grapes and run them through a centrifugal juicer. Pour into a tall glass, ensuring the extra foam stays in the container and doesn’t go into the glass. Now pour your pomegranate juice into the glass with the other juice and mix. Serve with ice cubes if desired. Enjoy your delicious juice without the bitter aftertaste of pomegranate!

80/10/10 Recipe: Raw Banana Pear Berry Smoothie

FTC Notice: This blog post contains affiliate links that go towards supporting the blog.

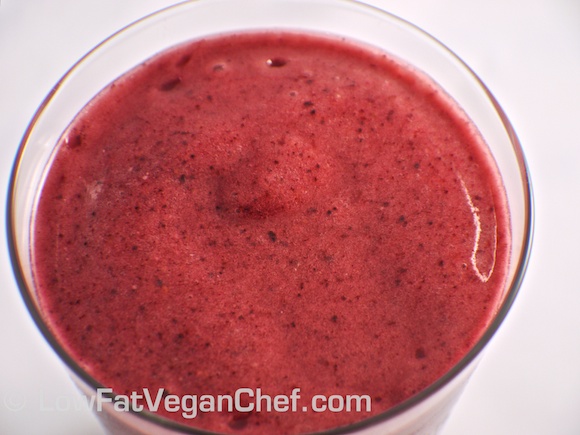
This is a really easy 80/10/10 and raw vegan fruit smoothie to make, using some ripe fruit. You want to use ripe bananas that are soft and lightly brown speckled and pears that have turned from rock hard green to soft yellow with some brown flecks.


Make sure you have ripe pears as well. If your pears have any bad spots in them cut them out before using. If your pears are really ripe like mine were it won’t add much of a gritty texture to your smoothie. Unripe, hard pears are NOT good in smoothies!


Raw Vegan Banana Pear Berry Smoothie

Ingredients:

3 large ripe bananas
2 very ripe bartlet pears, seeded
2 cups frozen mixed berries


Directions:

Place bananas, pears and berries into Vitamix or blender. (If you don’t have a Vitamix you need to add some water to blend) Using the tamper, push the fruit down towards the blade and turn onto 5 and then up to high. Blend for 45 sec to a minute until smooth.

Enjoy!


What do you think of this smoothie recipe?


How To Make Homemade Low Fat Raw Vegan Almond Milk In A Blender

FTC Notice: This blog post contains affiliate links that go towards supporting the blog.

Almond milk is something that many people use nowadays, whether they are vegan or have dairy allergies. Sure you can buy some (non raw) almond milk at the store for your smoothies or cooking, but there’s likely going to be sugar, preservatives and other additives and synthetic stuff in it as well. While it is convenient to use pre made almond milk, it’s not a good idea to base your whole diet on processed packaged foods.


It’s very easy to make at home, and most cost effective if you enjoy using almond pulp in recipes like raw bars, cookies, crackers, or drying it out to use for almond flour. This raw almond milk is great for using in raw smoothies, raw banana ice-cream and raw dressings.

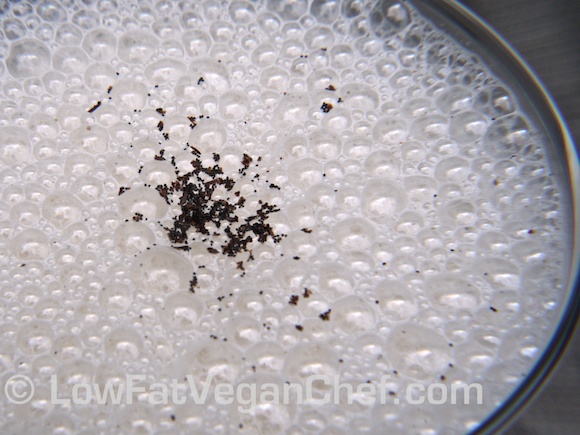
This low fat almond milk is also a nice pretty white colour and not browny tinged from additives like processed almond milk! Beautiful.


How To Make Your Own Homemade Raw Vegan Almond Milk

Ingredients:

1 cup of whole raw shelled almonds
Enough water to cover almonds if soaking overnight
4 cups filtered water (for making milk) If you want it even thinner use 5 cups of water.

Required tools:

Container to soak almonds
Metal mesh strainer/nut milk bag
Vitamix, Blendtec or other blender

Directions:

1. Soak almonds in a bowl or container with enough water to cover and let sit overnight, around 8 hours. (You can skip this step if you have a Vitamix or Blendtec)

2. Drain and rinse the almonds. Place into Vitamix or other blender with 4 cups of filtered water. Blend for about 45 sec to a minute on high. Just until all the almonds are in tiny pieces and it’s frothy.

3a. If using a nut milk bag hold the bag open over a large bowl and gently pour the blended almond milk into the middle of the open bag. Be careful not to spill pulp over the sides. Pour a little at a time and put the blender container down and close the bag at the top and squeeze the bag into the bowl to separate the almond pulp from the almond milk. You can either save the squeezed almond pulp to dry into almond flour or use to make cookies or nut balls or compost it. Continue this process until you have separate all the milk from the almond pulp. If you can’t stand and squeeze you can hang the bag filled with pulp and almond milk up above the bowl and let it drain for a while or in between breaks. Using a good quality nut milk bag you should only have to strain the milk one time if you didn’t spill any pulp over the edge.

3b. If using metal mesh strainers: get out 3 medium bowls or containers. Hold your small metal mesh strainer over one of the bowls and pour the almond mixture slowly into it. Fill up the strainer and then use a spoon to push the liquid down from the pulp. Place the extra pulp in one of the bowls if you want to save it for later. This will take a while. If using a metal strainer, keep filling it up with almond mixture and filtering the pulp from the milk with your spoon and set the pulp aside. Rinsing your strainer in between each filter will make it easier to strain and get rid of the little pieces stuck to it.  After you have filtered your almond milk once, you may want to filter the whole thing a few more times for a smooth milk. Place your filter over the last clean bowl and pour your filtered almond milk over it. You should see some froth and a little pulp being filtered out the second time. Rinse your other bowl and strainer and filter back and forth until your almond milk is smooth to your liking. I do this 6-8 times with a metal strainer for the smoothest milk.


5. Once you’re done you can store the almond milk in the fridge. Depending what you want to do with it you can leave it plain, or blend in a date and some vanilla for sweet almond milk.

I leave mine plain so I can use it for things like banana ice-cream, chia “tapioca” pudding, smoothie base, dressing base etc. I just add pitted dates or vanilla extract  or fresh vanilla bean to the recipe if I need a sweet milk.

Best used within 3 days. Store in a tightly sealed container in the refrigerator.

Have you ever made your own plant based milk at home? What’s your favourite?