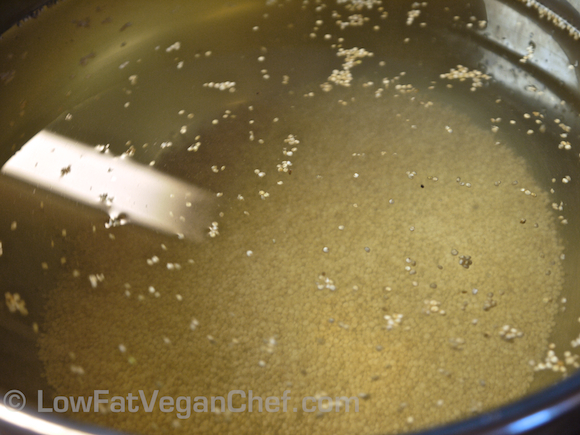
Step 1: Soak quinoa in a large bowl for 15 minutes in cool water.

Rinsing quinoa

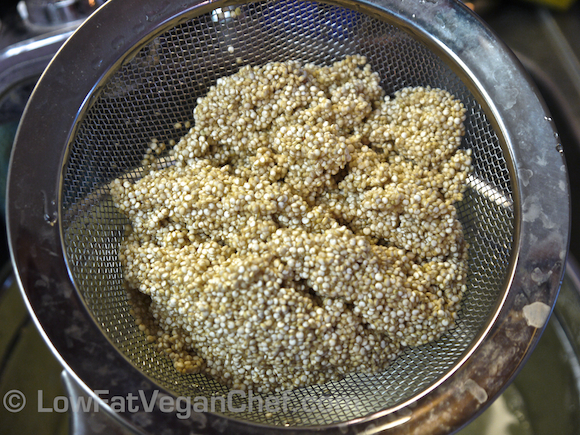
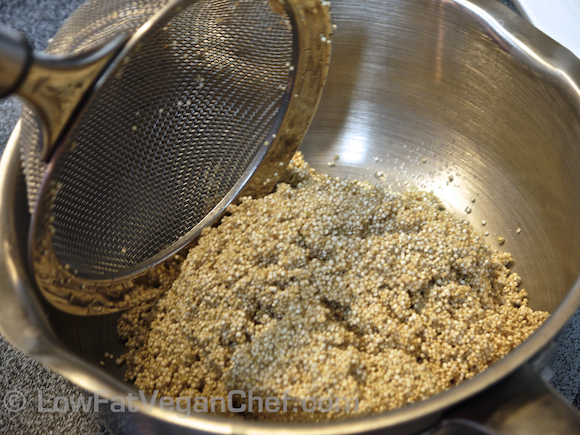
Step 2: Using a fine mesh strainer, drain and rinse your quinoa until the water is clear and it’s not foamy anymore. About a minute or two and then dump it into a pot.


How To Cook Quinoa Perfect Every Time On A Stove Or In A Rice Cooker

(Stovetop Directions Follow – Scroll Down For Rice Cooker Directions)

How To Cook Quinoa Perfect Every Time On A Stove Or In A Rice Cooker

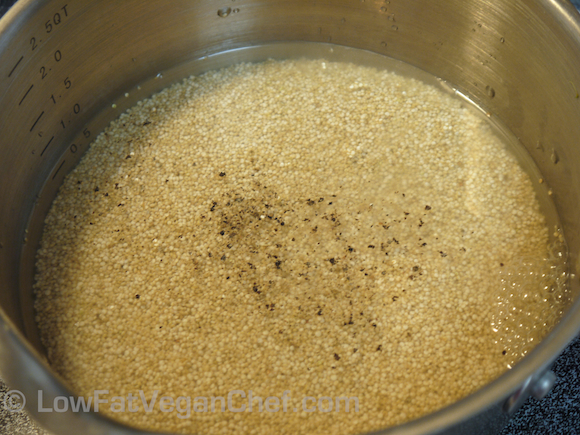
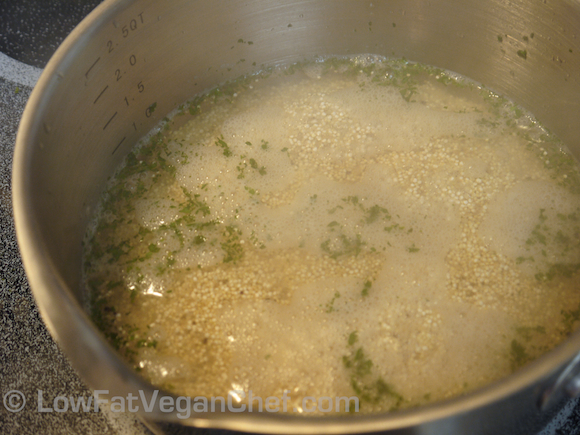
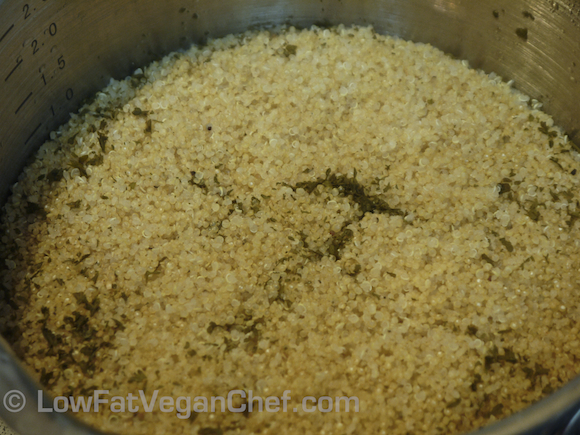
Step 3: Combine rinsed quinoa and water (use a 1:1 ratio) in a pot. Add seasonings. Turn on to medium heat.

How To Cook Quinoa Perfect Every Time On A Stove Or In A Rice Cooker

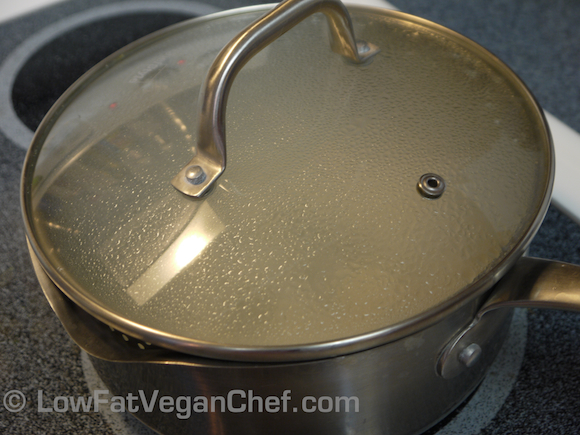
Step 4: When the quinoa is simmering, cover it, reduce it to low heat and cook for 30-35 minutes.

How To Cook Quinoa Perfect Every Time On A Stove Or In A Rice Cooker


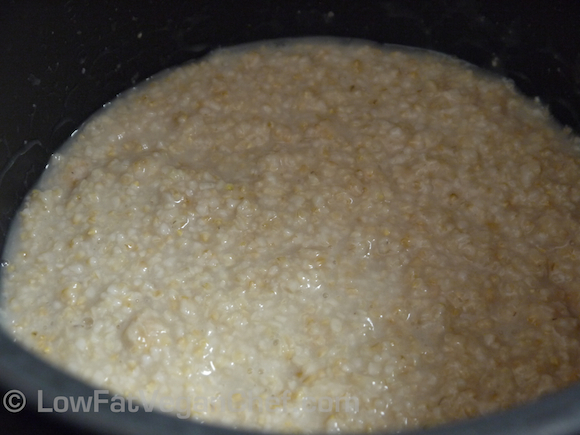
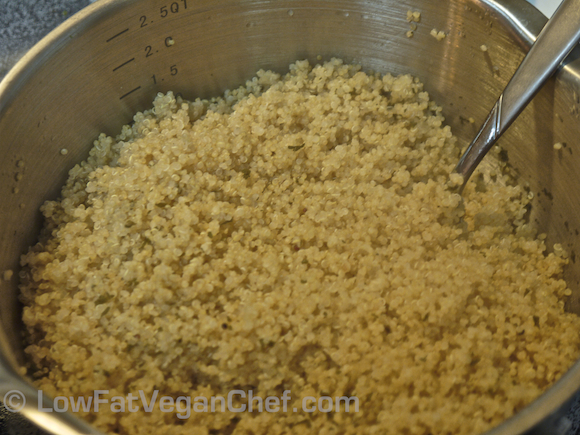
Step 5: When all the water is absorbed remove the pot from heat. Let sit covered for 5 minutes to finish steaming.

How To Cook Quinoa Perfect Every Time On A Stove Or In A Rice Cooker

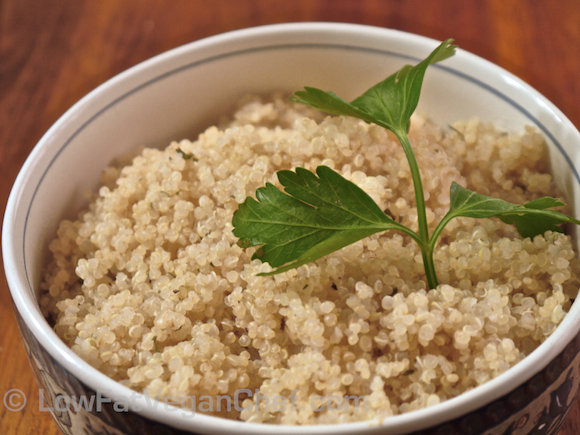
(Finished quinoa after steaming)

How To Cook Quinoa Perfect Every Time On A Stove Or In A Rice Cooker

Step 6: Fluff with a fork before serving.

How To Cook Quinoa Perfect Every Time On A Stove Or In A Rice Cooker


Serve and refrigerate any leftovers for another dish or to sprinkle on salads.

How To Cook Quinoa In a Rice Cooker Directions:

I love my Zojirushi 5 ½ cup (dry) rice cooker. It can cook white rice, brown rice, sushi rice, porridge, steam vegetables and even bake cake!

I have owned many rice cookers over the years.  And while the cheap $10 ones might be ok in a pinch, they fail at cooking most things other than plain white rice. If you’re interested in cooking whole grains like brown rice or steel cut oats a better quality rice cooker does wonders. Zojirushi makes a number of rice cookers from small personal ones to ones large enough to feed the whole family. There are different settings for white rice, brown rice, sushi rice, sticky rice, porridge and cake. You can also program your rice cooker the night before and fill it with water and steel cut oats for homemade oatmeal every morning. It also handles all the timing for you, so unlike the cheap rice cookers you don’t have to keep checking it and pressing the lever to continue cooking. It has a smart “fuzzy logic” computer inside that knows how long to cook each grain and only turns off when it’s done.


Step 1: Soak quinoa for 15 minutes in cool water.

Step 2: Using a fine mesh strainer, drain and rinse your quinoa until the water is clear and it’s not foamy. About a minute or two.

Step 3: Combine rinsed quinoa and water (use a 1:1 ratio) in rice cooker. Add seasonings if desired.

Step 4: Set to white rice setting and cook.

Step 5: When the cooking cycle is complete, let it steam for 5-10 minutes. Fluff with a fork before serving.

Step 6: Serve with your favourite entree or vegetables.

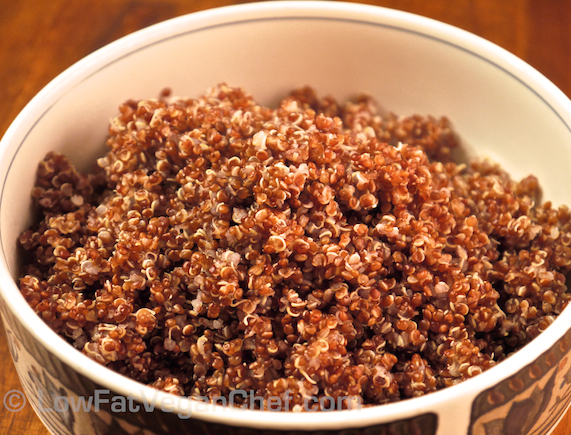
Update! I just made red quinoa with the same stove-top instructions above (because I know some of you don’t have a rice cooker) 

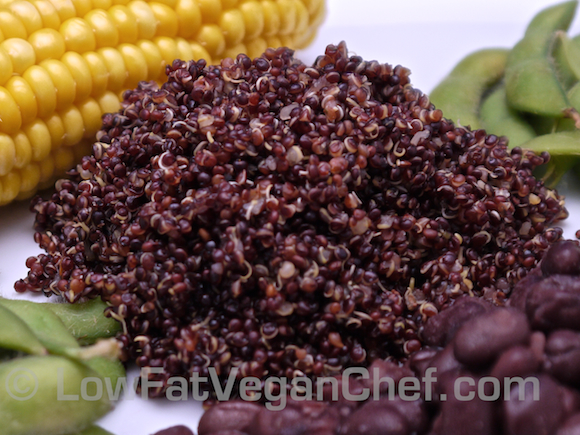
Red quinoa has a much more rich flavour and is more moist and chewier. I wouldn’t say that I prefer white or red more than each other, they just taste a little different. I will continue to make both. I think red is a little stickier so I wouldn’t use it for salads. I think white quinoa would still be the best if you want a tabouli or cold quinoa salad as the grains are individual.

How To Cook Quinoa Perfect Every Time On A Stove Or In A Rice Cooker

Fluffy red quinoa

Enjoy!

What do you think of this tutorial? What do you like to serve quinoa with?


Fat Free Raw Vegan Cabbage Slaw – Costa Rican Style

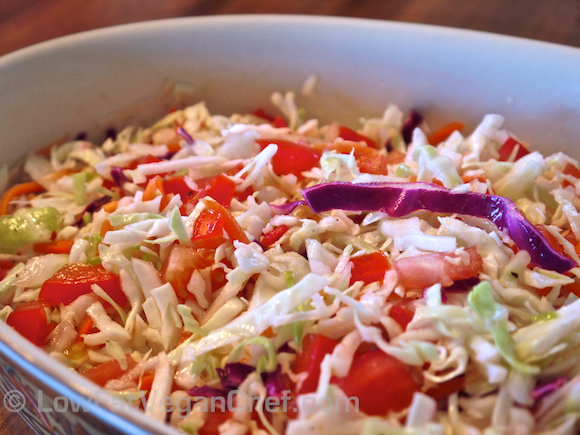
Raw Vegan Cabbage Slaw Costa Rican Style

This is a really easy and fast recipe that happens to be oil free, fat free and raw vegan. When we lived in Costa Rica we would eat this salad a lot and it’s a staple dish because cabbage is so abundant there. Most of the tender lettuces don’t last very long in the humidity down there even in the fridge, but cabbage never had a problem. So we ate a lot of cabbage while we were there. The Costa Ricans use VERY SIMPLE seasonings to flavour their dishes, this one only has a balance of lime juice and salt. You don’t have to add the salt, but it’s used to help wilt the cabbage and to cut the acidity of the lime and make it tangy. The tomato adds some juiciness to the recipe as well, so make sure you use a good tomato.

If you get store bought coleslaw mix you can have this salad ready in minutes and then put it in the fridge while you prep your main dish.

I’ve served this to raw foodies and non raw eaters and both love it as a tangy topping to latin style dishes. Typically this Costa Rican cabbage salad would be eaten with seasoned rice and black beans which is also called gallo pinto.

Cabbage has a very nice flavour and does not require any oil. Please don’t drown your healthy cabbage in olive oil or creamy dressing! Oil free coleslaw recipes are delicious.

Fat Free Raw Vegan Cabbage Slaw Costa Rican Style

Serves 4 as a side dish

Ingredients:

5 cups green cabbage, sliced (or slaw mix)
1 medium ripe tomato, diced
1/3 cup white onion, diced
1 -1 1/2 large limes, juiced
1/2 tsp herbamare or salt
1/4 tsp fresh ground pepper or to taste

Directions:

1. Place cabbage or slaw mix into a bowl. Add tomatoes and onions and seasonings. Roughly squeeze and massage the cabbage to wilt it and make the tomatoes release their juices.

2. Taste test and add more lime or salt if desired.

3. Let sit in the fridge for at least 30 minutes to soften before serving.

4. Serve with raw entrees or as a topping for vegan tacos or rice and beans.

Variations:

You can also add some chopped raw cilantro (coriander) or parsley if desired. Julienned carrot or celery, red cabbage, or jicama can be used to mix it up as well for more raw salad creations.

What do you think of this recipe? What did you serve it with?

80/10/10 Recipe: Grapefruit Soup With Step By Step Pictures!

Grapefruit soup is an easy 1 ingredient (mono) meal you can have for a breakfast or a snack. It’s 80/10/10 friendly and fat free. They key is to use very sweet juicy grapefruits. My favourite are red grapefruits. Right now we’re in Texas for Christmas, so we are using the Texas Star Grapefruits here. They’re quite good. I wouldn’t suggest using this recipe for more sour white grapefruits.

My friend made this for me and I photographed him doing so, so you can easily see how to get an easy to eat grapefruit meal with no seeds or excess peel or skins.

For this recipe I used 3 grapefruits. 2 to cut into chunks and 1 to juice over the chunks.

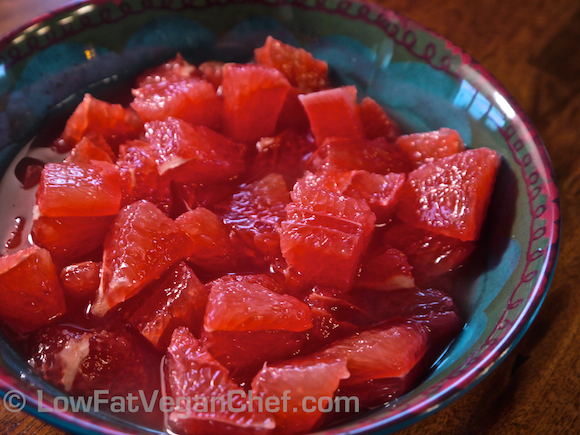
(Fat Free Raw Vegan) Grapefruit Soup

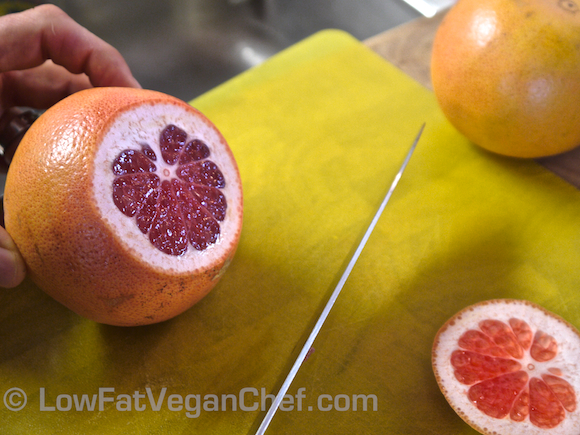
Using a sharp knife, cut off both ends of the grapefruit so you can see the flesh inside. Cut away enough that you don’t have any white pith or peel left.

Flip the grapefruit onto one of the cut ends and start cutting off the sides of the peel and pith all the way around.

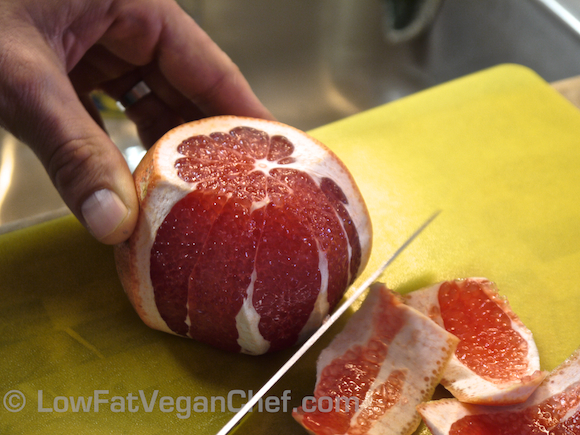
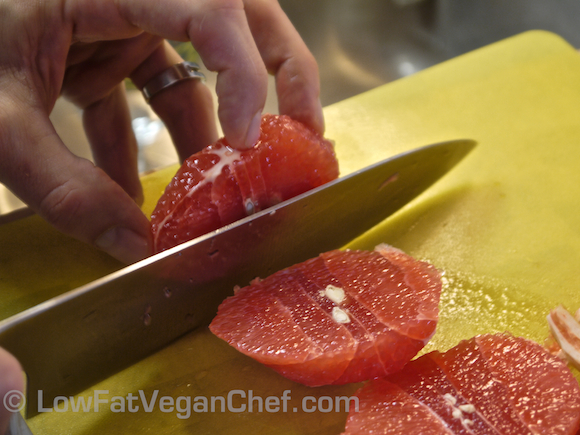
Now cut the grapefruit into 3 slices and remove any seeds you see.

Continue cutting into slices.

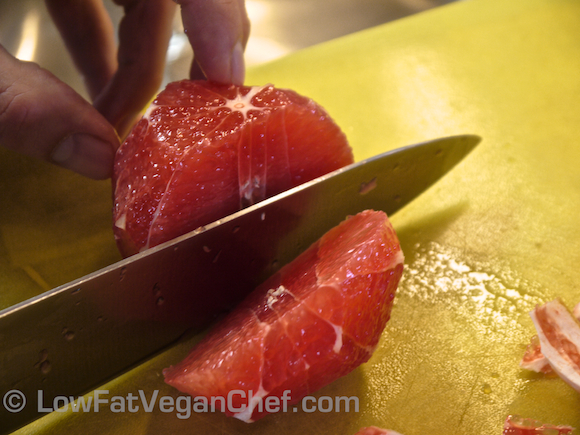
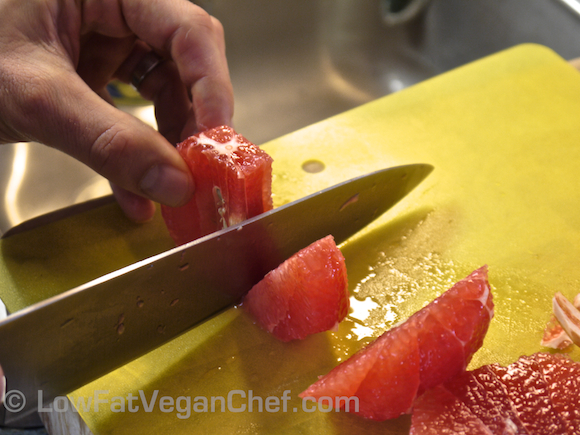
Stand up the centre piece and cut around the middle, like you would the core of an apple. Discard this piece.

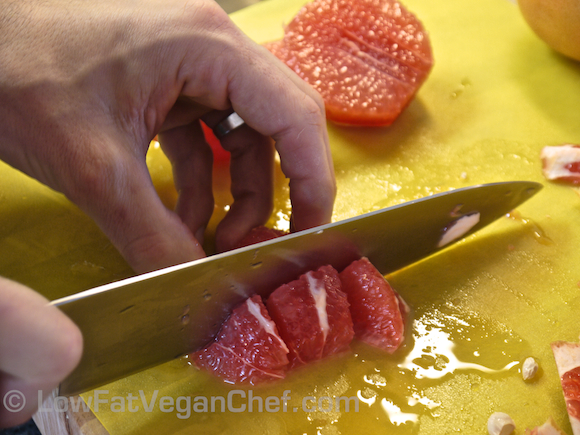
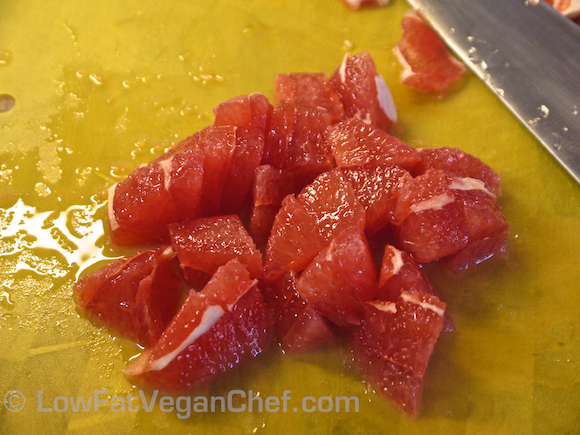
Line up your slices and now cut into bite sized chunks.

Your first grapefruit is done. Continue the same process with the second grapefruit and place the pieces into a bowl.

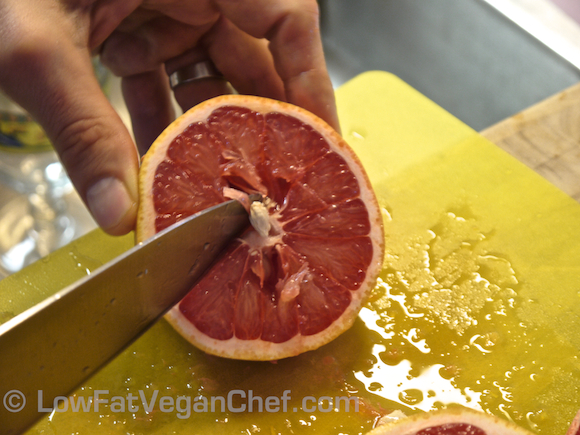
Slice the 3rd grapefruit in half. Remove the seeds.

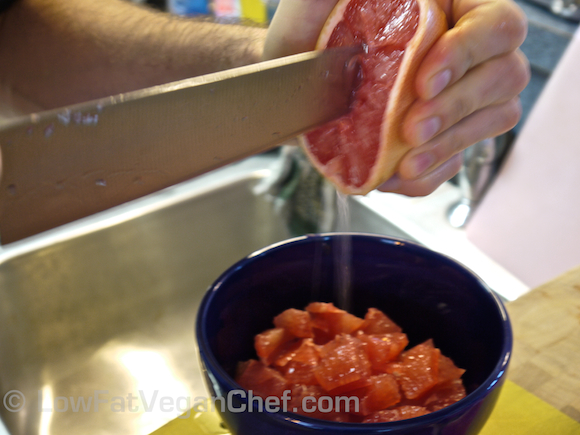
Using a knife or a citrus reamer squeeze the grapefruit and turn to release the juice. Alternatively you can use a citrus juicer.

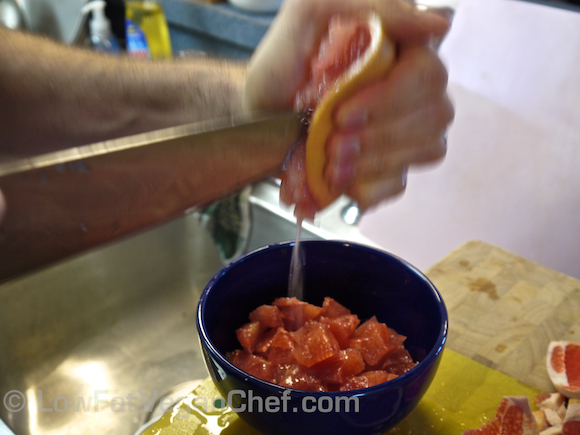
Continue juicing the other side of the grapefruit.

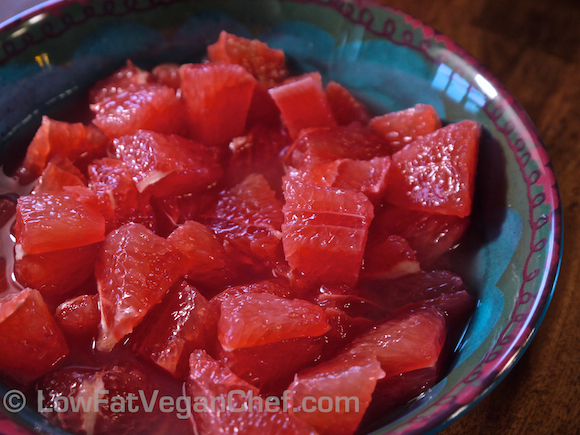
Serve!

What do you think of this simple recipe? You can also do this with sweet oranges or pineapple. The key is to use sweet ripe fruit. Makes sure to eat this right away as the fresh juice will oxidize and go sour if you leave it out or in the fridge for a few days.

Quick and Easy Thick Plant Based Pizza Sauce (Oil-Free Vegan Recipe)

FTC Notice: The post contains affiliate links that go to supporting the blog. 

Plant based or vegan pizza is probably something you’ll have to make at home, depending on where you live because not a lot of places offer vegan cheese, or are familiar with cheese-less pizzas if you go that way.

I really don’t like store-bought pizza or pasta sauces, they’re full of junk and usually bland.  So I make my own.  I wanted to come up with a really fast recipe for thick pizza sauce that you don’t have to spend forever cooking on the stove and adding raw ingredients too. Once mixed this is ready to go on the pizza.


I also like thick sauces, because low-fat healthy pizza crusts can be a little dry and you really want to have that moisture from the pizza sauce on there. Here’s one that’s oil-free, fat-free and vegan!

Quick and Easy Thick (Vegan) Pizza Sauce

Ingredients:

1 small can of tomato paste
6 tbsp of water with 1/2 tsp Better Than Bouillon Vegetable base OR 6 tbsp water mixed with 1/2 veggie cube bouillon
1 tbsp liquid sweetener (honey, vegan honeybrown rice syrup)
3/4 tsp dried oregano
1/2 tsp freeze-dried garlic or garlic powder
2 twists of ground black pepper
dash of smoked paprika
dash of sea salt *if desired
A sprinkle of chili flakes *if desired


Directions:

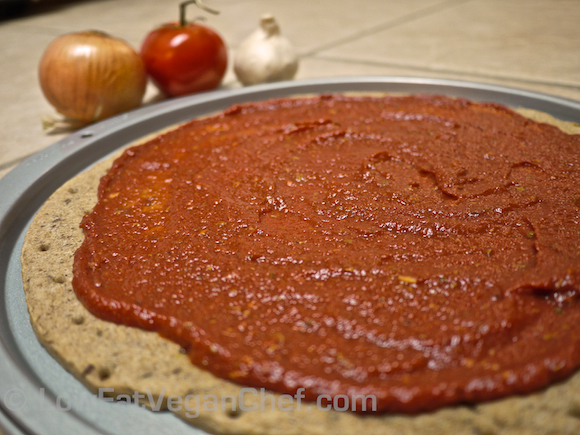
1. Open the can of tomato paste and scoop into a bowl. Add all of the ingredients to the bowl and stir to combine. Taste test, adding additional seasonings if desired.

2. Spread over pizza crust leaving a small gap for the crust of the pizza.

This recipe should cover up to an extra-large pizza with sauce, or several personal pan pizzas.

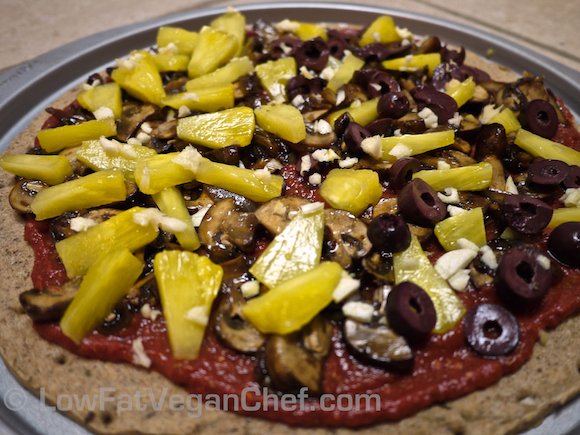
I had extra leftover even after liberally topping my large pizza crust. I also topped it with my special recipe of sautéed baby portobello mushrooms and onions, frozen pineapple, kalamata olives, and fresh garlic. As you can see I really like pineapple! Mine is the side on the left lol.


If desired you can also sprinkle some Daiya mozzarella cheese or other vegan cheese on it, but for a truly fat-free recipe, you can skip it.

Let me know what you think! What do you put on your plant-based pizza?


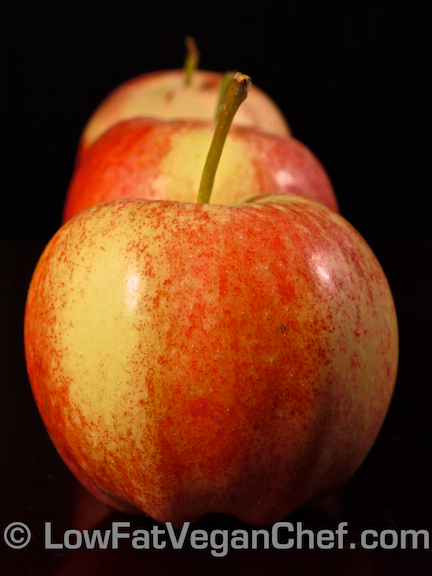
How To Enjoy Eating A Lot Of Apples or How To Have an Apple Happy Meal!

FTC Notice: This post contains affiliate links that go towards supporting the blog.

So you live in a Northern climate, it’s winter, there’s not a lot of tropical fruit around, there’s not really any “ripe” fruit around, you don’t have a lot of money to spend on produce; you’re hungry and want an easy inexpensive meal.

My friends, let me introduce to you the apple. It’s quite versatile and easy to get ALL over the world all year round. They keep well, can lasts for weeks if not months in the fridge or a cold cellar.


But how do you get this apply-goodness inside you without it being a pain in the jaw and eating all those waxy peels?…

Read More

80/10/10 Recipe: Raw Vegan Pomegranate Apple Grape Juice

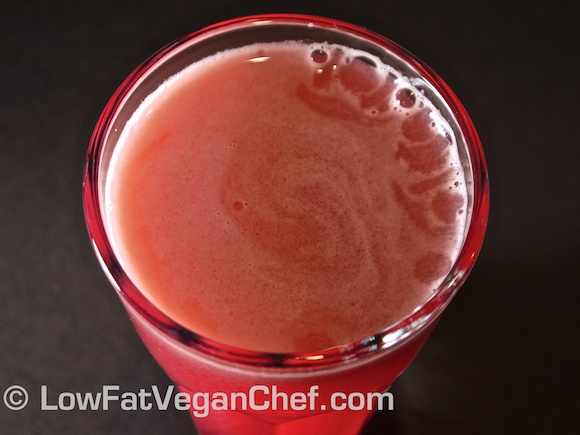
FTC Notice: This blog post contains affiliate links which go towards supporting the blog. We got some delicious pomegranates from Costco this week, so I’ve been eating them different ways, snacking on the seeds, straight juice and mixed juice. Today I’m having an (80/10/10 diet approved) antioxidant rich breakfast: a bowl of raspberries and a pomegranate, red grape, apple juice. Pomegranite juice on it’s own isn’t so bad, it just has a really bitter aftertaste. If you find it too strong and want to enjoy some nutritious juice this season, mix it with other sweet juices. Apple, grape, or pear works best. Maybe even an apple celery pomegranate concoction would be nice as well. To juice a pomegranate you’re going to want to use a citrus juicer.  The kind you press the handle down onto it. I have a Breville 800CPXL that works great You can try a hand held citrus juicer, but they’re not easy to juice like oranges, and you will find you get whole pieces stuck in crevasses near the peel. For the rest of my raw vegan juice I used my regular Breville centrifugal juicer , which I enjoy as it’s much easier to use and clean than my previous Jack Lalane juicer. I tried that one and actually returned it, it was too messy to use and clean.

Raw Vegan Pomegranate Apple Grape Juice

Ingredients: 1 pomegranate 2-3 peeled apples 2 cups of red grapes (sweet) Directions: Cut the pomegranate in half and using a citrus juicer, juice half of the pomegranate at a time. Really press down with the juicer until the pomegranate seeds all come out. Repeat with the other half.  For any seeds you missed in the strainer, use a spoon and push down on them to pop out the last bits of juice. Take your apples and grapes and run them through a centrifugal juicer. Pour into a tall glass, ensuring the extra foam stays in the container and doesn’t go into the glass. Now pour your pomegranate juice into the glass with the other juice and mix. Serve with ice cubes if desired. Enjoy your delicious juice without the bitter aftertaste of pomegranate!

80/10/10 Recipe: Raw Banana Pear Berry Smoothie

FTC Notice: This blog post contains affiliate links that go towards supporting the blog.

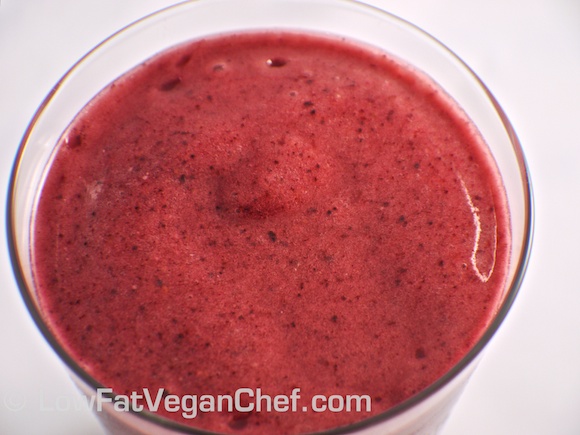
This is a really easy 80/10/10 and raw vegan fruit smoothie to make, using some ripe fruit. You want to use ripe bananas that are soft and lightly brown speckled and pears that have turned from rock hard green to soft yellow with some brown flecks.


Make sure you have ripe pears as well. If your pears have any bad spots in them cut them out before using. If your pears are really ripe like mine were it won’t add much of a gritty texture to your smoothie. Unripe, hard pears are NOT good in smoothies!


Raw Vegan Banana Pear Berry Smoothie

Ingredients:

3 large ripe bananas
2 very ripe bartlet pears, seeded
2 cups frozen mixed berries


Directions:

Place bananas, pears and berries into Vitamix or blender. (If you don’t have a Vitamix you need to add some water to blend) Using the tamper, push the fruit down towards the blade and turn onto 5 and then up to high. Blend for 45 sec to a minute until smooth.

Enjoy!


What do you think of this smoothie recipe?