Vegan Dragon Sushi Roll
Dragon rolls are generally not vegan or vegetarian and filled with smoked eel and drizzled with eel sauce. But they look so pretty and are covered in avocado, which is vegan and delicious in sushi.
So here’s my version of a vegan Dragon Roll. It’s very similar to making my vegan California Roll, but we’re going to take the avocado out from the middle, and put it ontop of the roll instead and add some additional filling.
Makes 2 dragon rolls
You Will Need:
1/2 recipe of sumeshi aka sushi rice (found here)
2 pieces nori seaweed
4 sticks julienned cucumber (see my post on prepping veggies here)
4 sticks julienned carrots, steamed gently
4 sticks another vegetable of choice, I used julienned zucchini, steamed gently
4 strips sliced green onion (scallion)
1 small-medium avocado
![]()
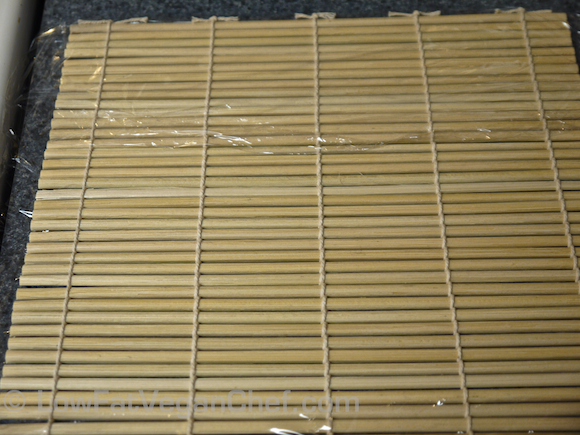
To make this vegan sushi roll we are going to use the thick style sushi mat. (The one on the bottom) It’s much stronger and will give a firm shape to the sushi. I bought a set of sushi mats in a cheap 2 pack on Amazon for about $7 with free shipping. You can also find a single mat for a few dollars on Amazon like this one . Asian stores will sell them as well.
How To Wrap Your Bamboo Sushi Mat For Uramaki – Inside Outside Rolls
We’re going to wrap our sushi mat in plastic wrap/saran wrap. We do this because sushi rice is SUPER sticky and will make a mess on the bamboo mat, yet it comes off easily from the plastic wrap. Basically you’re going to wrap it like you would a present with wrapping paper, tucking in all the sides and the wrap should cling to itself to seal it.
Sushi mat wrapped on one side and sides tucked over
Take a piece of plastic wrap and put it on top of one side of the mat. Flip it over and then tuck in the side and top and bottom so that the back side is totally sealed.
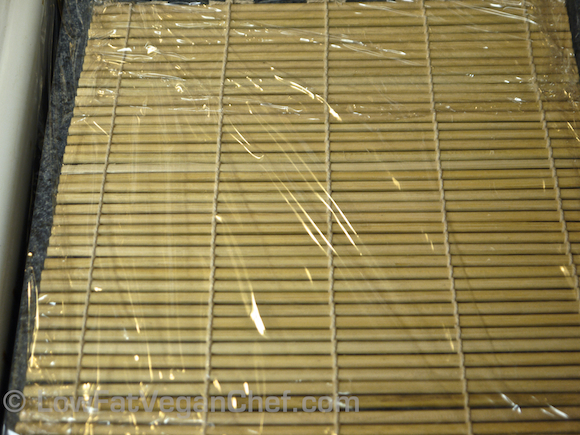
Sushi mat with front side covered in wrap
Next, take another piece of plastic wrap and place it over the front side (that has the sides tucked in) and flip it over and tuck in the sides and top and bottom again.
Sushi mat covered on all sides and pulled tight
Now your sushi mat is ready to make vegan Dragon Rolls.
How To Make A Vegan Dragon Roll (Uramaki / Inside Outside)

Step 1: Measure between 3/4 and 1 cup of sushi rice depending how much rice you want on your roll. (They are very filling, usually a person can only eat 2 of these rolls max because the rice is so filling.) I used a heaping 3/4 cup of rice and it was just enough for me.

Step 2: Lay your nori sheet SHINY side up (with the dotted line side face down) This is the backside of your nori sheet and we’re going to cover it with rice. Dump your rice into the middle of the nori sheet.

Step 3: Using your rice paddles (or very wet fingers) gently push the rice outwards and to the edges and the corners. This will take a while until you get the hang of it. You can leave a tiny space on the top and bottom of the sheet and this will make the roll easier to roll up.

Continue spreading out the rice until you have a layer about 1-2 rice grains thick. It won’t be perfect, but as long as there are no big gaps it will be good.

Step 4: Press your rice down on your nori sheet so that no grains are sticking up and it’s level.

Step 5: Pick up your nori sheet from the bottom, holding tightly and flip it over away from you. Now the dotted section side should be facing you.

Step 6: Fill your nori sheet with desired filling. In this case for my vegan dragon roll, lay 2 strips of cucumber lengthwise, 2 strips of carrot, 2 strips of green onion and 2 strips of zucchini. Spread them out so they fill the entire roll. It can spill out a little over the side, but not too much. Your filling is going to lay in the first rectangular area of the sheet. After the little bottom bar.

Step 7: Next we’re going to grab the bottom of the sushi mat and bring it up and over creating a tube. You want to make one roll so that you cannot see your filling anymore and tuck and squeeze it under with your hands and the sushi mat. You want to make each roll tight so that your sushi stays together and the filling won’t fall out of the middle when you slice it.

Continue rolling tightly up the nori sheet.

This is what it looks like when 1 full roll is done. Continue rolling.
Roll your nori sheet up until the end. You shouldn’t have to wet the end of the nori to seal it. It has moisture from the sticky rice. You want to squeeze it firmly and evenly all across the mat when you get to the end to seal the roll evenly.

This is what your sushi roll looks like when it’s sealed.

Step 8: Flip your sushi roll over so the seam side is faced down.

Step 9: Next slice your avocado thinly and lay each piece onto the top of your sushi roll.

Step 10: Bring your mat up over the roll and press down on the avocado on the top and sides. Just hard enough to crush it against the rice so it sticks.

Step 11: Get a very sharp knife, wet it thoroughly with water and make a 6-8 cuts to the sushi roll to create sushi pieces. This takes some time and patience. You must wet your knife between EACH cut because your knife will be covered in sticky starch from the rice. If you don’t keep the knife wet and clean before each cut you can tear and mangle your pretty sushi roll. I generally cut these ones into 6 pieces. But if you’re feeding children, it’d be better for 8 pieces so it’s not too big for them to bite into.
Vegan Dragon Roll
Next plate your sushi and serve with soy sauce or tamari and chopsticks! Enjoy your beautiful vegan Dragon Roll!