Quinoa (pronounced Keen-wa) is a delicious low fat superfood grain (actually a pseudo cereal, it is not a grass like wheat is) that comes from South America and is closely related to beets, spinach and tumbleweeds, believe it or not! This is also why it is gluten free. Quinoa is not related to wheat and does not contain any gluten at all either.
Perfectly cooked quinoa is something you can achieve! I’ve eaten quinoa cooked by many different people and there is a world of difference in the enjoyability of quinoa if it is mushy and overcooked, or light and fluffy. Generally what you see at vegan potlucks are mushy overcooked quinoa dishes, while at vegetarian restaurants you get these nice chewy perfectly cooked separate quinoa granules.
The BIGGEST mistake people make when making quinoa is using a 2:1 water to quinoa ratio. Quinoa absorbs much less water than rice, so it is unnecessary to cook it in so much water. Trust me, your quinoa will turn out perfectly if you do it this way (see recipe below). If you insist on having wetter slightly mushier quinoa you may find this ok. But I like to have my quinoa be fluffier so it can absorb some of my sauce or it can be lightly sprinkled into salads or used as a base for a salad.
Once you know how to make quinoa, you will enjoy eating it regularly. It’s an easy replacement for rice or couscous as a side dish and much more nutritious.
How do you know if you’ve overcooked your quinoa? It will probably be very wet (a result of too much water) and will be mushy and not light and fluffy. Quinoa doesn’t absorb as much water as rice so adding too much water can result in mushy quinoa. It could also be sticky and burned on the bottom of yuor pot.
So mix it up!
Let’s get started and teach you how to cook quinoa perfectly. Below are the best quinoa cooking instructions!
How To Cook Quinoa Perfectly Every Time Tutorial
Makes about 6 cups of cooked quinoa (Perfect for dinner and then leftovers or use the extra in cold salads)
For this recipe you will need:
1 1/2 cups dry quinoa (white, or red quinoa)
1 1/2 cups water or vegetable broth (low sodium or homemade)
1 tsp of salt or Herbamare (if desired)
Fresh ground pepper to taste (if desired)
2-3 tbsp lemon juice or other seasonings like parsley flakes or Trader Joe’s 21 Seasoning Salute *optional
Tools:
Measuring Cup
Pot with a lid or a rice cooker. I enjoy using my Zojirushi rice cooker.
This method will ensure that your quinoa is light and fluffy and never soggy or overcooked. You can make up a big batch for dinner and save extra portions for the fridge or freezer so you can reheat it easily. Using less water (1:1 ratio instead of 2:1) achieves the best results for white or red quinoa. I’ll show you how to cook it on the stove first, and then you can scroll down to view the rice cooker directions. Note, for black quinoa, I found that it was a little crunchy. So I would recommend using 1.25:1 ratio of water to black quinoa. 1 1/4 cups water for 1 cup of black quinoa so it’s moister and softer. Use whatever quinoa you prefer or whatever is cheapest that you can find.
How To Cook Quinoa On The Stove Top Directions:
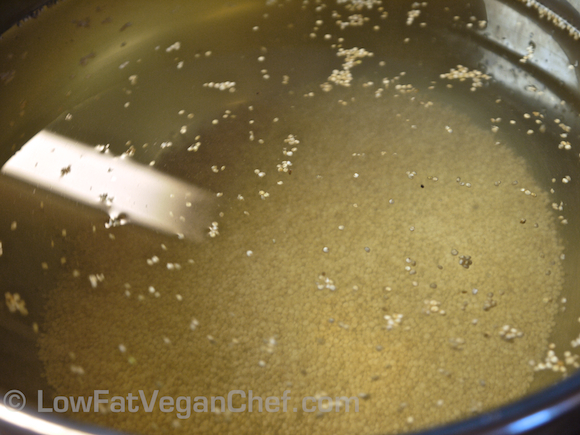
Step 1: Soak quinoa in a large bowl for 15 minutes in cool water.
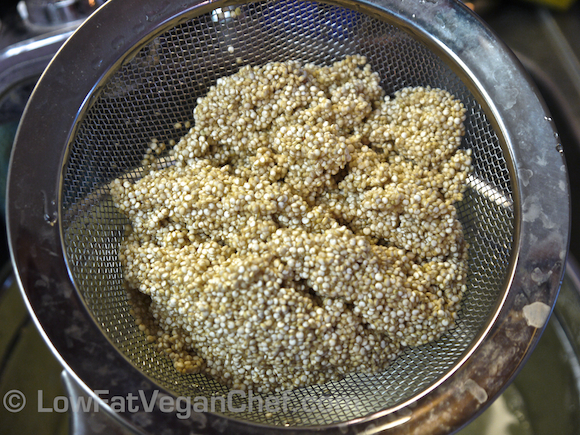
Step 2: Using a fine mesh strainer, drain and rinse your quinoa until the water is clear and it’s not foamy anymore. About a minute or two and then dump it into a pot.
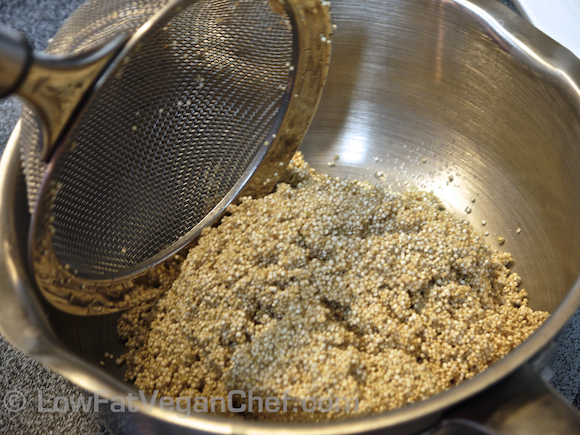
(Stovetop Directions Follow – Scroll Down For Rice Cooker Directions)
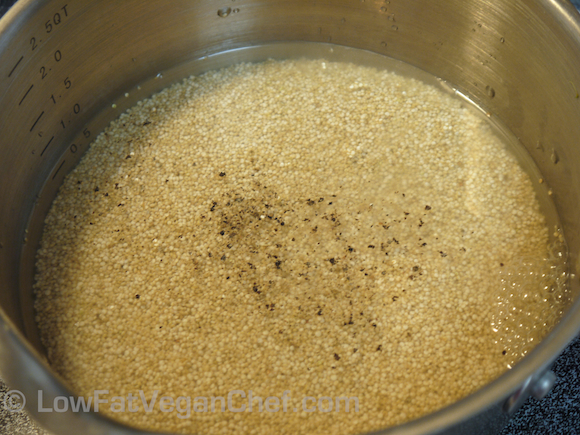
Step 3: Combine rinsed quinoa and water (use a 1:1 ratio) in a pot. Add seasonings. Turn on to medium heat.
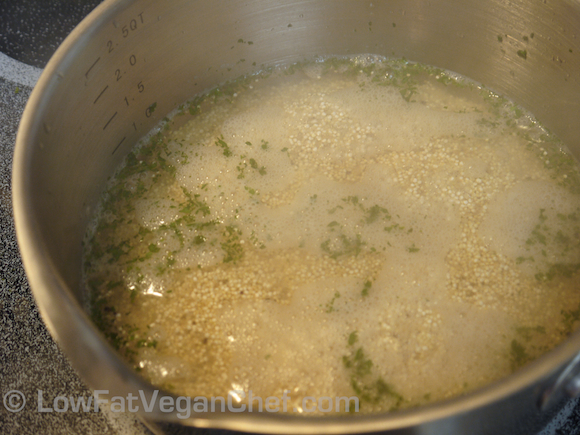
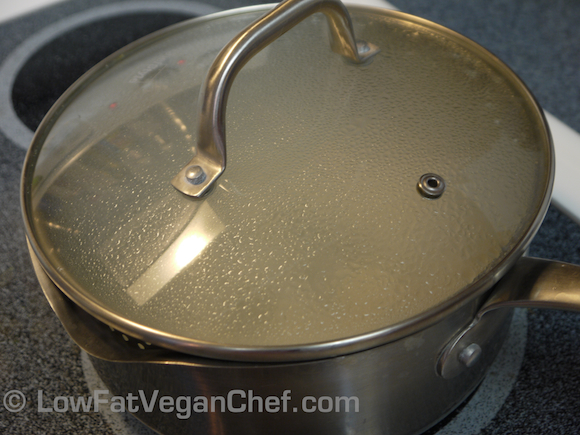
Step 4: When the quinoa is simmering, cover it, reduce it to low heat and cook for 30-35 minutes.
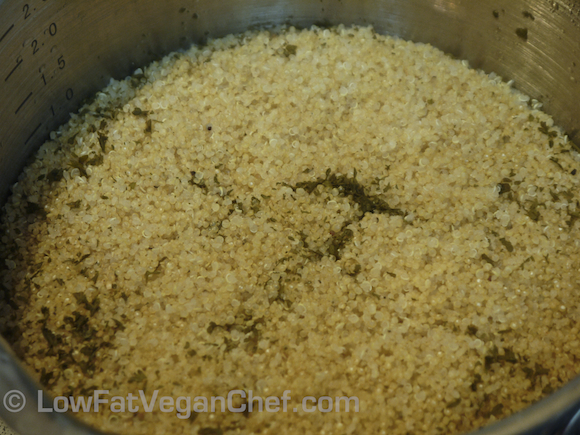
Step 5: When all the water is absorbed remove the pot from heat. Let sit covered for 5 minutes to finish steaming.
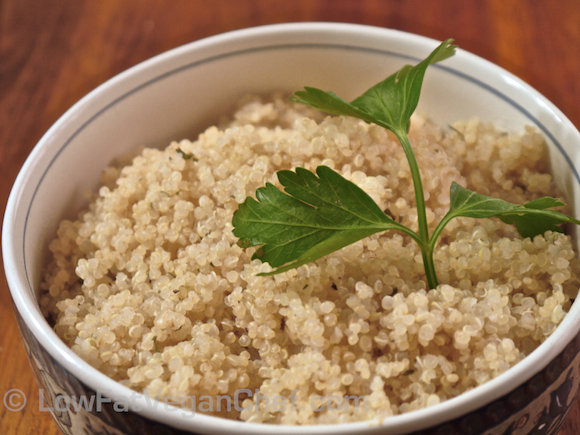
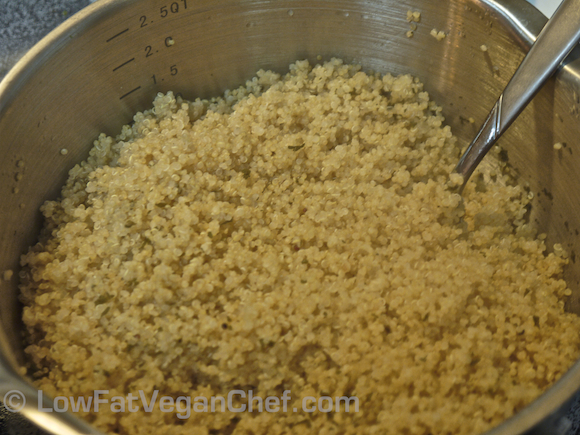
(Finished quinoa after steaming)
Step 6: Fluff with a fork before serving.
Serve and refrigerate any leftovers for another dish or to sprinkle on salads.
How To Cook Quinoa In a Rice Cooker Directions:
I love my Zojirushi 5 ½ cup (dry) rice cooker. It can cook white rice, brown rice, sushi rice, porridge, steam vegetables and even bake cake!
I have owned many rice cookers over the years. And while the cheap $10 ones might be ok in a pinch, they fail at cooking most things other than plain white rice. If you’re interested in cooking whole grains like brown rice or steel cut oats a better quality rice cooker does wonders. Zojirushi makes a number of rice cookers from small personal ones to ones large enough to feed the whole family. There are different settings for white rice, brown rice, sushi rice, sticky rice, porridge and cake. You can also program your rice cooker the night before and fill it with water and steel cut oats for homemade oatmeal every morning. It also handles all the timing for you, so unlike the cheap rice cookers you don’t have to keep checking it and pressing the lever to continue cooking. It has a smart “fuzzy logic” computer inside that knows how long to cook each grain and only turns off when it’s done.
Step 1: Soak quinoa for 15 minutes in cool water.
Step 2: Using a fine mesh strainer, drain and rinse your quinoa until the water is clear and it’s not foamy. About a minute or two.
Step 3: Combine rinsed quinoa and water (use a 1:1 ratio) in rice cooker. Add seasonings if desired.
Step 4: Set to white rice setting and cook.
Step 5: When the cooking cycle is complete, let it steam for 5-10 minutes. Fluff with a fork before serving.
Step 6: Serve with your favourite entree or vegetables.
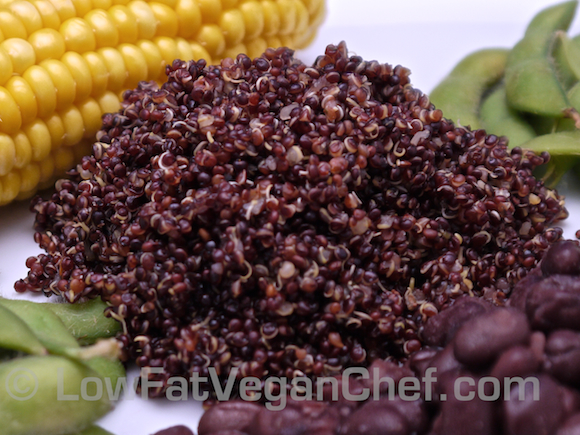
Update! I just made red quinoa with the same stove-top instructions above (because I know some of you don’t have a rice cooker)
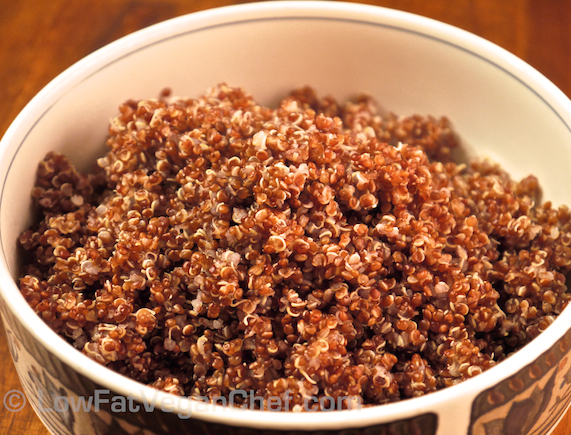
Red quinoa has a much more rich flavour and is more moist and chewier. I wouldn’t say that I prefer white or red more than each other, they just taste a little different. I will continue to make both. I think red is a little stickier so I wouldn’t use it for salads. I think white quinoa would still be the best if you want a tabouli or cold quinoa salad as the grains are individual.
Enjoy!
What do you think of this tutorial? What do you like to serve quinoa with?

